
Last updated November 18, 2026
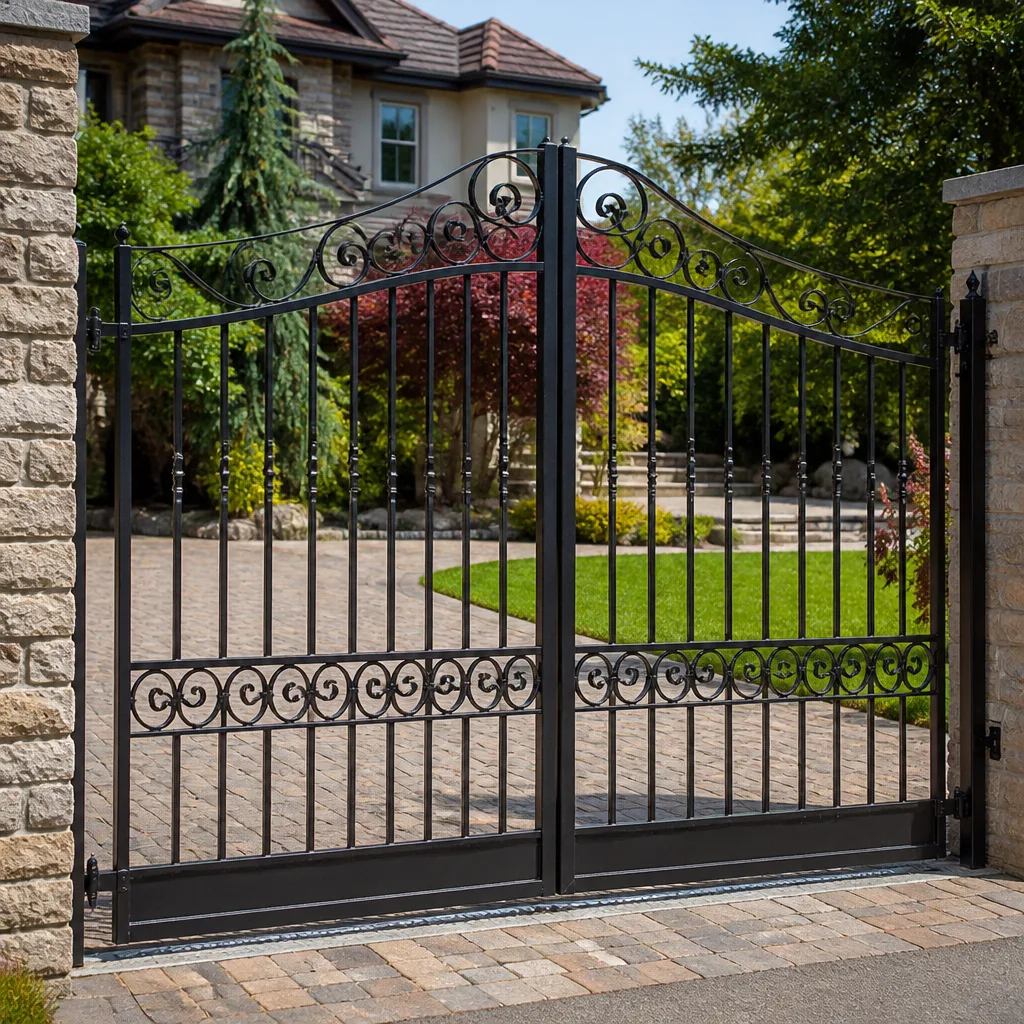 Wrought iron
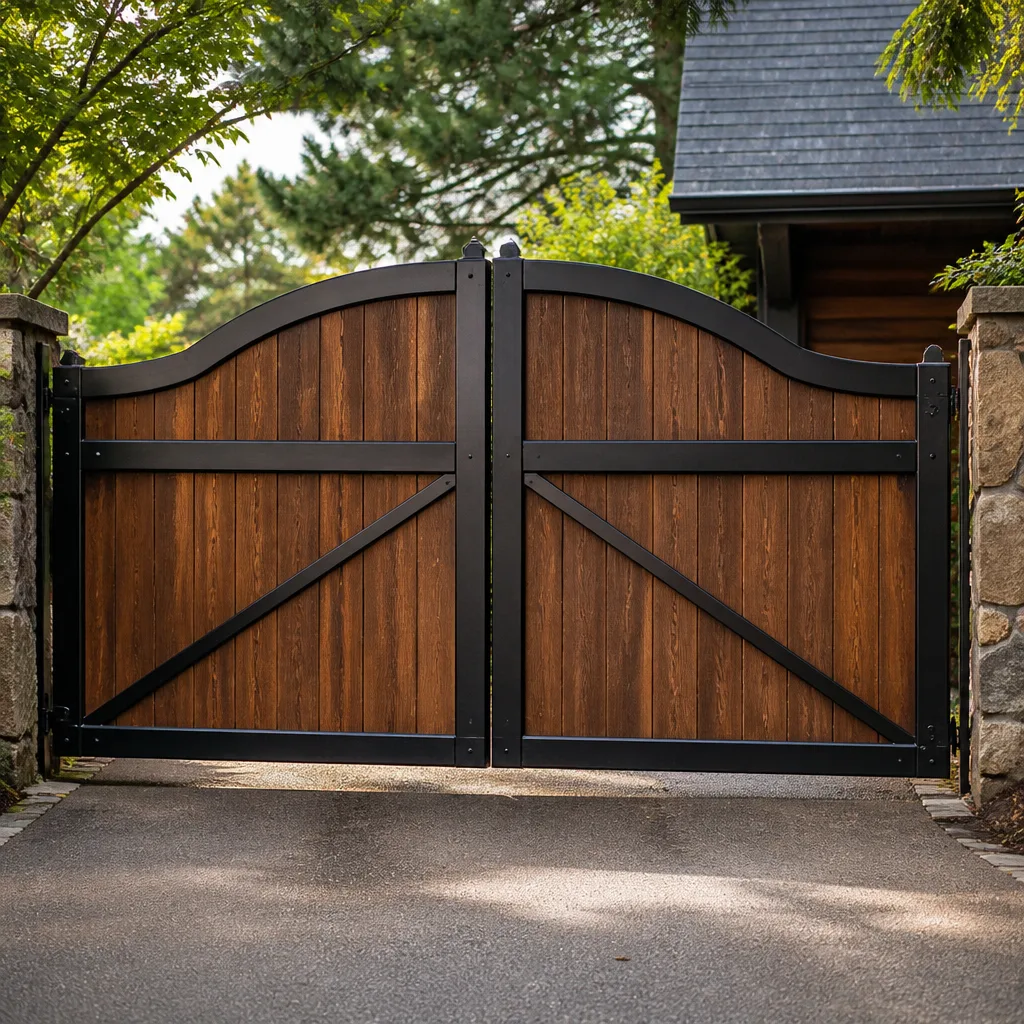 Wood & steel frame
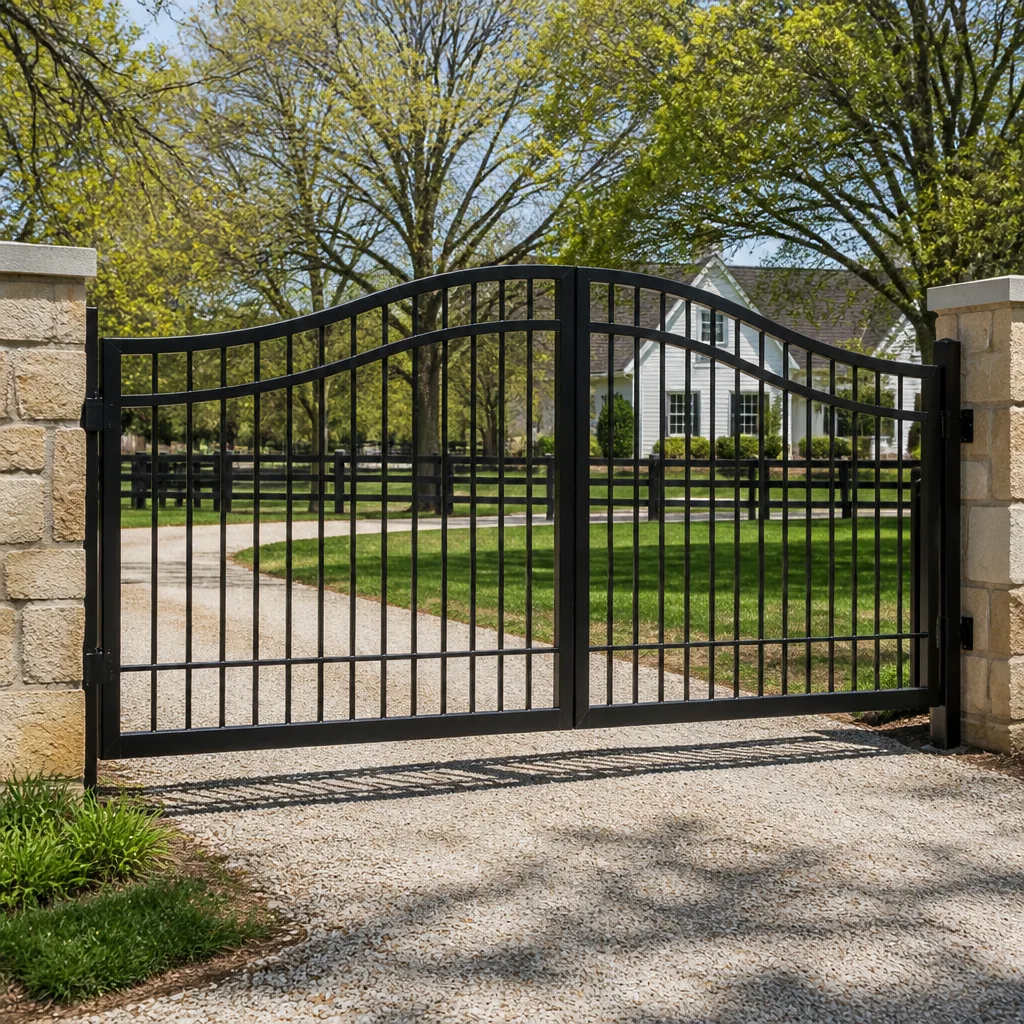 Farm & ranch
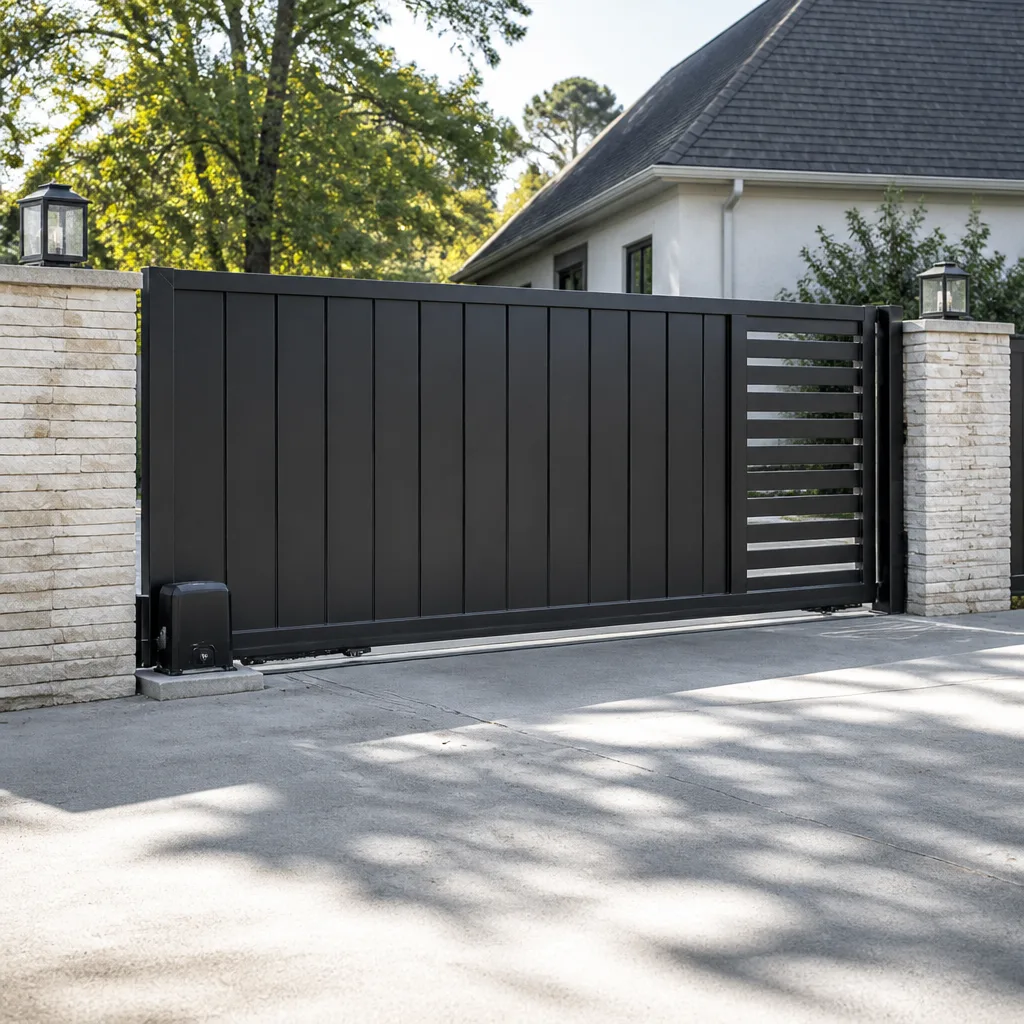 Sliding driveway gates
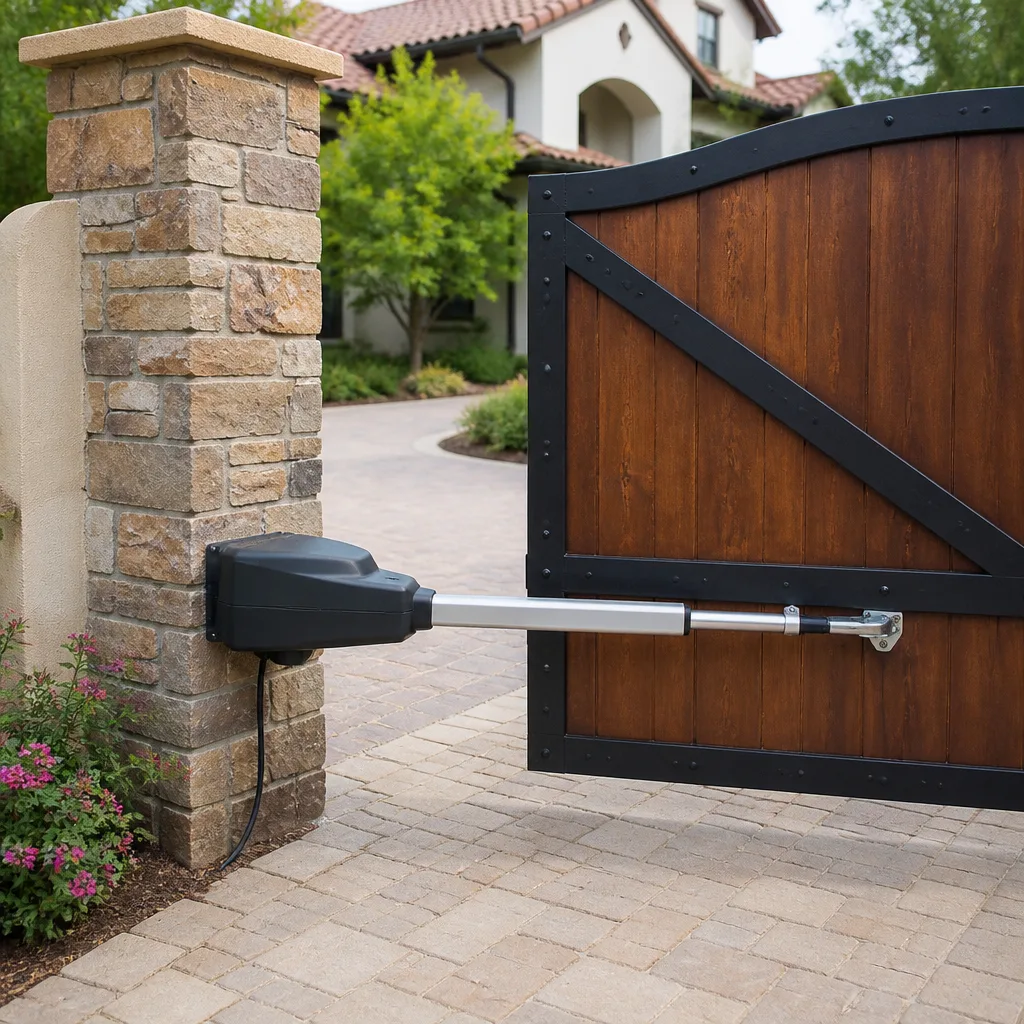 LiftMaster operators
Free on-site gate assessment - hinges, posts, and your LiftMaster or Nice gate operator checked before anything is quoted
The assessment is free and the quote is the invoice.
Get your free estimateThe Complete Gate Parts & Welding Guide for Enterprise Homeowners
The caliche layer under a lot of Enterprise properties shifts enough through summer heat cycles to move a gate post a quarter inch per year. That sounds like nothing until you realize it’s what’s tearing your hinge welds apart, and nobody has told you. It isn’t the gate metal failing. It’s the ground underneath it moving, and the weld taking the punishment. In this guide we’ll name every weldable part on a swing gate and a slide gate in plain language, explain which parts should be welded and which should be replaced, and show you exactly where to look for corrosion in the high-desert climate here. If you’ve been quoted a repair and aren’t sure what the guy is describing, this is meant to give you enough vocabulary to ask the right questions.
Quick Answer
On a residential gate, the parts that actually fail are the hinge and post welds, the gudgeon pins on swing gates, the roller carriages and track mounts on slide gates, and the strike plates. In Enterprise, alkaline soil eats buried post welds from outside while UV and heat oxidize exposed welds from above, so the same hardware ages twice as fast as manufacturer specs assume. A field weld fixes these on-site for far less than swapping the whole gate, and it’s usually the right call until the failure goes deeper than the weld itself.
Styles & brands we work with
- Wrought iron
- Wood & steel frame
- Farm & ranch
- Sliding driveway gates
- LiftMaster operators
Table of Contents
- The Anatomy of a Swing Gate: What Every Part Is Called
- Slide Gate Parts: Rollers, Tracks, and Operators
- How Nevada’s Climate and Caliche Soil Attack Gate Hardware
- What Field Welding Really Means and Why It Matters
- The Hardware Hierarchy: Weld, Replace, or Fabricate
- What NOT to Weld (Read This Before You Touch a Torch)
- Common Mistakes to Avoid
- When to Call a Professional
The Anatomy of a Swing Gate: What Every Part Is Called
Most homeowners can point at the sagging side of a gate but can’t name the parts doing the sagging. That matters because when you call for a repair, “the hinge thing is broken” gets you a very different conversation than “the bottom hinge weld pulled off the hinge post.”
A residential swing gate hangs from two or three hinges mounted to a hinge post, and the gate itself is built on a frame. Here are the weldable pieces you’ll find on almost every swing gate:
- Hinges and hinge plates – the brackets connecting the gate frame to the hinge post. Usually welded to the frame, bolted to the post, or welded to both.
- Gudgeon pins – the vertical pins that ride inside a hinge barrel and let the gate swing. When a gudgeon pin wears oval, the gate sags even if the weld is fine.
- The latch post and strike plate – the strike plate is the slotted piece the latch bar lands in. When it wears, the gate rattles and the latch misses.
- The drop rod – the ground-engaging rod that holds the inactive leaf of a double gate closed. It’s usually welded to the bottom rail.
- Frame gussets and corner welds – the small triangular braces holding the gate square.
A gate sags in the hinge post, not in the middle, and that’s where we start. If the post has moved, welding the sagging side of the gate just disguises the problem. In older Enterprise neighborhoods, wall-mounted and post-mounted gates both show up, and the post-mounted ones are far more likely to have crept with the soil.
Slide Gate Parts: Rollers, Tracks, and Operators
Slide gates fail on a different set of parts. Instead of hinges, everything rides on a track, and that track takes the whole weight of the gate and the operator’s push. Learning the part names here saves you time and money come repair day.
Here’s what to look for on a slide gate, from the ground up:
- The track – the steel rail on the ground the rollers ride in. It’s usually mounted to a concrete pad or anchored to the substrate.
- Roller carriages and guide rollers – the wheel assemblies that carry the gate along the track. Carriages bear weight; guide rollers keep the gate vertical.
- The operator – the motor and gearbox that drives the gate. Brands like Ghost Controls, Elite, and Mighty Mule are common on residential slide and swing setups, and each has its own arm and bracket geometry.
- The operator arm and bracket – the link between the operator and the gate. A bent bracket shows up as a gate that hums but won’t move.
- The catch post and receiver – the receiving upright the gate lands against when closed.
- Limit brackets – the small welded stops that tell the operator when to stop. If those shift, the gate over-travels and stresses the arm.
Track alignment is where the real action is. When a track shifts because the pad under it moved with the soil, the gate walks sideways and chews through carriages in a season. Fix the panel without the post and you’ll fix it twice; the same is true for a carriage without the track underneath it.
How Nevada’s Climate and Caliche Soil Attack Gate Hardware
Manufacturer specs for gate hardware are written for a mild, humid, temperate climate. Enterprise isn’t that. We get hard summer heat, wide day-to-night temperature swings, windblown dust, and a soil profile that is alkaline and often loaded with caliche, the calcium-carbonate hardpan that cements itself under a large part of the valley. Two different forces chew on the same gate at once.
From below, the alkaline soil attacks anything buried in it. That means hinge-post footings, gate anchors, track anchors, and any post or sleeve set in concrete. The welded joint where a post meets its footing gets attacked from the outside first, at the soil line, because the chemistry, the moisture, and the oxygen all meet there. Look for rust bloom at ground level, not higher up.
From above, the sun and dry heat oxidize raw steel and thin welds. A bare weld on a top rail loses its protective zinc faster here than in a coastal market because there’s no ambient humidity slowing the reaction, only intense UV and thermal cycling. Thermal cycling is the killer of the welds themselves, because a quarter-inch of post movement per year shows up as a stressed weld.
Where to look in this climate, versus where a coastal or northern owner would look:
- Enterprise: ground-line corrosion at the post base, rust halo at every weld where the powder coat or paint has chipped, and hairline cracks at frame corner welds from thermal movement.
- Coastal markets: salt in the air attacks the whole surface evenly, so you look at the finish, not the joints.
- Northern markets: freeze-thaw and road salt do the damage, so they look at delamination and pitting under the finish, not soil-line chemistry.
Dust adds one more complication. Windblown dust works into hinge barrels and roller tracks and acts like grinding compound. Wipe or blow it out monthly; a barrel packed with grit wears out a gudgeon pin in short order.
What Field Welding Really Means and Why It Matters
Field welding means bringing the welder to the gate instead of hauling the gate to a shop. It’s not a shortcut; it’s a different approach that usually produces a better result on a residential gate because the gate is welded in the position it actually operates in.
Why does position matter? A gate that’s pulled off its hinges, welded on a bench, and rehung has to land back in exactly the same alignment, and it rarely does. The post that has crept and the hinge that has worn don’t reset themselves. When we weld on-site, the gate is already hung on the same post, at the same sag, letting us fit the weld to the real geometry. Gate repair in Enterprise work like a pulled hinge weld is exactly this kind of job.
What a field weld repair looks like, step by step:
- Assess the post and footing – check whether the post has moved or the footing has settled. If the post is the problem, welding the gate alone won’t hold.
- Support the gate – prop the leaf so it holds its resting position through the weld.
- Grind back the failed weld – remove the old bead, clean the surface, and get to virgin metal.
- Tack and check – tack in two places to confirm alignment before committing.
- Finish the weld and let it cool – complete the bead, let it cool slowly, then dress it.
- Prime and coat – cover the new weld with a rust-inhibiting primer and topcoat so the dry climate doesn’t start attacking it immediately.
This is why we keep the gate in the driveway. Field welding is the core of what a good gate specialist does, and it’s what separates real repair from a replacement pitch. In our experience, a lot of gates that get quoted as “beyond repair” are just a pulled hinge weld and a sagging post.
The Hardware Hierarchy: Weld, Replace, or Fabricate
Not every failing part needs the same answer. There’s a rough hierarchy: some things are shelf-stock, some things you weld, and some things need to be fabricated. Knowing which is which keeps you from overpaying for the wrong fix.
The breakdown, in plain terms:
- Replaceable off a shelf: gudgeon pins, latch bolts, strike plates, guide rollers, roller carriages, drop rods, and standard hinge plates. These are commodity parts and cheap to swap. A worn gudgeon pin, for instance, is fit-and-replace, not weld-or-fabricate. Operators from brands like DoorKing, Elite, and Mighty Mule also take replaceable arm and bracket parts, which saves rebuilding an entire gate assembly.
- Worth welding: pulled hinge welds, cracked frame corner welds, broken gussets, and failed track mounts. These are the failures where the metal is good and only the joint has let go. Welding is usually the second-least-expensive option, and it preserves the original gate.
- Worth fabricating: custom hinge brackets for an odd-angle gate, replacement gudgeon mounts when the original is beyond repair, and adapted operator brackets for a brand with a different frame geometry. Fabrication is the most expensive category, so it’s only worthwhile when the gate is otherwise solid and worth keeping.
Cost thresholds matter for a homeowner. As a rough rule, if the repair estimate approaches half the price of a new gate, that’s when a replacement starts to make sense. Below that, repair usually wins, and if you’re weighing that choice, this is the kind of conversation to have in person; you can browse gate installation in Enterprise options if you’re leaning that way. We’ll tell you honestly which side of the line your gate is on.
What NOT to Weld (Read This Before You Touch a Torch)
Not every broken part should be welded. Some components are genuinely dangerous to heat, and some will fail worse after the torch touches them. This is a safety section, not a “do it yourself” section – a torch and a stressed metal gate can cause serious injury, so treat this as a list of questions to ask a trained welder, not a project list.
Three categories to leave alone:
- Galvanized hardware. Welding galvanized steel burns off the protective zinc and releases toxic fumes. If the part is galvanized, the right move is to replace it with a properly fitted piece or strip the zinc responsibly first. Don’t grind and weld through it.
- Components under spring tension. Gate springs, counterbalance springs, and anything energized with stored force are dangerous to heat or cut. Welding a loaded spring can cause a sudden release that can take a finger or worse. This is work for a trained professional with the right restraint tools, never a homeowner with a torch.
- Certain cast fittings. Some cast hinge barrels, cast operator brackets, and cast gudgeon housings will crack when heated, because the heat creates a stress gradient that the casting can’t take. Welding here often makes the failure worse, so those components get replaced, not welded.
High-tension gate springs are also where we slow down. If a spring is sagging or the gate won’t hold itself open, that’s a power-spring or counterbalance service, not a weld job. Heating a loaded spring is the single most dangerous thing a homeowner can do on a gate, and we won’t. If that’s what your gate needs, leave it to a professional; the risk is real.
For the operator and motor side of the gate, this is not a welding topic at all, and the safe move is a call to a specialist who works on them daily. Our gate motor & opener service in Enterprise is where that work belongs.
Common Mistakes to Avoid
- Welding the sagging side of the gate instead of the post. A gate sags in the hinge post. If the post has moved, welding the leaf just disguises the sag and it comes back within a season.
- Skipping the post footing check. On a lot of Enterprise properties, alkaline caliche eats the buried post weld from the outside, and homeowners never think to look at ground level. Rust bloom at the soil line is the tell.
- Welding over rust instead of grinding back to clean metal. A weld laid over rust traps moisture and pops off in the first hot-cold swing. Grind, clean, prime, then coat.
- Bolting a replacement hinge onto a gate that already has a pulled weld. It works for a month and then the bolt holes elongate, costing more than the weld would have.
- Heating a galvanized part to “straighten” it. The zinc burns off, toxic fumes come out, and the part rusts from the inside. Replace galvanized parts, don’t torch them.
- Ignoring the track on a slide gate. Enterprise’s shifting soil moves the pad under the track, and if you replace carriages without checking the track, they’ll be eaten again.
- Paying for a replacement when the gate only needs a re-weld. A pulled hinge weld and a sagging post don’t call for a new gate. Ask for a repair-first opinion and a second estimate before you sign anything big.
When to Call a Professional
Call a professional when the gate sags, won’t latch, won’t roll, or hangs by a thread, and especially when a spring, counterbalance, or any loaded component is involved. Also call when the post has moved at the footing, because that’s a footing repair, not a weld. The dangerous jobs are the ones where the gate is holding stored energy, and those are never a homeowner job. If you want to know what a repair might cost first, a free second opinion on any written estimate is always available and costs you nothing. Gatewood Fence & Gate Enterprise offers free estimates in Enterprise. We’d rather tell you honestly whether your gate is a weld, a part swap, or a rebuild than sell you work you don’t need. Call (833) 780-1547.
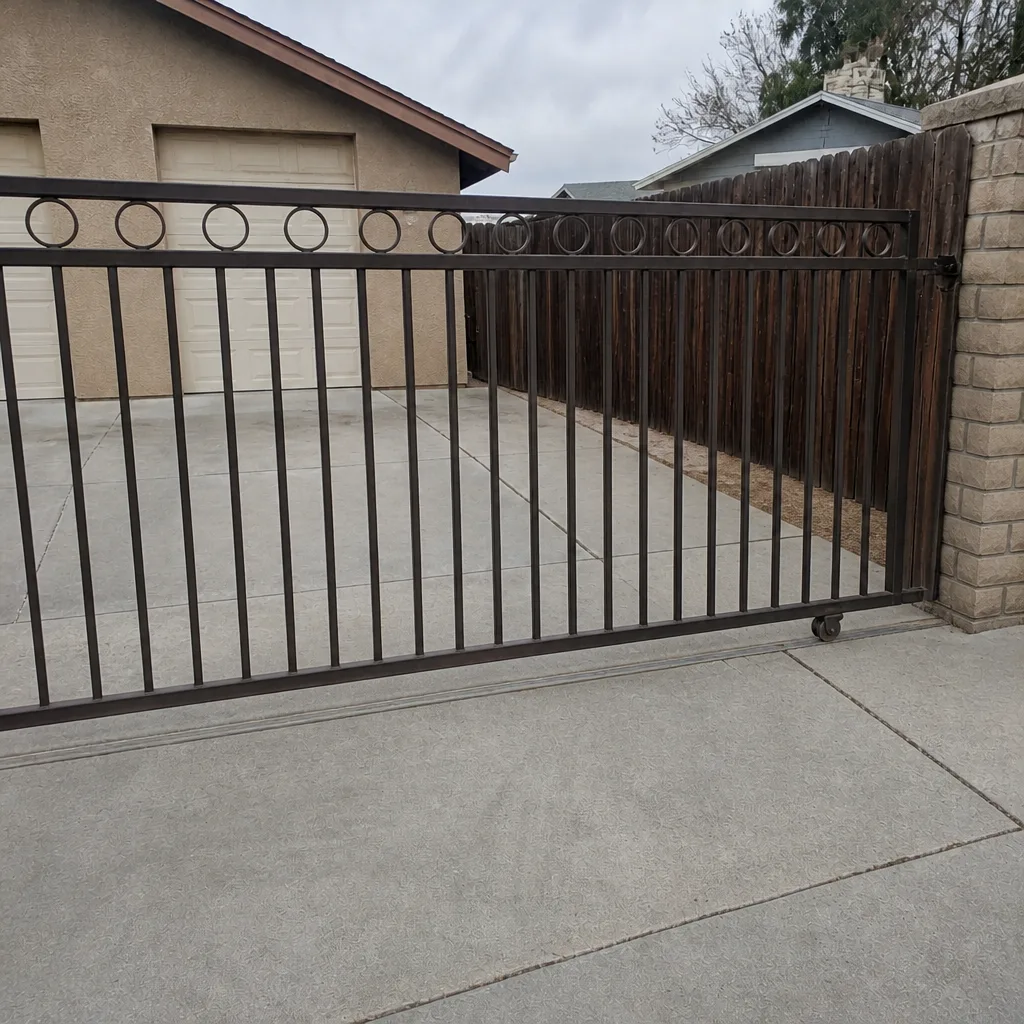
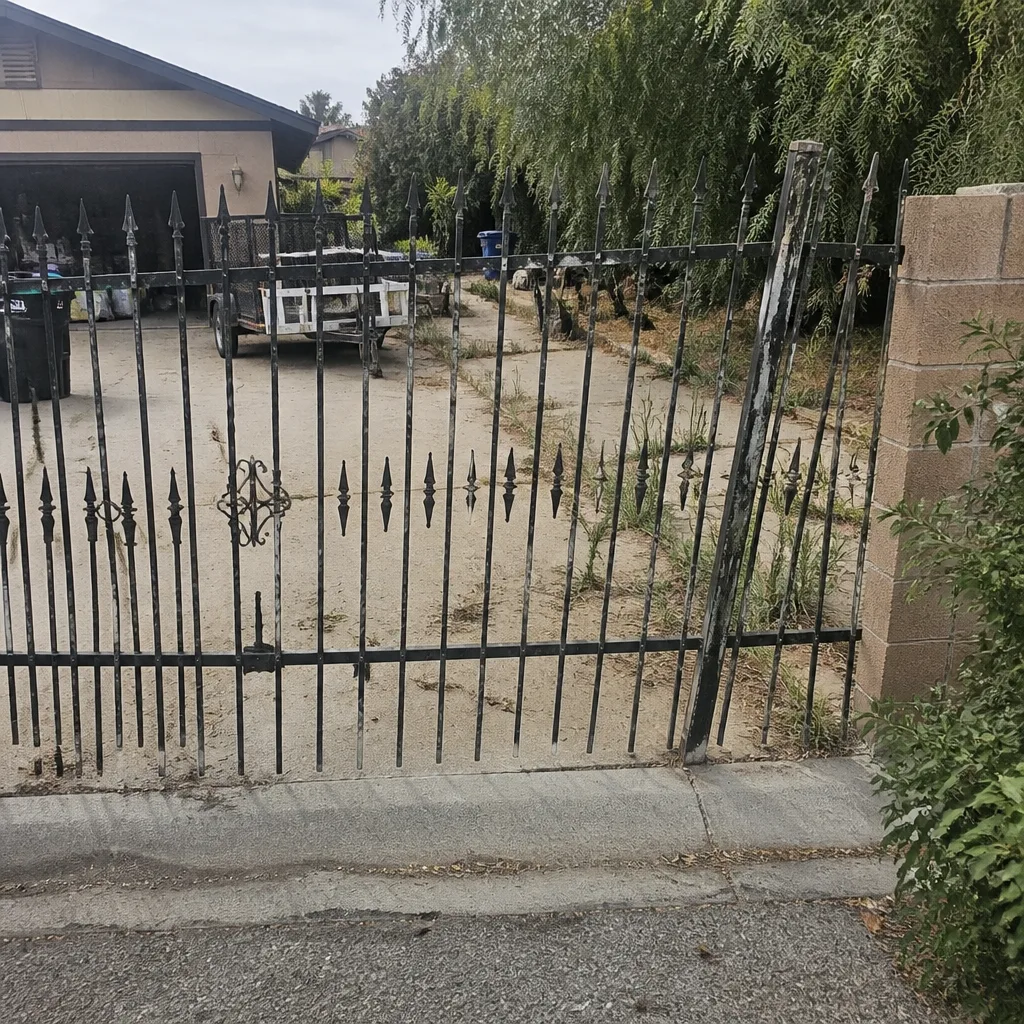
See the difference
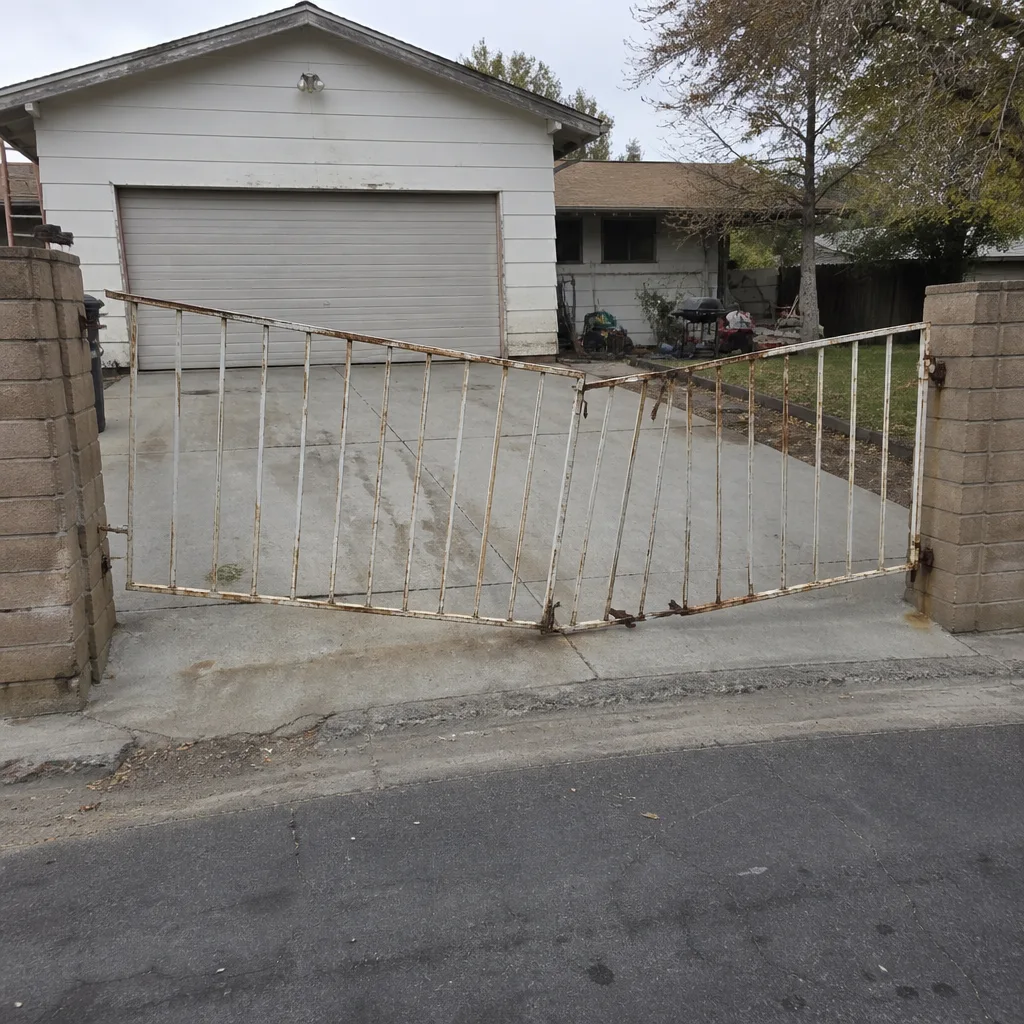 Before
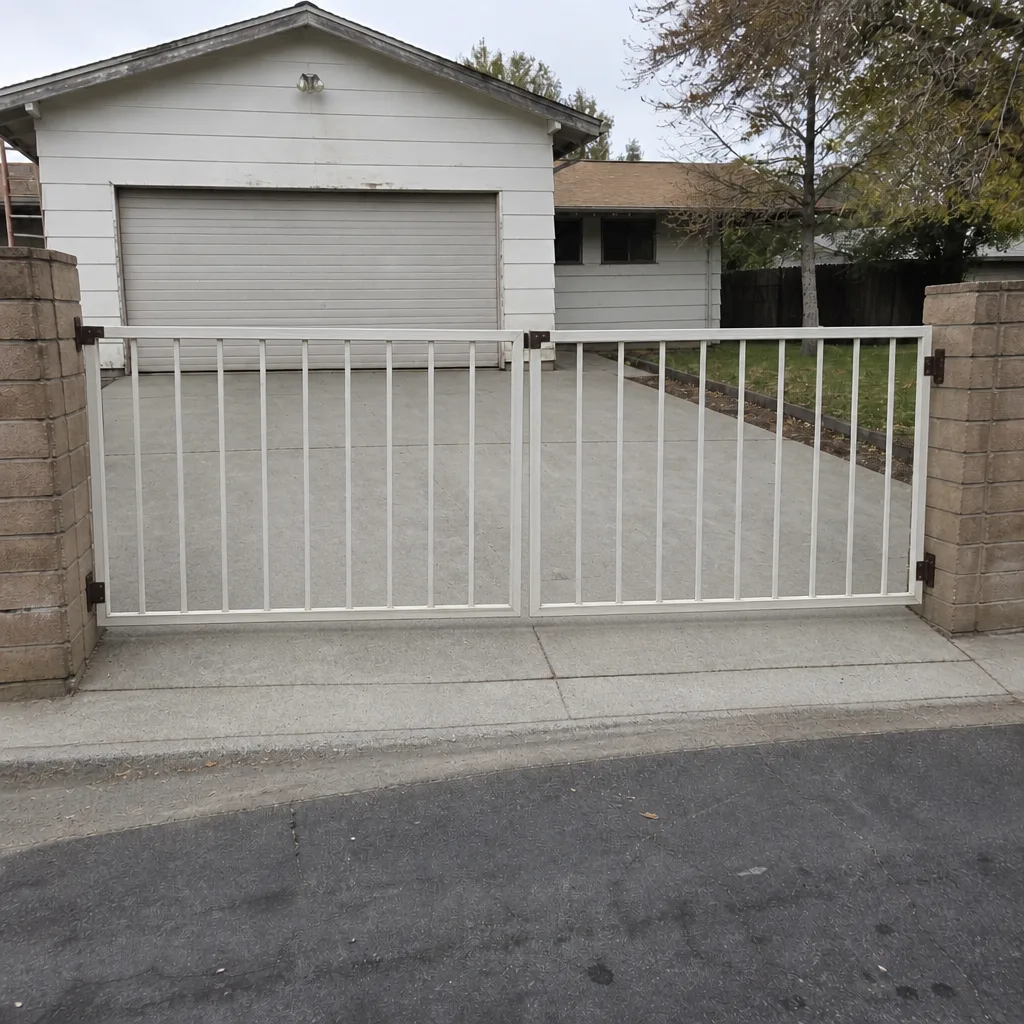 After
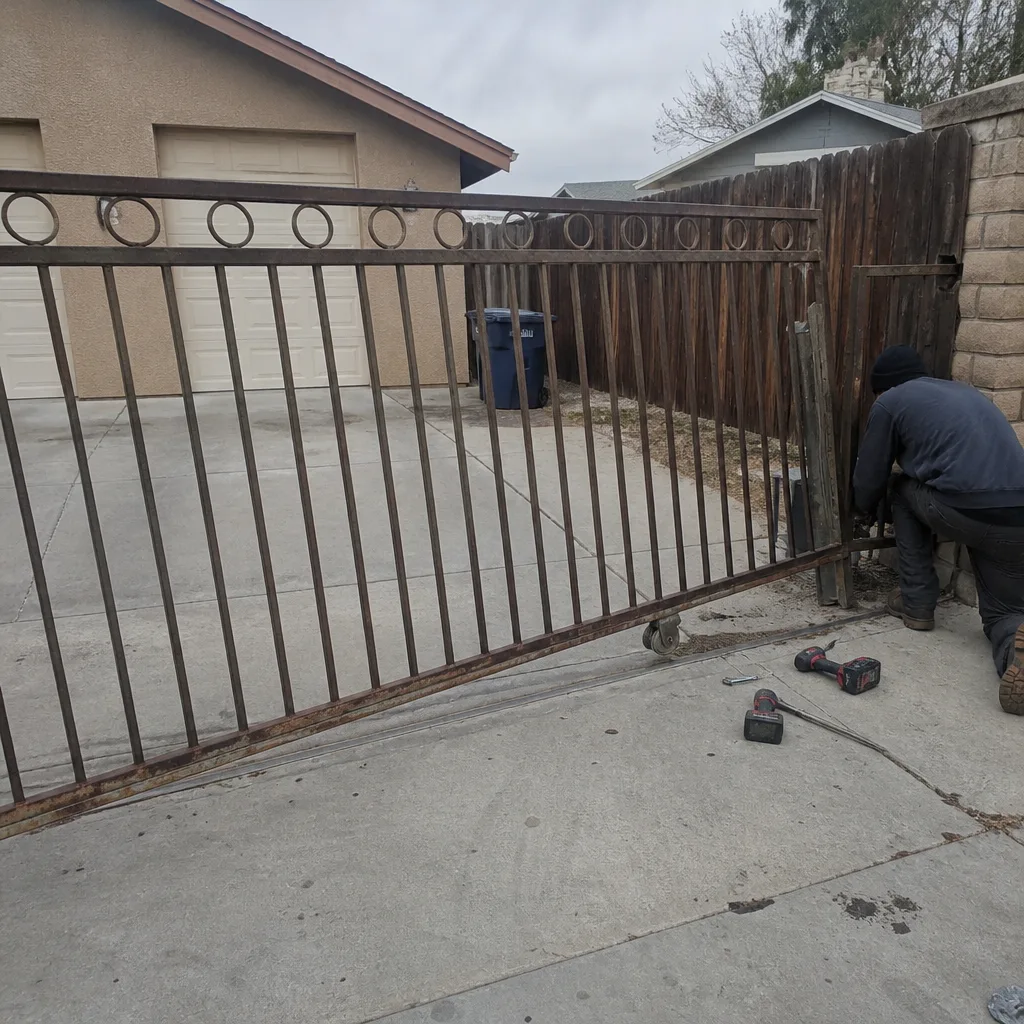 Before
 After
 Before
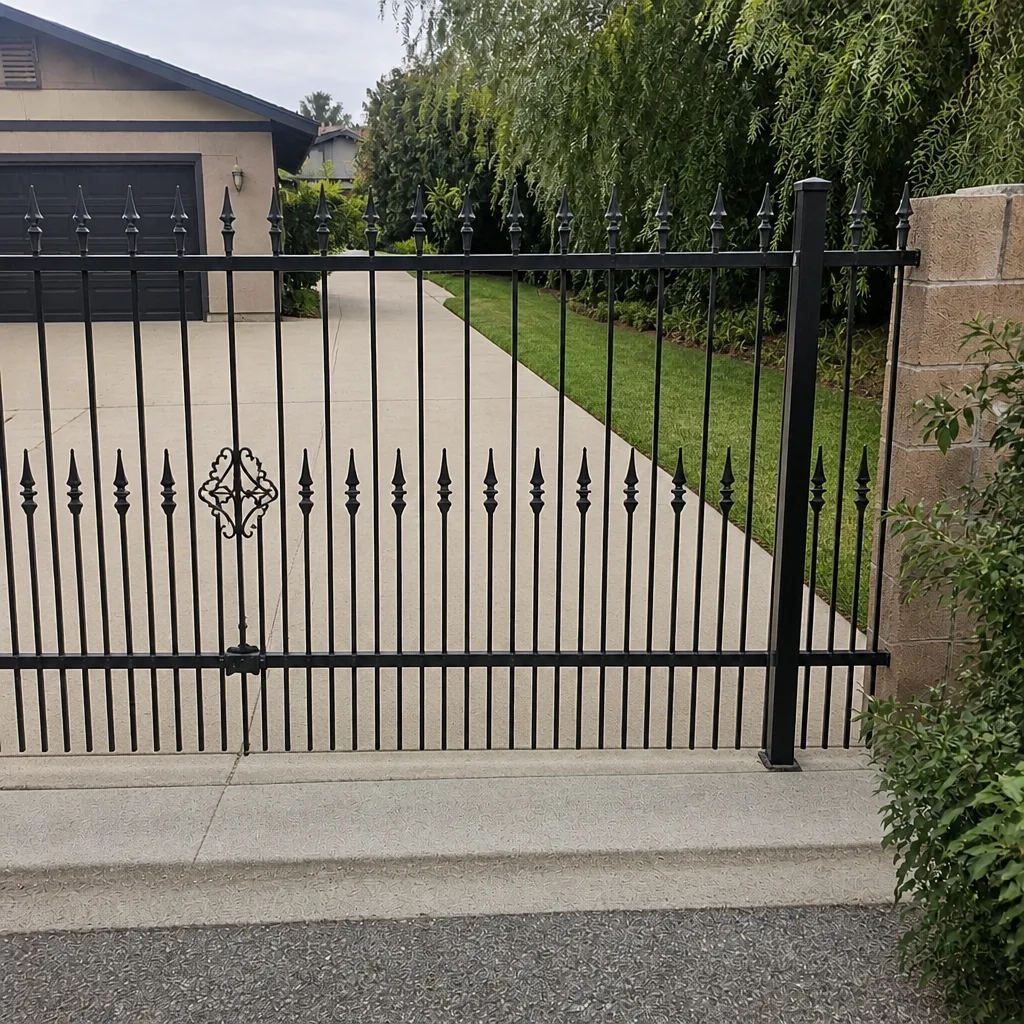 After
Frequently Asked Questions
Yes, in most cases a pulled or cracked hinge weld can be repaired on-site by grinding out the old bead, cleaning the surface, and welding in the position the gate actually hangs. On-site is usually better than a shop job because the gate stays hung on its real post, so alignment is right the first time. It’s usually a same-day repair, and we quote upfront before we start.
Look at the gate in its closed position and check whether the gap between the gate and the latch post is even top to bottom. If the whole gate has dropped, the post is usually the cause. If the gate sits level but rattles or catches at one hinge, the hinge or gudgeon pin is worn. In Enterprise’s caliche soil, a yearly quarter-inch of post movement is common. Call (833) 780-1547 and we’ll come look with you.
A single on-site weld repair usually lands in the low hundreds, well below the price of a new gate. Frame re-welds and multiple-joint repairs cost more because they take more time and cleanup. Fabricated brackets are the priciest category. The exact number comes from a walkthrough of your gate, and it’s quoted and agreed before any work starts. We also stand by $40 off any repair over $200 and no trip charge inside the county. Call (833) 780-1547 for an exact quote.
Two things work together: alkaline caliche soil attacks buried post welds from below, and dry heat plus UV oxidizes exposed welds from above. Coastal markets deal with salt in the air, not soil chemistry, so they look at the finish and not the ground line. Here, watch the ground line for rust bloom and the top rails for cracked or bare welds. Repainting with a rust-inhibiting primer after every weld is the single best thing you can do to extend hardware life.
Most standard hinges and operator brackets can be welded, but the manufacturer’s geometry matters, especially on brands like Elite, DoorKing, and Mighty Mule that use specific arm and bracket layouts. We service and repair around those brands daily, so we can match the weld to the original bracket. What we won’t weld is galvanized parts, loaded springs, or cast fittings that heat will crack. Those we replace. Call us for a free estimate and we’ll tell you which category your gate is in – (833) 780-1547.
No. Sometimes the gudgeon pin is worn, sometimes the post has settled, and sometimes the anchor bolts have walked. Those are fit-and-replace or footing jobs, not welds. A sagging gate is worth a proper look before anyone quotes, because the wrong fix does nothing. If you’re weighing a repair against a new install, a free second opinion on any written estimate will give you an honest comparison. Start with our Gatewood Fence & Gate Enterprise home page, then call (833) 780-1547.
The Bottom Line
Most failing gates in Enterprise fail at the weld or the hinge, not in the metal itself. Learn the part names, look at the ground line of the post and the top rail of the gate, and ask for a repair-first estimate before you let anyone sell you a replacement. Field welding on-site keeps the gate in the position it runs in, which usually gives a better and cheaper result than hauling it off. The parts hierarchy matters, and so does the climate: alkaline soil and dry heat age hardware faster than any spec sheet assumes. When a spring or a loaded part is involved, stop and call a professional. For everything else, a free estimate and an honest answer are one call away at (833) 780-1547.
Written by the team at Gatewood Fence & Gate Enterprise.