
Last updated November 18, 2026
 Wrought iron
 Wood & steel frame
 Farm & ranch
 Sliding driveway gates
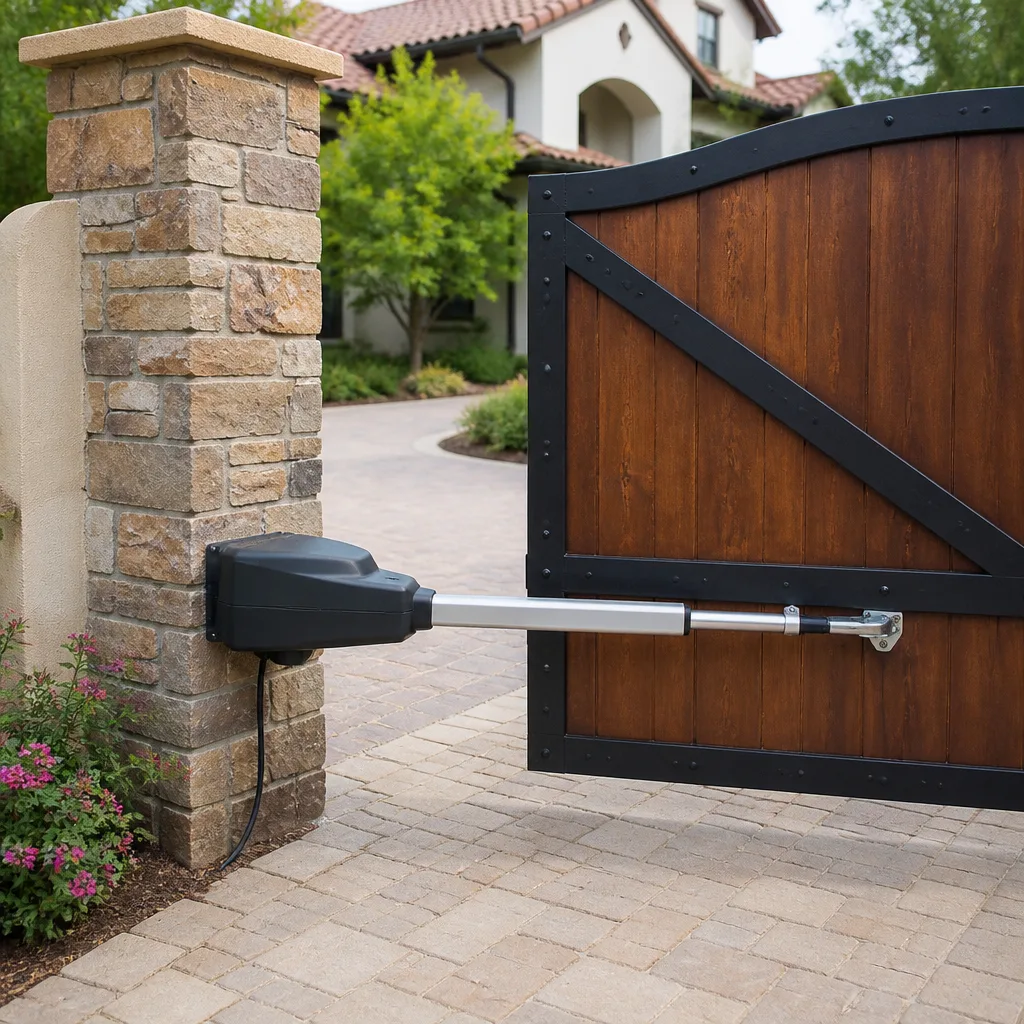 LiftMaster operators
Free on-site gate assessment - hinges, posts, and your LiftMaster or Nice gate operator checked before anything is quoted
The assessment is free and the quote is the invoice.
Get your free estimateDIY vs Professional Gate Access Control: What’s Safe to Do Yourself
Replacing a dead keypad faceplate is a Saturday job. Rerouting low-voltage access wire through a conduit that also carries your 110V landscape lighting is a code violation waiting to become a fire – and in Nevada, that’s your homeowner’s policy on the line. The line between those two tasks isn’t about whether you’re handy. It’s about which jobs carry real risk of property damage or injury, and which ones a careful homeowner can handle with a screwdriver and the right video. This guide draws that line for gate access control in Enterprise, task by task, so you know exactly when to reach for a tool and when to reach for the phone.
Quick Answer
Safe DIY tasks are the ones that touch nothing but low-voltage signal and plastic: swapping a keypad faceplate, replacing a backup battery, reprogramming remotes, and re-adding codes. Anything that touches line voltage, buried wire splices, transformers, or a shared conduit carrying 120V is a call-someone job every single time – the fire and liability risk isn’t worth the savings, and Nevada electrical code doesn’t make exceptions for homeowners in Enterprise who meant well.
Styles & brands we work with
- Wrought iron
- Wood & steel frame
- Farm & ranch
- Sliding driveway gates
- LiftMaster operators
Table of Contents
- Where the Safe DIY Line Actually Falls
- The Shared-Conduit Hazard Nobody Warns You About
- What Voiding a Manufacturer Warranty Looks Like in Practice
- Document Before You Touch: The Step Most Guides Skip
- The Liability Question an Insurance Adjuster Will Ask First
- Task-by-Task Difficulty Ratings
- Common Mistakes to Avoid
- When to Call a Professional
Where the Safe DIY Line Actually Falls
We separate gate access control into two worlds, and the split is clean. On one side sits the low-voltage signal side: the keypad, the remotes, the receiver, the battery backup, the code memory. These run on 12 to 24 volts and, in a well-built install, can’t hurt you or burn your house down if you fumble them. On the other side sits anything carrying line voltage – the transformer, the wiring feeding it, and any splice or conduit shared with household circuits. That side is where amateurs get hurt and where insurance claims get denied.
Here’s the practical version most homeowners can act on today:
- Safe to do yourself: replacing a keypad faceplate, swapping the backup battery in the operator head, reprogramming remotes, adding or deleting entry codes, cleaning the keypad contacts, checking that a receiver LED is on.
- Not safe to do yourself: wiring a new keypad from scratch, splicing a cut buried wire, replacing a transformer, rerouting wire through conduit, or adding access control to a gate that never had it.
- Grey area, and honestly probably not: swapping a failed keypad for a different model. The mounting is easy; matching the wiring protocol to a LiftMaster or DoorKing receiver is where most people get stuck and call us anyway.
If you own a Mighty Mule or Ghost Controls gate in Enterprise and the only problem is a dead battery or a remote that lost its code, that’s yours to fix. If the problem is that the keypad has never worked since you moved in, that’s a wiring question, and it belongs to someone with a meter and a license.
The Shared-Conduit Hazard Nobody Warns You About
This is the part that gets skipped in every YouTube video, and it’s the most important thing in this guide. In a lot of residential installs – and we’ve walked into plenty of them right here in Enterprise – the low-voltage access control wire gets run through the same conduit as the 120V circuit feeding the gate operator. Sometimes it’s a lazy install. Sometimes it’s an old one that predates stricter code. Either way, it’s dangerous.
Here’s why it matters physically: low-voltage access wire has thin insulation rated for a few dozen volts. A 120V conductor in the same conduit can rub through that insulation over years of heat cycling and vibration. The result is 120V energizing a keypad someone touches with wet hands, or a buried splice heating up inside a conduit with nowhere for the heat to go. That’s how fires start inside a pipe nobody can see.
Now the legal side. The National Electrical Code requires separation between line-voltage and low-voltage circuits, or a barrier between them inside shared raceways. If an inspector or an insurance adjuster finds a homeowner’s DIY splice running 120V alongside signal wire, the conversation changes fast – and not in your favor. In Nevada, that kind of code violation can void a claim tied to the incident.
Our honest rule: if you don’t know what else is in the conduit, don’t open it. That’s not a sales pitch. It’s the one call in this whole guide we’d make even if we never got the job.
What Voiding a Manufacturer Warranty Looks Like in Practice
People say “it voids the warranty” like it’s a wall you hit. In reality, warranties don’t vanish the moment you open a panel. What happens is more specific: a manufacturer denies a particular claim because the failure traces back to the work you did. If you swap a keypad on a DoorKing system and the new one burns out the receiver, the receiver claim gets denied because the work wasn’t done by an authorized installer. The rest of the system’s coverage stays intact. That’s the actual mechanic.
So the question isn’t “will this void my warranty.” It’s “if this specific part fails tomorrow, will the manufacturer point at my work and say no?” A few rules of thumb:
- Battery replacement: almost never affects warranty. Batteries are consumables and no manufacturer expects you to call someone out to swap one.
- Faceplate and cosmetic parts: low risk. If the part itself is defective, you still have a claim.
- Remote reprogramming: zero risk. The receiver is doing exactly what it was designed to do.
- Wiring changes and component swaps: this is where coverage starts to fall away. Change a wiring path or drop in a part that isn’t the manufacturer’s spec, and any downstream failure becomes a debate.
- Adding access control to a gate that only had a remote: highest risk. You’re changing the electrical architecture of the system, and everything downstream of that change is now open to question.
The trade-off is simple. Small savings on a five-minute job aren’t worth it if the job is one of the risky ones. If the job is the easy kind, do it and keep your money – we’ll happily tell you which is which on a phone call.
Document Before You Touch: The Step Most Guides Skip
Before you take anything apart on a gate access system, take photos. This is the single most useful habit in the whole guide, and it’s the one nobody bothers with until they’ve already disconnected a keypad and forgotten which wire went where.
Here’s the sequence we recommend, and it applies whether you own a LiftMaster keypad or an older Elite system:
- Photograph the keypad from three angles – front, side, and the wire side – before you remove a single screw. Get the model number in one shot if you can.
- Photograph every terminal block with the wires still connected. Use your phone’s flash and zoom in. Wire colors matter, and they don’t all follow a standard.
- Photograph any labels or tags on the wires themselves. Installers label wires for a reason, and the label often tells you more than the color.
- Photograph the operator head and its model plate. If you ever have to call someone for help, that photo saves ten minutes of guessing.
- Note anything unusual in writing – spliced wires, old connectors, a second wire running into the same conduit. This is the kind of detail that turns a diagnostic call into a quick fix.
We do this ourselves on every job in Enterprise, because the gate you’re working on today is the gate someone else will service five years from now. A phone full of photos is a gift to whoever comes next – and if that someone is us, it’s a gift that shows up on your invoice as fewer billed hours.
The Liability Question an Insurance Adjuster Will Ask First
We’ll be blunt about this because it’s the part most guides avoid. If you DIY a repair on your gate access control, and the gate later malfunctions and injures someone – a guest, a delivery driver, a neighbor’s kid – the first question an insurance adjuster asks is: who installed or repaired this, and was it done to code?
If the honest answer is “I did it, and I’m not licensed,” the claim gets complicated fast. Homeowner’s policies typically cover accidents, but they can deny or reduce a claim where the injury traces back to unpermitted or non-code work. The gate then becomes a liability on your property rather than a feature of it. And in a place like Enterprise, where lots are large and gates sometimes sit near property lines, the “someone” who gets hurt isn’t always a stranger.
The adjuster’s next question is almost always about documentation – who did the work, when, and what’s on the invoice. That’s part of why we put the 90-Day Done Right Promise in writing on every job and keep records behind it. If you call Gatewood Fence & Gate Enterprise back on something we installed, we know what we did and we can prove it. That’s the accountability you’re buying when you hire a licensed local pro – not just the work, but the paper trail that matters if anything goes wrong.
For smaller DIY tasks, the liability math is fine. Replacing a battery or faceplate carries no real injury risk. The math flips the moment a task touches a moving gate that weighs hundreds of pounds or wiring that can shock someone. Draw the line there and you’re doing the smart thing.
Task-by-Task Difficulty Ratings
Here’s the cheat sheet we wish every homeowner had before calling us. Rate your comfort level against these and be honest with yourself:
- Keypad faceplate swap: DIY, low risk. Remove the cover, unclip the faceplate, snap the new one on. Ten minutes with a screwdriver. No wiring touched.
- Backup battery replacement: DIY, low risk. The operator head has a battery compartment. Match the battery spec from the manual, swap, done.
- Remote reprogramming: DIY, low risk. Every manufacturer has a code-entry sequence – LiftMaster, DoorKing, and Mighty Mule all publish theirs. Follow the steps exactly and you’re set.
- Adding or deleting a code on an existing keypad: DIY, low risk. Done through the keypad itself. No tools required.
- Replacing a failed keypad with a like-for-like model: medium risk. The physical swap is easy; matching the wiring protocol to the receiver is where most people stall.
- Wiring a new keypad from scratch: professional. This is line-voltage territory in most installs.
- Repairing a buried wire splice: professional. One of the highest-risk DIY tasks on a gate, because you can’t see what else is in the trench.
- Transformer replacement: professional. Line voltage. No exceptions.
- Adding access control to a gate that never had it: professional. This is a design job, not a swap, and it needs a permit pull and code compliance.
Keep in mind that access control and the gate operator work as a system. If your opener is failing, no keypad fix will save you. That’s why we separate gate motor & opener service in Enterprise from access control repairs – the two overlap more than people expect, and fixing one without the other usually means a callback.
Common Mistakes to Avoid
- Not photographing the wiring before you start. It seems tedious until a wire comes off the terminal block and you can’t remember which one. Ten seconds of photos saves an hour of guessing – and sometimes a full diagnostic visit.
- Assuming a low-voltage wire is safe to splice because it’s low-voltage. Low-voltage refers to the wire’s rated purpose, not what’s actually running through the conduit next to it. Check before you cut anything.
- Buying a “compatible” keypad without checking the receiver protocol. A keypad listed as compatible with DoorKing won’t necessarily talk to your specific receiver generation. Match the model, not just the brand.
- Skipping the manual because the video looked easy. The video was filmed on a gate that probably wasn’t wired anything like yours. Manufacturer manuals are the truth; videos are entertainment.
- Ignoring a weak battery until it fails outright. Backup batteries fail slowly. If your gate stops working during a power flicker in Enterprise, that’s the battery telling you it’s done.
- Calling a national outfit for a wiring question. You’ll get a phone quote for a service call, and it’ll be higher at the door. A local shop that’s been here long enough to know the neighborhoods will tell you on the phone whether it’s a DIY job or not.
- Assuming the gate is fine because it opens. A gate that opens but drags on close is telling you something. Fix the panel without the post and you’ll fix it twice. Find where the problem starts, which is almost always the hinge or the post, not the middle.
When to Call a Professional
Call us when the task touches line voltage, buried wire, a transformer, or shared conduit. Call us when the keypad has never worked since you moved in. Call us when the manufacturer’s manual tells you to verify voltage at a terminal. Call us when the gate itself is sagging, dragging, or reversing before it closes. And call us when you’ve done the safe part – the battery, the faceplate, the remote – and the gate still doesn’t work, because at that point the problem lives in the wiring, the operator, or the post, and none of those are Saturday afternoon jobs.
Gatewood Fence & Gate Enterprise offers free estimates in Enterprise – call (833) 780-1547. We’ll tell you straight over the phone whether it’s something you can finish yourself or something we should handle. No trip charge inside the county, a free second opinion on any written estimate you’ve already got, and a 90-Day Done Right Promise in writing on anything we touch. Our technicians have up to 25 years of experience, and we service and repair all nine major brands – including the DoorKing and LiftMaster systems we see most often in this part of the valley. If you’d rather just walk into the shop and look us in the eye, you can. The name is on the door, and it’s the same name on the invoice.
See the difference
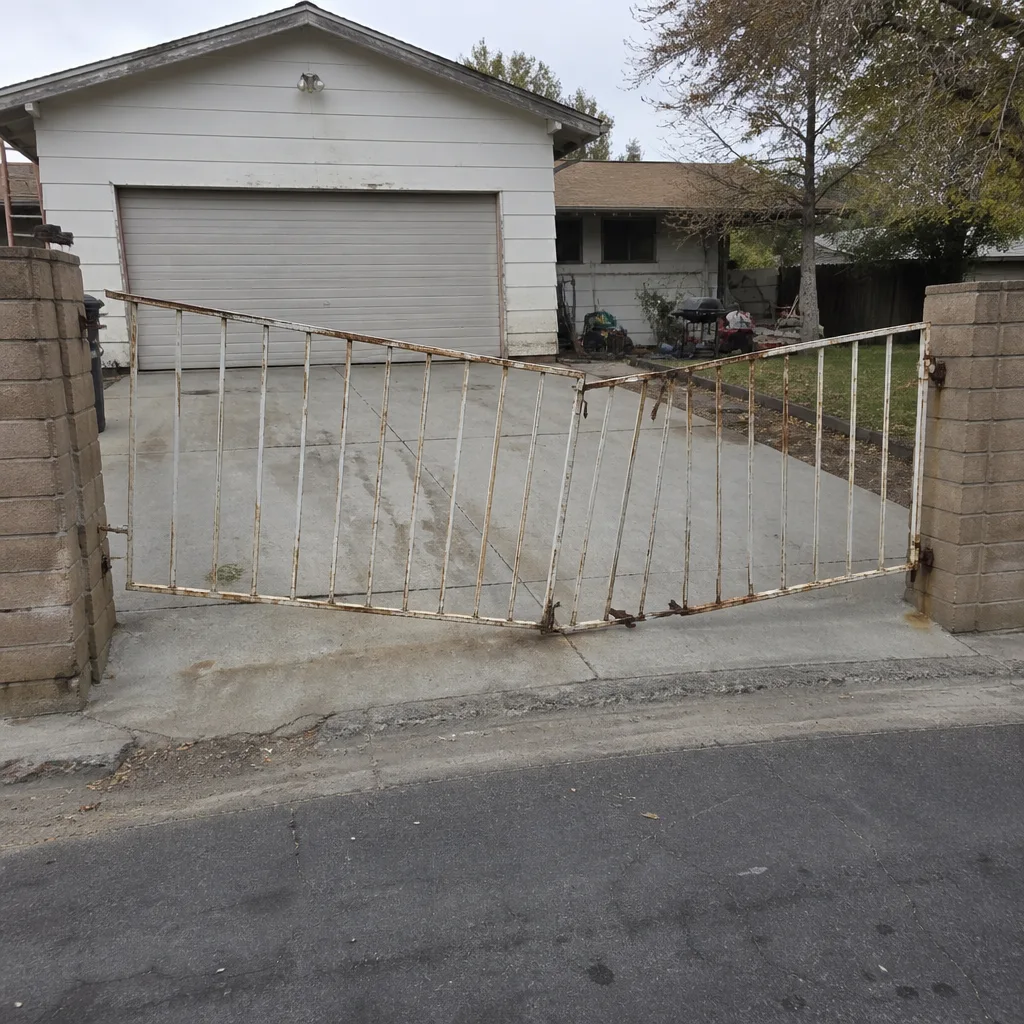 Before
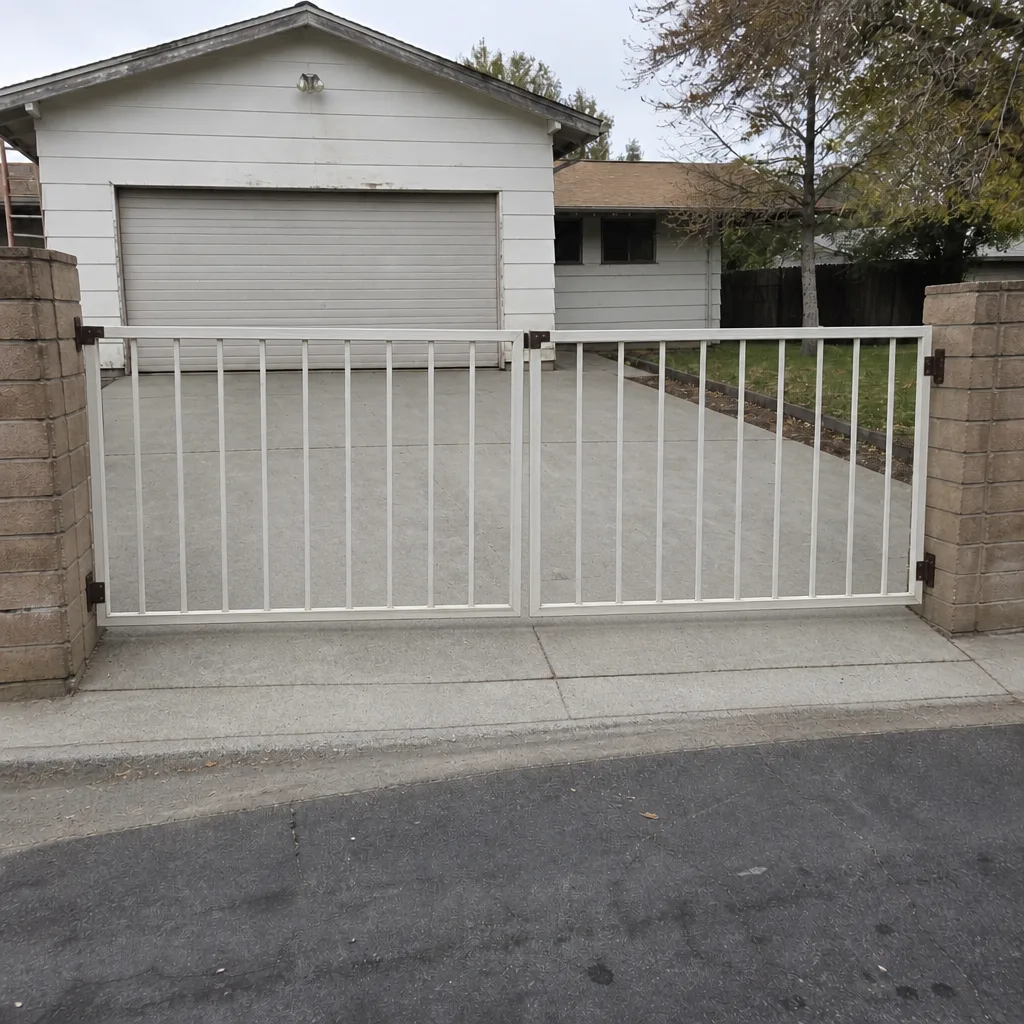 After
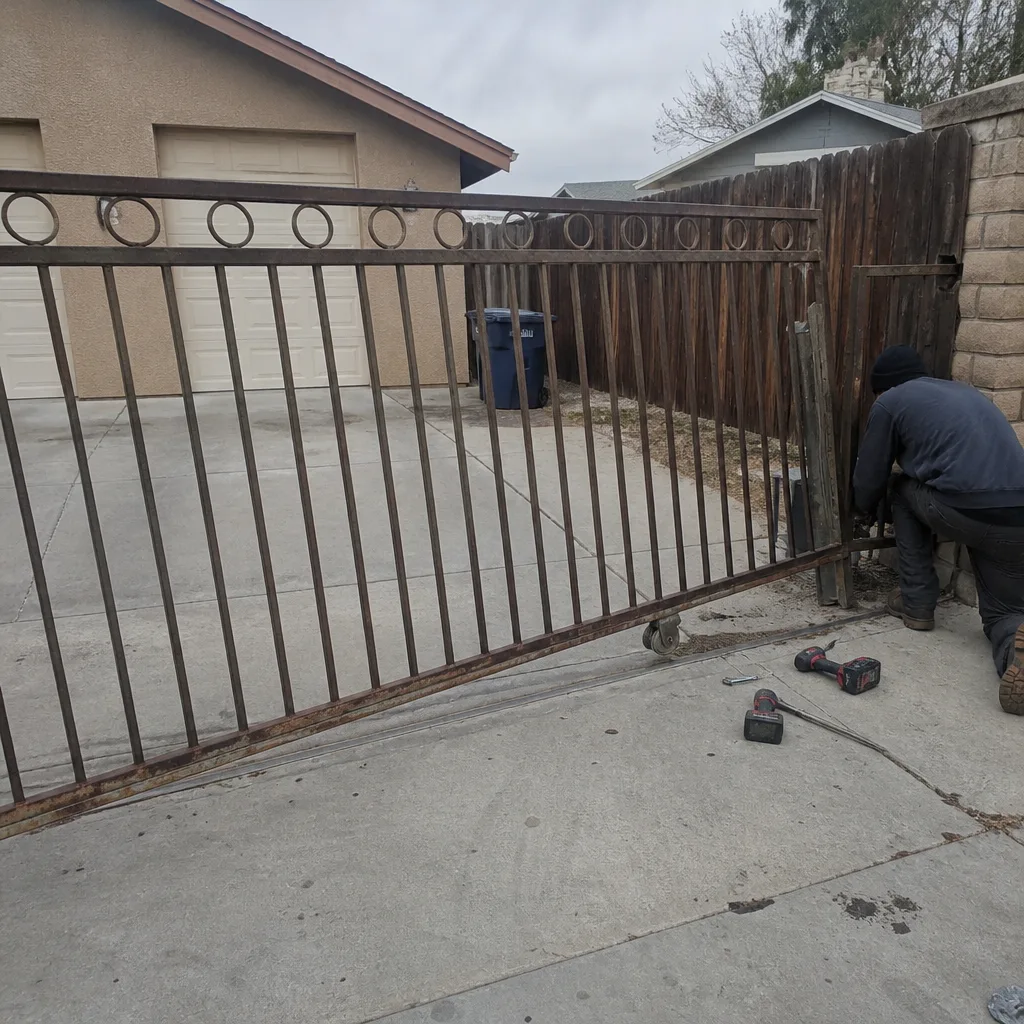 Before
 After
 Before
 After
Frequently Asked Questions
Yes, if you’re swapping a faceplate or a like-for-like keypad on an existing install, and you don’t touch any wiring you can’t photograph first. It’s a moderate job that goes wrong when the new keypad’s wiring protocol doesn’t match the receiver. If you’re starting from scratch or adding access control to a gate that never had it, that’s a professional job – call (833) 780-1547 for a free estimate in Enterprise.
On its own, no – 12 to 24 volts won’t hurt you. The danger is when low-voltage wire shares a conduit with 120V household wiring, which is common in residential installs that were done quickly or decades ago. The insulation on signal wire isn’t rated for line voltage, and a rub-through can energize your keypad or start a fire inside the pipe. If you don’t know what’s in the conduit, don’t open it.
It can, but not in the blanket way people assume. Warranties are denied claim by claim, and only where the failure traces back to your work. Swapping a battery or reprogramming a remote almost never causes a denial. Wiring changes, transformer work, and component swaps are where coverage starts to slip. Check the manual for the specific part before you start.
Not photographing the wiring before they take anything apart. It costs ten seconds and saves hours, especially if a wire comes off a terminal block or you end up calling someone for help and can’t tell them which wire went where. We photograph every job ourselves for exactly that reason.
It depends on whether the accident traces back to non-code work, and the adjuster will ask who did the work and whether it was permitted. Homeowner’s policies often do cover accidents, but claims can be reduced or denied where unpermitted electrical work is involved – and in Nevada, that’s a real risk. Small cosmetic and battery jobs are safe. Anything touching line voltage or buried wire belongs to a licensed professional.
Watch the gate itself. If it opens and closes cleanly but only responds to the keypad most of the time, you’re looking at an access control issue. If the gate drags, sags, reverses, or stops halfway, the problem is in the gate or the operator and no keypad work will fix it. Either way, a free estimate from us will tell you which you’ve got – call (833) 780-1547. You can also read more on our gate repair in Enterprise page if the gate itself is the issue.
The Bottom Line
The line between safe DIY and call-someone isn’t about your skill level. It’s about whether you’re touching low-voltage signal or line voltage, and whether the work carries real injury or liability risk. Faceplates, batteries, remotes, and code changes are yours to handle. Wiring, transformers, buried splices, and shared-conduit runs are not – not because we want the job, but because the downside is a fire, an injury, or a denied claim, and no homeowner needs that over a Saturday afternoon. Document everything before you touch it. Know which side of the line you’re on. Call us when you’re not sure.
Whether you’re pricing out a new install or swapping a dead keypad and want a second opinion on the wire, give us a call at (833) 780-1547 for a free estimate. You can also read up on our gate motor & opener service in Enterprise and gate installation in Enterprise pages, or start at our Gatewood Fence & Gate Enterprise home page and see what else we do.
Written by the team at Gatewood Fence & Gate Enterprise.