
Last updated November 18, 2026
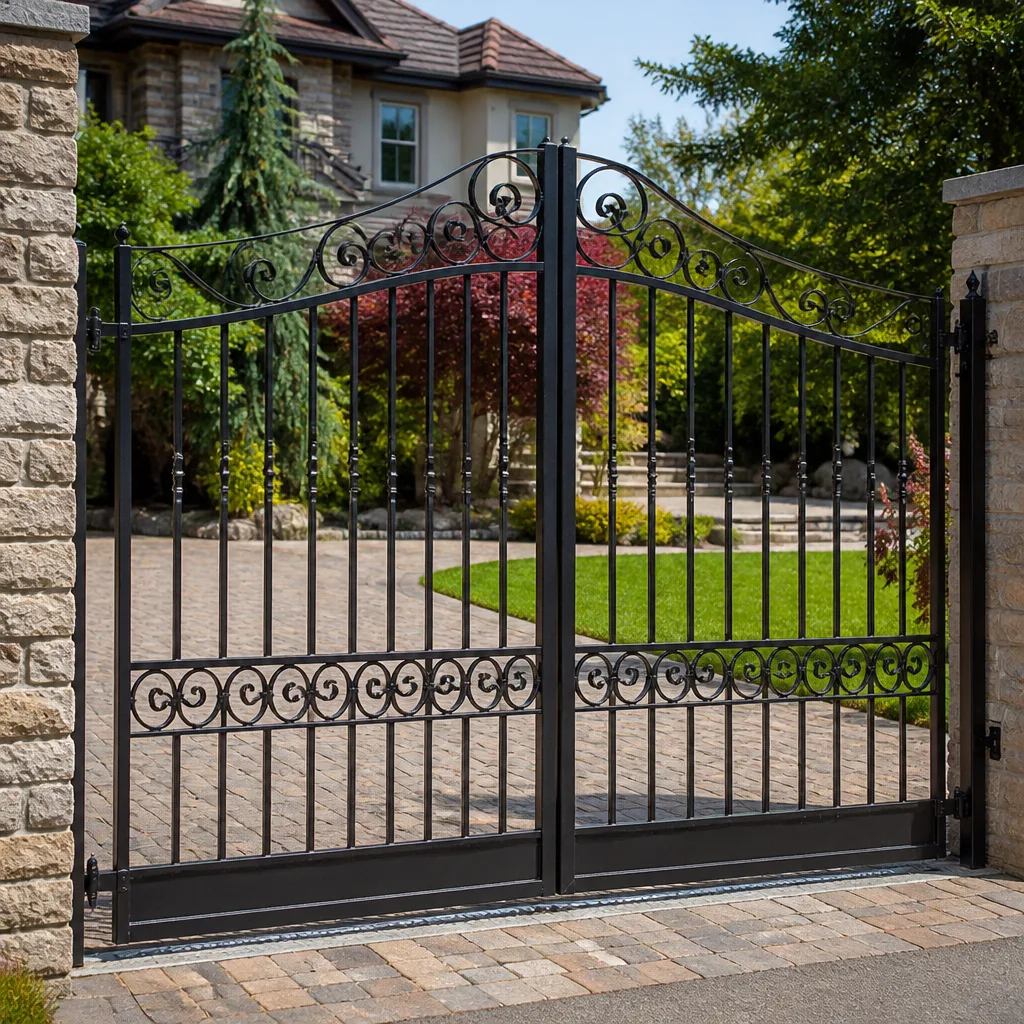 Wrought iron
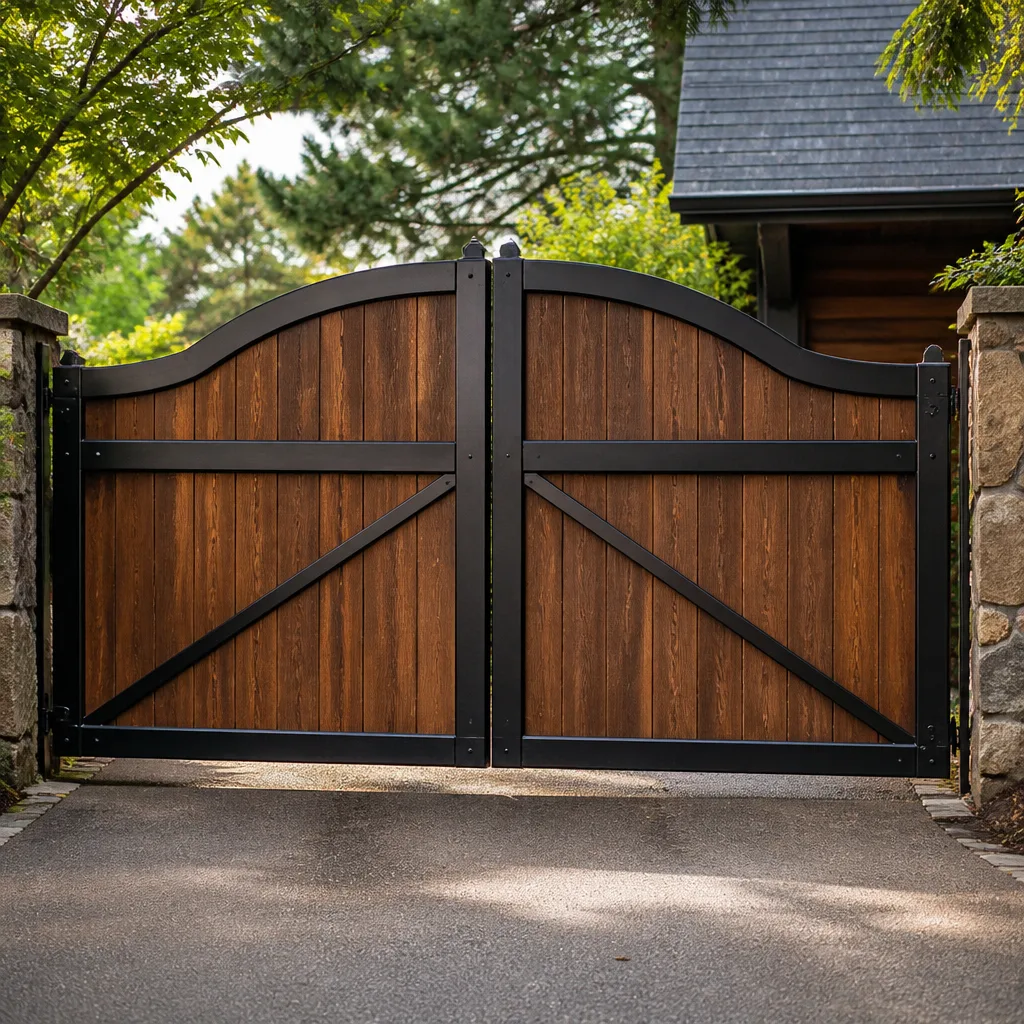 Wood & steel frame
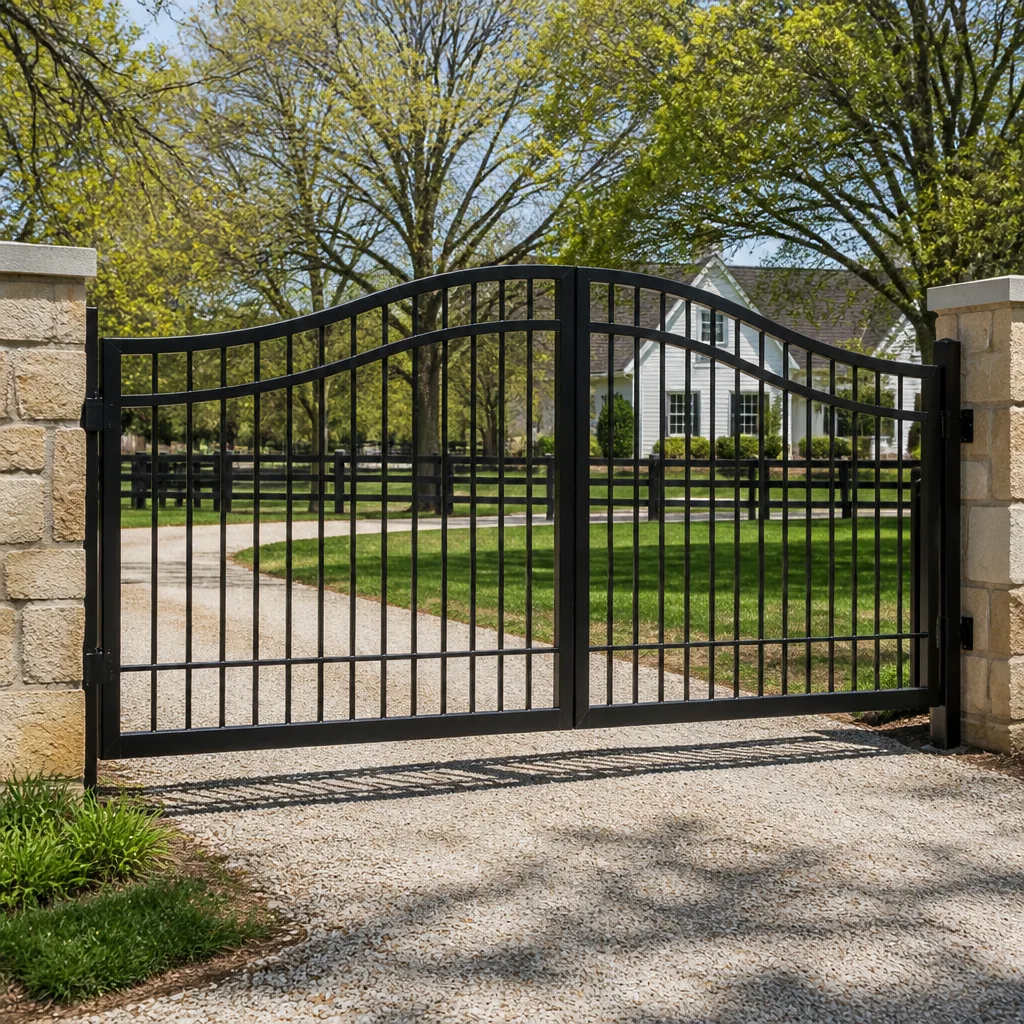 Farm & ranch
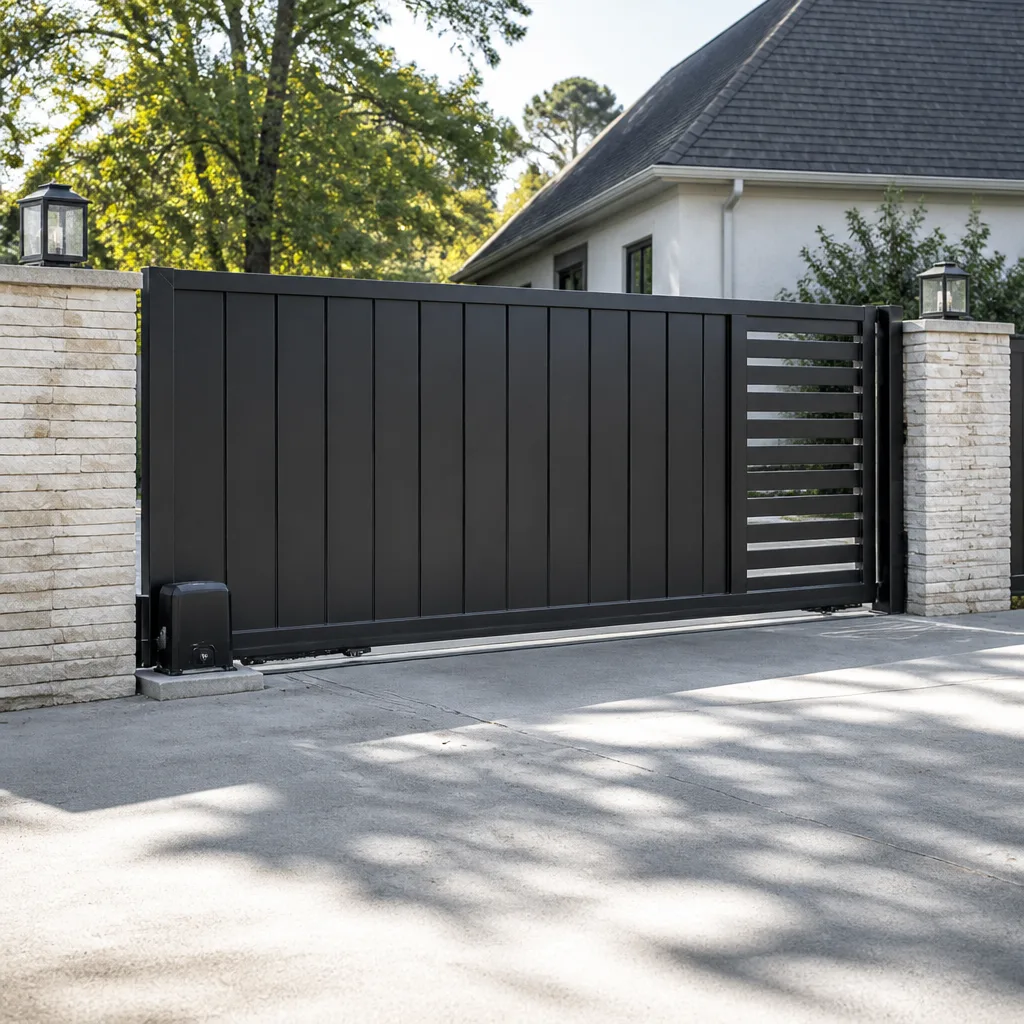 Sliding driveway gates
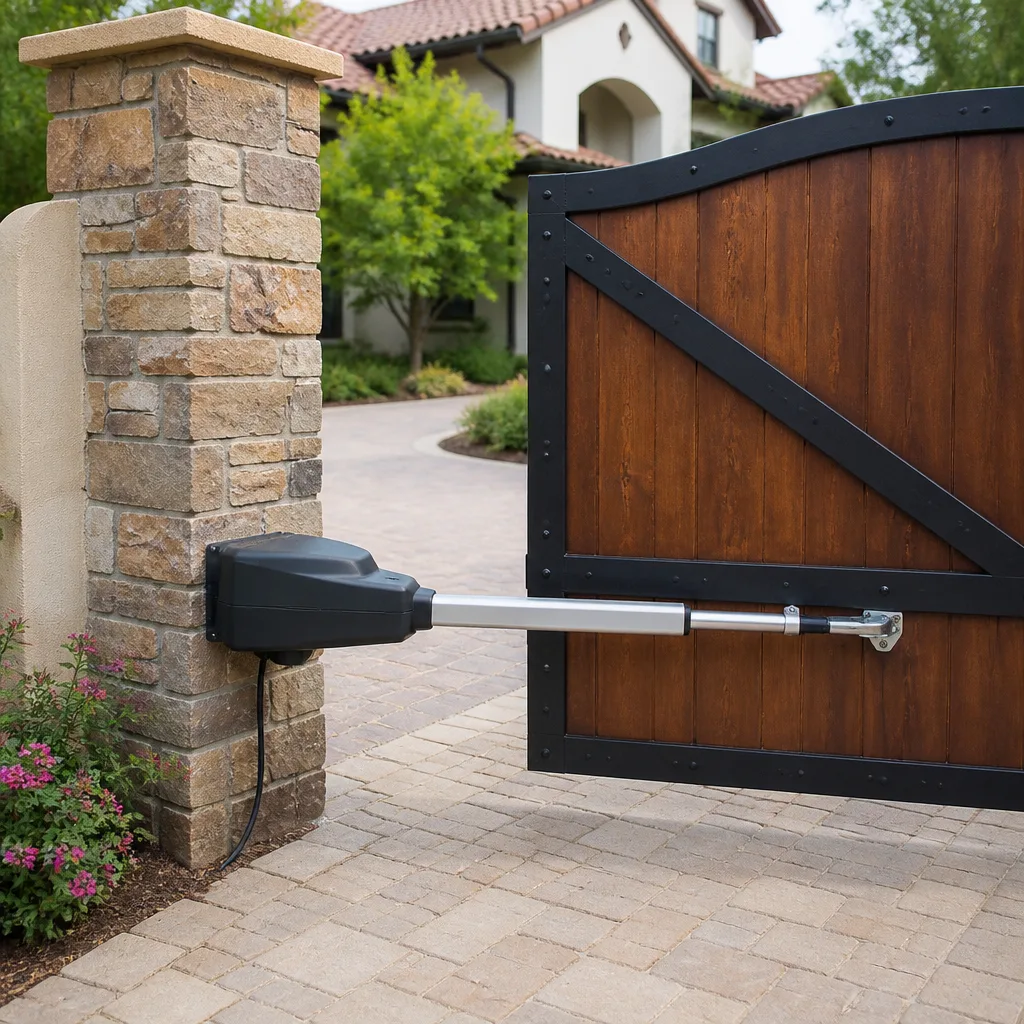 LiftMaster operators
Free on-site gate assessment - hinges, posts, and your LiftMaster or Nice gate operator checked before anything is quoted
The assessment is free and the quote is the invoice.
Get your free estimateDIY vs Professional Gate Parts & Welding: What’s Safe to Do Yourself
I’ve seen a homeowner bolt a splice plate over a cracked gate frame with eight grade-8 bolts and have it hold for six more years. I’ve also seen someone try to weld a cracked hinge with a Harbor Freight flux-core welder and create a failure point that broke while the gate was swinging and took out a truck’s side mirror. The difference wasn’t skill. It was knowing which job was which. That distinction is the whole point of this guide. There’s a real band of gate repair work a careful homeowner can do safely, and there’s a line where the tools, the load, and the consequence change. We’re going to draw that line clearly, using what we’ve watched happen on gates across Enterprise.
Quick Answer
Tightening hinge bolts, replacing latch hardware, adjusting a drop rod, swapping rollers on a slide gate, and adding a mid-span support brace are all safe to do yourself with hand tools. Welding, cutting, and any repair to a load-bearing structural joint are not. Welding on a gate that swings under real weight is a skill that takes years to do reliably, and a bad weld fails suddenly and violently rather than slowly. If a joint is cracked or a hinge is torn, call a pro. In Enterprise, that call is (833) 780-1547.
Styles & brands we work with
- Wrought iron
- Wood & steel frame
- Farm & ranch
- Sliding driveway gates
- LiftMaster operators
Table of Contents
- Where the DIY ceiling actually is
- What’s safe to do yourself
- Why welding is the specific skill that takes years
- The structural consequence of a failed weld in motion
- The “tack it and see” trap
- Questions to ask before you hire a welder
- Getting the right parts the first time
- Common mistakes to avoid
- When to call a professional
- Frequently asked questions
Where the DIY Ceiling Actually Is
The DIY ceiling isn’t about confidence. It’s about consequence. A job belongs on the do-it-yourself side of the line when three things are true: the load is carried by a fastener you can torque, the failure mode is slow and visible, and a mistake costs you a part, not a person or a vehicle. That’s the real test.
Tightening a hinge bolt passes all three. If you don’t get it tight enough, the gate sags a little more over a week and you notice. Replacing a latch passes. If it’s the wrong size, the gate won’t catch and you see it immediately. Rollers on a slide gate pass. A worn roller grinds, you swap it, done.
Welding on a structural joint fails all three. The load is carried by the weld itself, the failure is sudden, and a mistake means a 300-pound gate coming off its track or its hinge at speed. That’s the whole distinction in one sentence.
There’s also a local wrinkle worth naming. Enterprise sits in the high desert, where summer afternoons push well past 100°F and winter mornings drop near freezing. That swing between hot and cold works on metal all year. You’ll see thermal cracking more often on gates here than you would in a mild coastal climate, especially at weld joints that were marginal to begin with. Those cracks are exactly the ones a homeowner shouldn’t try to chase without a real welding setup. If you’re seeing recurring cracks after a windstorm or a hot stretch, that’s a structural question, and our gate repair in Enterprise page covers how we approach it.
What’s Safe to Do Yourself
Here’s the honest list. These five jobs are within reach for a careful homeowner with a socket set, an adjustable wrench, and a Saturday morning.
- Tightening hinge bolts and lag screws. The most common gate complaint is a sag. Nine times out of ten it starts at the hinge post, not the gate panel itself. Tighten the hardware, watch whether it holds, and check again in a week.
- Replacing latch hardware. A worn latch, a sticky throw, or a rusty gate latch assembly swaps out with basic tools. Match the throw length and the mounting hole spacing, and you’re done.
- Adjusting a drop rod. On a double gate, the drop rod keeps the inactive leaf fixed so the active leaf can swing clean. If it’s dragging or won’t seat, the adjustment is usually a set screw and a few minutes.
- Replacing rollers on a slide gate. Worn rollers cause binding, noise, and premature wear on the track. Swap them in matched sets so the gate rolls level.
- Adding a mid-span support brace. A sagging gate with a solid frame often just needs a diagonal brace bolted across the span. A bolted brace is a mechanical fix and doesn’t require welding. This one job prevents a lot of future damage.
Notice what all five have in common. They’re fastener work, not fusion work. If your fix involves a wrench and a bolt, you’re on safe ground. If it involves a torch, a ground clamp, and a helmet, you’re not, and it’s worth saying that plainly.
Why Welding Is the Specific Skill That Takes Years
Welding isn’t mysterious. It’s not magic. It’s a trade that takes years to do reliably, and there’s a plain reason why: on a moving load-bearing joint, the quality of the weld is genuinely hard to assess visually, even for people who do it for a living.
Here’s what that means in practice. A weld can look perfectly fine on the outside and have no penetration into the root of the joint. That’s called a cold lap, and it fails under load. A weld can look ugly and be structurally sound. You can’t tell by glancing at it. What you can tell is whether the person doing the work took the steps that produce a sound weld: cleaning the base metal, setting the amperage to match the thickness, using the right filler, and controlling heat so it doesn’t embrittle the surrounding steel.
Structural welding on a gate has more moving parts than welding a workbench. The steel is usually thin-wall tube or formed bar, which wants low amperage and careful heat control. The joint is under repeated cyclic loading every time the gate swings. And the gate is often galvanized or powder-coated, which means the coating has to come off before you can weld and be replaced after. Each of those adds a step a homeowner without a welding setup will skip.
When we service the automated gates around Enterprise – LiftMaster, FAAC, BFT operators that take a beating in the desert heat – the joints under the operator arm are exactly where we see the marginal welds fail first. The cyclical push of a motor finds every weak spot.
The Structural Consequence of a Failed Weld in Motion
A hinge bolt that backs out gives you warning. You feel the sag, you hear the rattle, you see the gap grow over days. A failed weld doesn’t do that. It lets go, and it lets go while the gate is doing exactly what it was built to do – swinging, rolling, moving under load.
Here’s why that matters. A driveway gate weighs somewhere between 150 and 600 pounds depending on material and size. A slide gate on a track can weigh more. When a hinge weld fails, that mass is no longer attached at the point that was holding it, and the gate falls, swings wild, or drops off its rollers. The failure mode is sudden and violent, and it has nothing to do with how carefully the gate was being used. It has to do with the weld.
That’s the risk category difference. A backout is a maintenance issue. A weld failure is a safety issue, and it can happen during an automatic cycle when nobody is watching. It’s also why a sagging gate on an automated opening deserves a look before you run the operator again. If the gate is no longer square in its frame, every cycle loads the welds harder. For a deeper look at where the failure points sit on an automated gate, our guide on gate motor & opener service in Enterprise covers the mechanical side.
The “Tack It and See” Trap
This is the part that costs people money, and it’s worth a full section because it isn’t obvious. When a gate joint cracks, the temptation is to grab a small welder, lay a quick tack over the crack, and see if it holds. It often appears to hold. And it makes the eventual professional repair more expensive.
Here’s why. A proper repair starts by grinding out the crack to clean, bare metal, opening it up, and inspecting the full length of the failure before welding. A tack weld on top of the crack covers it. The technician can’t see how far the crack ran, can’t assess whether the surrounding steel is fatigued, and has to grind through your tack – and often further – to find the actual failure. You’ve added work, not saved it, and the tack itself may have introduced a new stress riser right where the metal was already weakest.
I’ve pulled apart repairs where a homeowner’s tack held for a season and then tore out a chunk of the parent metal along with it. What would have been a clean weld repair became a splice job. The tack didn’t fix anything. It hid the problem until it got worse. If a joint is cracked, the right move is to stop running the gate and get it looked at by someone with real equipment.
Questions to Ask Before You Hire a Welder
Not every repair company does real structural welding. Some lay a cosmetic bead and call it done. Here are the questions that separate the two, and a legitimate welder will answer every one without flinching.
- “What amperage are you running for this thickness of steel?” A real welder knows the answer and matches it to the material. A guy winging it will give you a vague number or change the subject.
- “What filler rod are you using?” The filler has to match the base metal. On gate steel that’s usually an ER70S-6 or equivalent for MIG, or a 6011/7018 for stick. If they can’t name it, they aren’t thinking about it.
- “Are you going to grind out the crack and inspect it before you weld?” This is the most important question. A proper repair starts with grinding and inspection. A cosmetic bead skips it.
- “Will you weld it on site, or are you hauling the gate off?” On-site welding keeps the gate in its frame, in its alignment, in your driveway. Hauling it off is a red flag for a repair that could have been done in place.
- “What does your workmanship guarantee cover, and for how long?” A company that stands behind the weld will tell you plainly and put it in writing.
- “Are you licensed and insured?” Anyone welding on your property should be able to show both. Ask for the license number and look it up.
Those six questions won’t take five minutes, and they’ll tell you everything you need to know. If the answers are vague, keep calling. For a broader look at how we handle repair-first work, our Gatewood Fence & Gate Enterprise home page lays out our approach.
Getting the Right Parts the First Time
A surprising amount of gate “repair” is really a parts problem. The wrong hinge, the wrong latch, the wrong roller, and the gate behaves like it’s structurally failing when the hardware just doesn’t fit. In Enterprise, this shows up most often with automated gates where the operator and the hardware were matched poorly from the start.
Three things to check before you buy a part:
- Match the throw and the mounting pattern exactly. Latches and hinges vary in hole spacing, and a “close enough” fit introduces play that wears the mounting holes over time.
- Check the material compatibility with our climate. Powder-coated steel and galvanized hardware hold up well in the high desert. Bare steel and cheap zinc-plated parts don’t, and they’ll rust through within a couple of summers.
- Replace in matched sets. If one roller or one hinge is worn, the others are too. Swapping a single part loads the new one unevenly and it fails early.
If you’re running a LiftMaster, Linear, or Viking operator, some parts are specific to the brand and the model, and a generic replacement won’t seat correctly. That’s where a quick call to a shop that carries the right parts saves a second trip. Looking at a full replacement rather than a repair? Our gate installation in Enterprise page walks through what a proper install includes.
Common Mistakes to Avoid
- Welding a crack without grinding it first. A tack over a crack hides the failure and makes the real repair more expensive. If a joint is cracked, it needs to be opened up and inspected, not sealed over.
- Bracing the gate without fixing the post. A gate sags in the hinge post, not in the middle. Bracing the panel without addressing the post means you’ll fix it twice.
- Buying parts by eye instead of by measurement. Measure the hole spacing, the throw, the roller diameter, and the track profile before you buy. In the desert heat, a part that’s a millimeter off will wear faster than you’d expect.
- Running an automated gate that’s out of square. Every cycle loads the welds and the operator harder. Stop the gate and get it checked if it’s dragging, binding, or sagging.
- Skipping the trip charge question. Ask up front whether a company charges to come look at the gate. Some do, some don’t, and a written estimate should be free to request.
- Hiring based on the phone quote. The worst stories we hear involve a phone price that changed at the door. Ask for the price in writing, and ask whether the number is the number.
- Ignoring a slow leak in the operator near monsoon season. Water intrusion in an opener control box often shows up as a gate that “acts weird” after a storm. Get it dried and sealed before the next one.
When to Call a Professional
Call a professional when the fix involves welding, cutting, or any structural joint under load. Call when the gate is automated and something has changed – dragging, binding, reversing, or running in the wrong direction. Call when a crack reappears after a repair, because that’s a sign the surrounding metal is fatigued. And call when you’re not sure, because the cost of a second opinion is lower than the cost of a failure in motion.
Gatewood Fence & Gate Enterprise offers free estimates in Enterprise. We weld on site so the gate stays in your driveway and stays in its frame, we put the price in writing before any work starts, and every job carries our 90-Day Done Right Promise. Call (833) 780-1547 and a live person will pick up – day, night, weekend.
Frequently Asked Questions
No. A hinge on a swinging gate carries a moving load, and a weld on that joint fails suddenly rather than slowly. Weld quality on a structural joint is genuinely hard to assess by looking at it, so it’s a job for someone with the right equipment and the experience to know the weld is sound. A bad hinge weld can let go while the gate is moving and cause a real injury or property damage. Call (833) 780-1547 for a free estimate on a proper repair.
Tightening hinge bolts and lag screws is the most common, and it fixes a surprising number of sagging gates. Replacing latch hardware, adjusting a drop rod, swapping rollers on a slide gate, and adding a bolted mid-span brace are also within reach. All of them are fastener work rather than fusion work, and that’s the line. If you’re not sure which side of the line your repair sits on, call (833) 780-1547 and we’ll tell you straight.
Most on-site weld repairs in Enterprise land in the $200 to $450 range for a single structural joint, depending on how much disassembly and prep the repair needs and whether the gate is automated. A proper repair includes grinding out the crack, inspecting the full length of the failure, welding the joint, and refinishing the steel so it holds up to our heat and dust. We quote in writing before any work starts, so the number you approve is the number you pay. Call (833) 780-1547 for an exact quote.
Because a tack over a crack hides the failure instead of fixing it. The crack continues to propagate underneath the bead, and the tack itself introduces a new stress riser at the point where the metal was already weakest. A proper repair grinds the crack open, cleans the metal, and welds the joint through its full length – not just the visible surface. If a repair has failed twice, stop running the gate and get a second opinion. Ours is free on any written estimate. Call (833) 780-1547.
We weld on site. Keeping the gate in its frame and in its driveway means the repair is aligned to the post and the hardware it actually operates with, not to a jig in a shop. On automated gates, that’s the difference between a repair that lasts and one that leaves the operator fighting the frame alignment. We work on LiftMaster, FAAC, BFT, Linear, Viking, Ghost Controls, DoorKing, Elite, and Mighty Mule systems. Call (833) 780-1547 to schedule an on-site estimate.
Ask what amperage they’ll run for the steel thickness, what filler rod they’ll use, whether they’ll grind and inspect the crack before welding, whether they’re welding on site, and what their workmanship guarantee covers. A real welder answers all five without hesitation. If the answers are vague, keep calling. Our own work is covered by a 90-Day Done Right Promise, in writing, on every job. Call (833) 780-1547 for a free second opinion on any estimate you’ve been given.
The Bottom Line
The DIY ceiling on gate repair is real, and it’s about consequence, not confidence. Fastener work – tightening hinge bolts, swapping a latch, adjusting a drop rod, changing rollers, bolting on a support brace – is safely within reach for a careful homeowner, and doing it prevents bigger problems down the road. Welding, cutting, and any structural joint under a moving load is not a DIY job, and a tack weld over a crack does more harm than good. In Enterprise, the heat and dust work on metal all year, so cracks and marginal welds are worth taking seriously. If you’re not sure which side of the line your repair is on, call Gatewood Fence & Gate Enterprise at (833) 780-1547 for a free estimate. We weld on site, quote the price in writing before any work starts, stand behind it with the 90-Day Done Right Promise, and a live person answers every call.
Written by the team at Gatewood Fence & Gate Enterprise.
See the difference
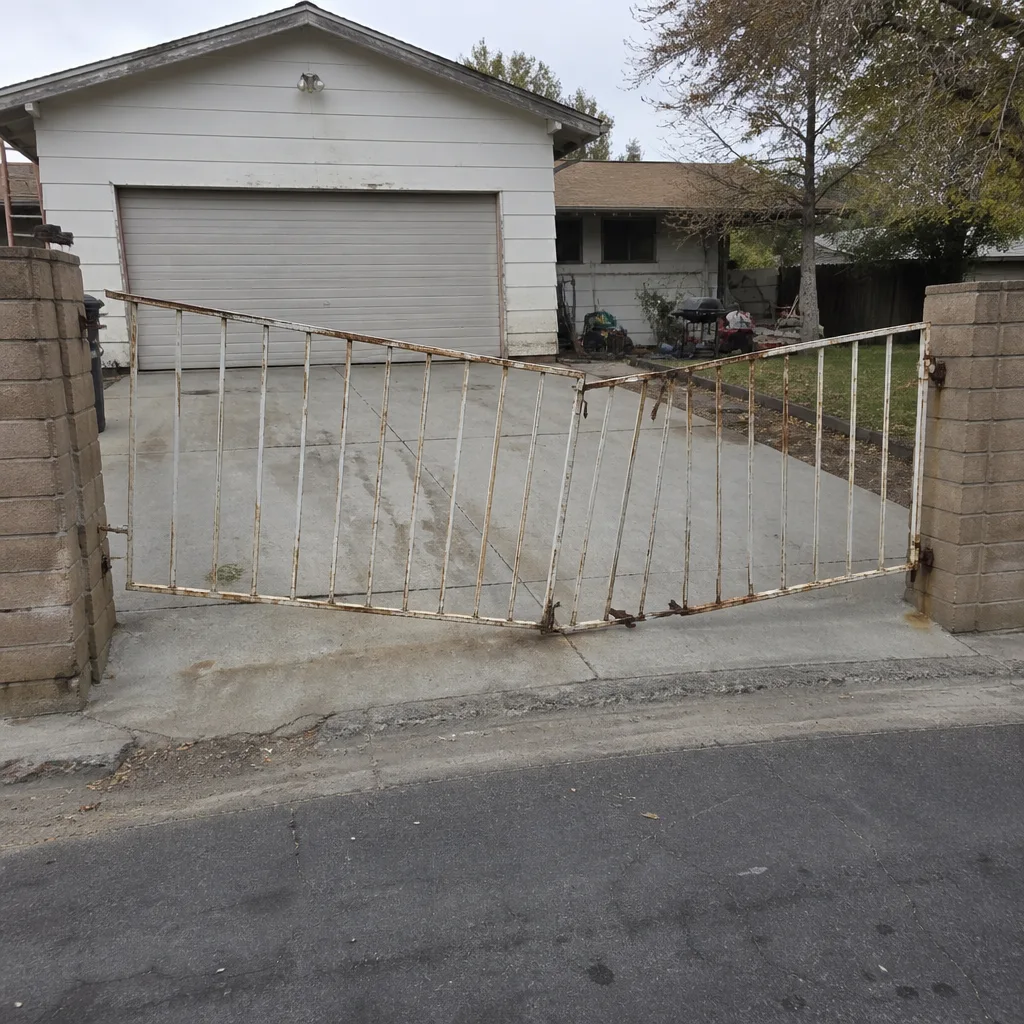 Before
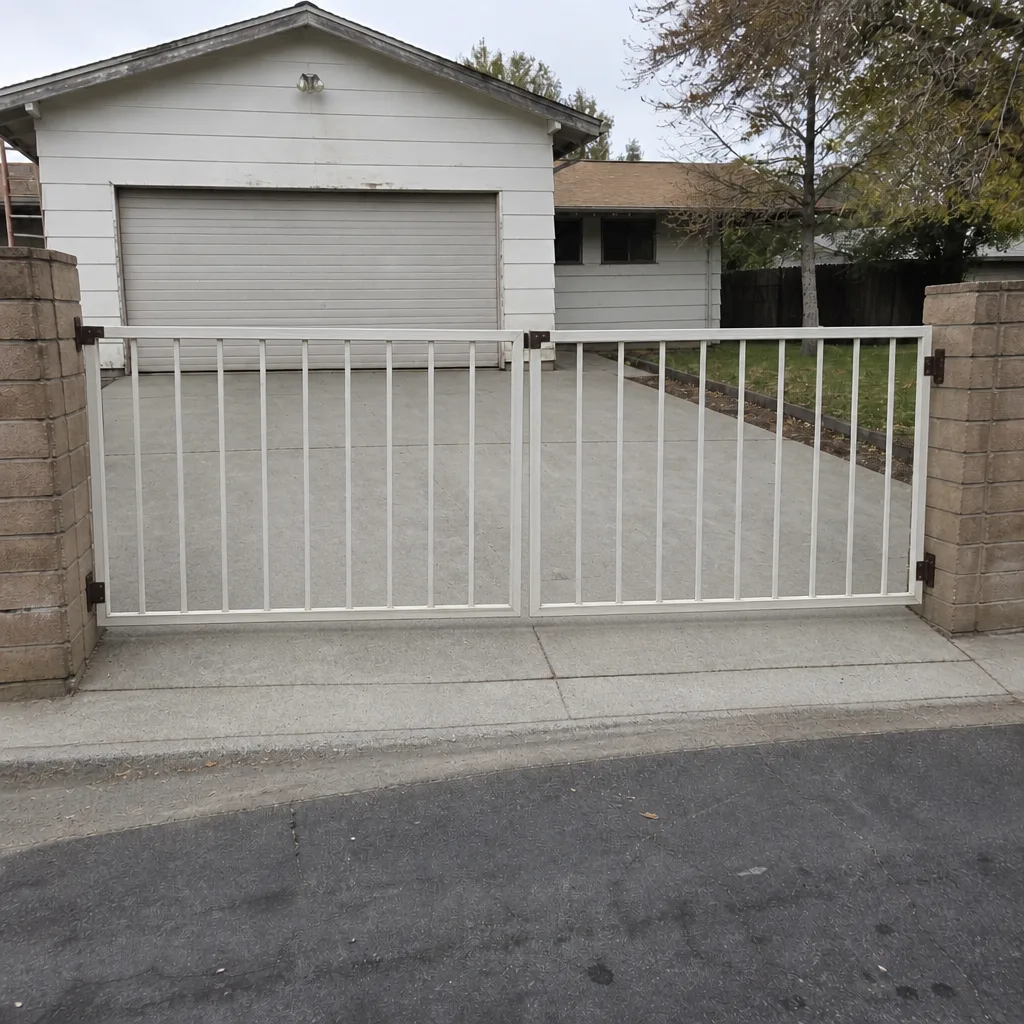 After
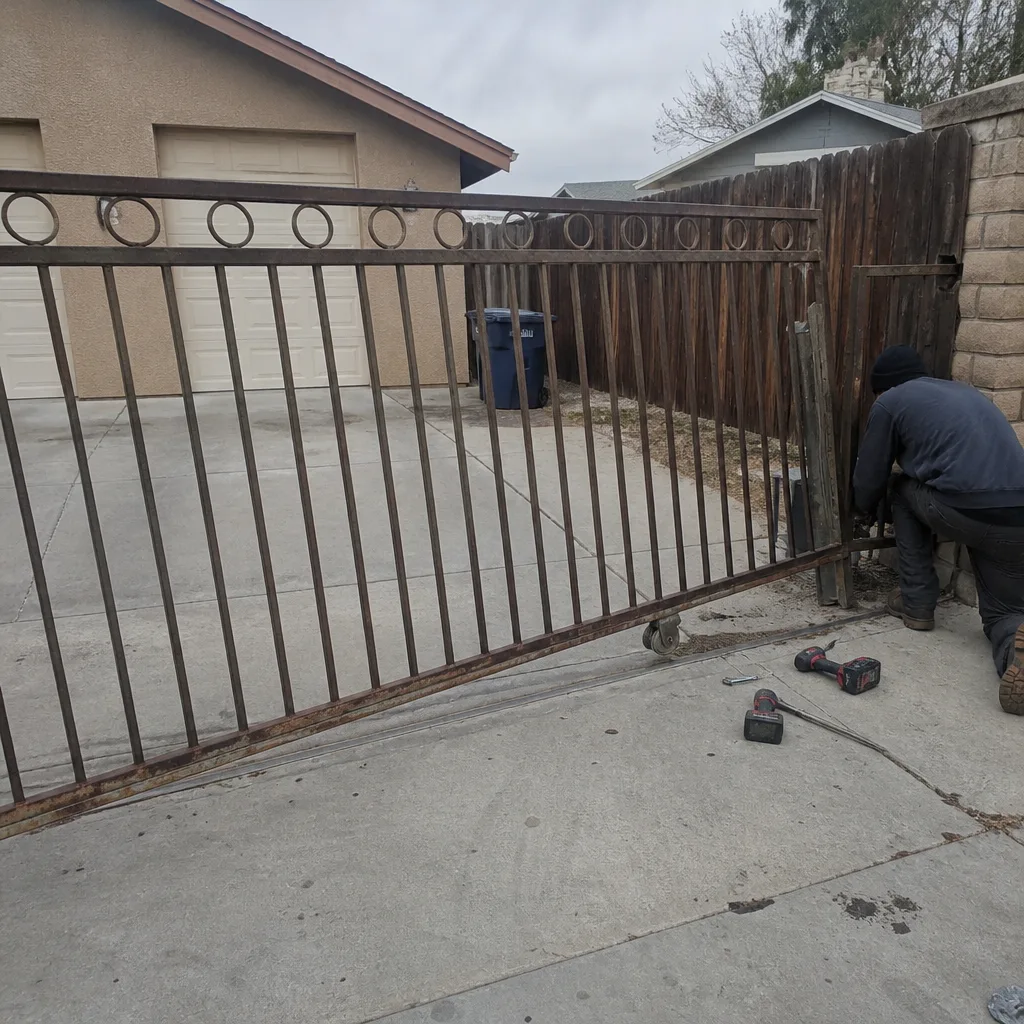 Before
 After
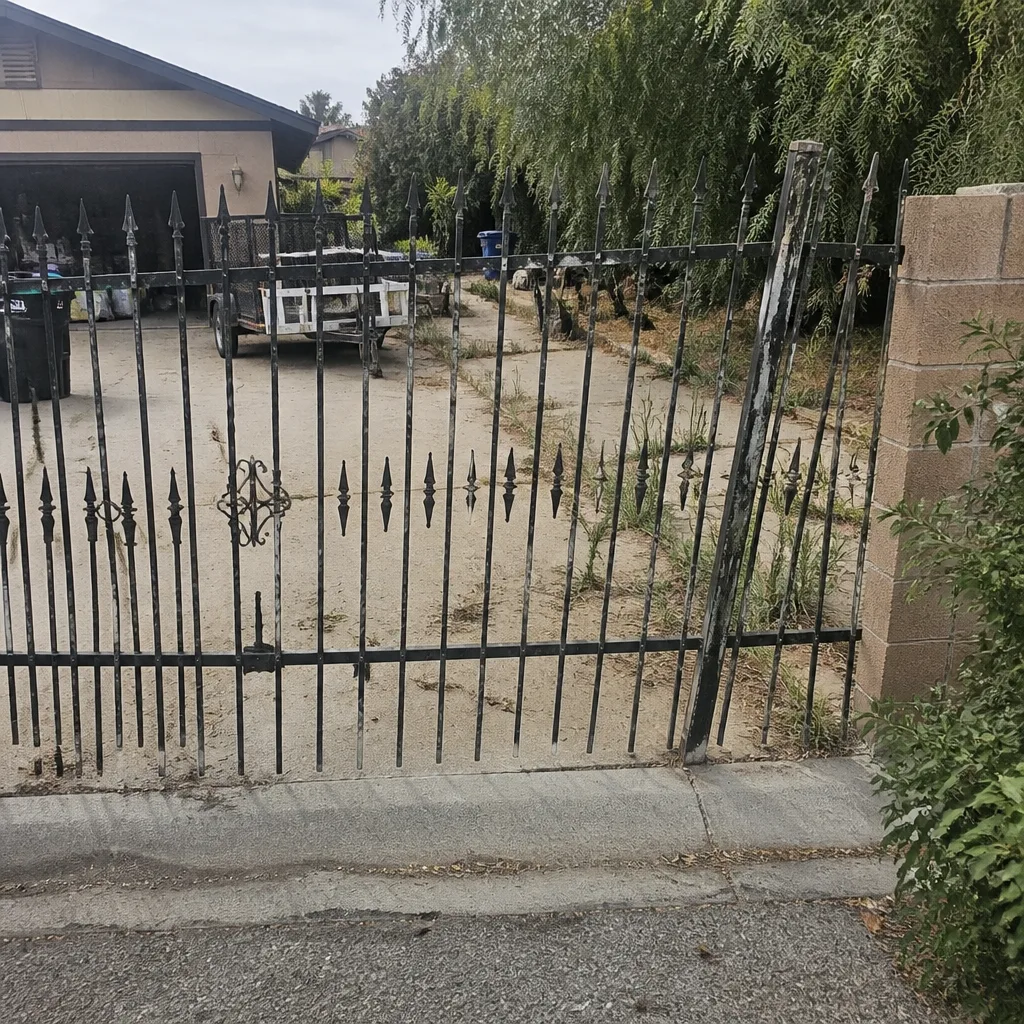 Before
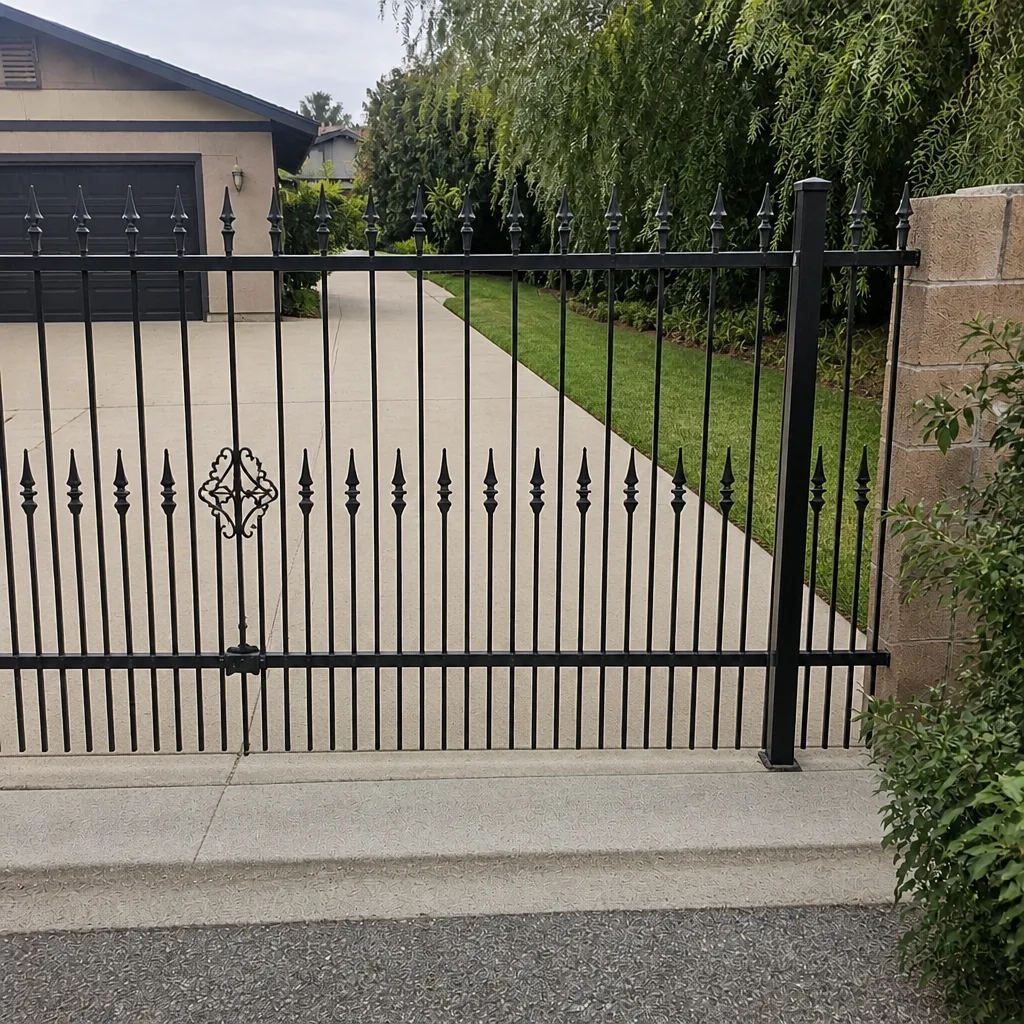 After