
Last updated November 18, 2026
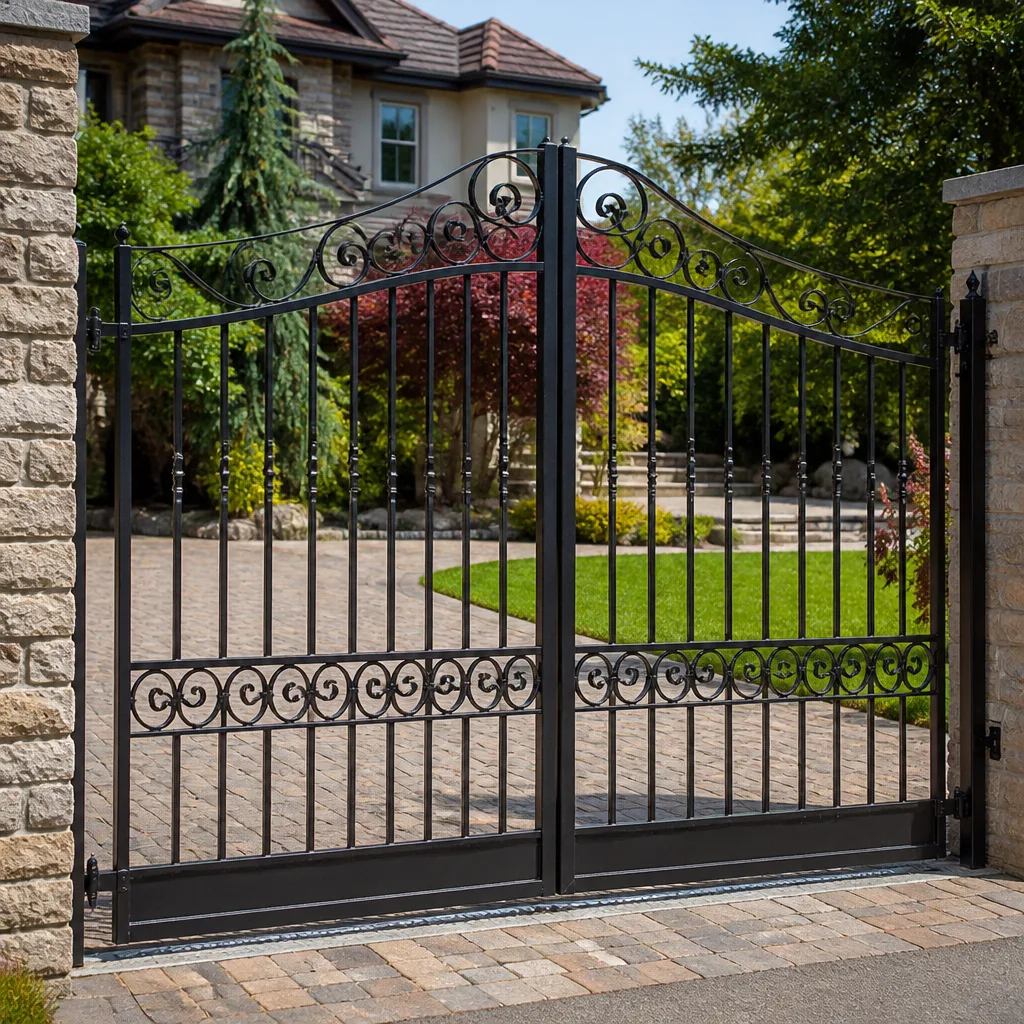 Wrought iron
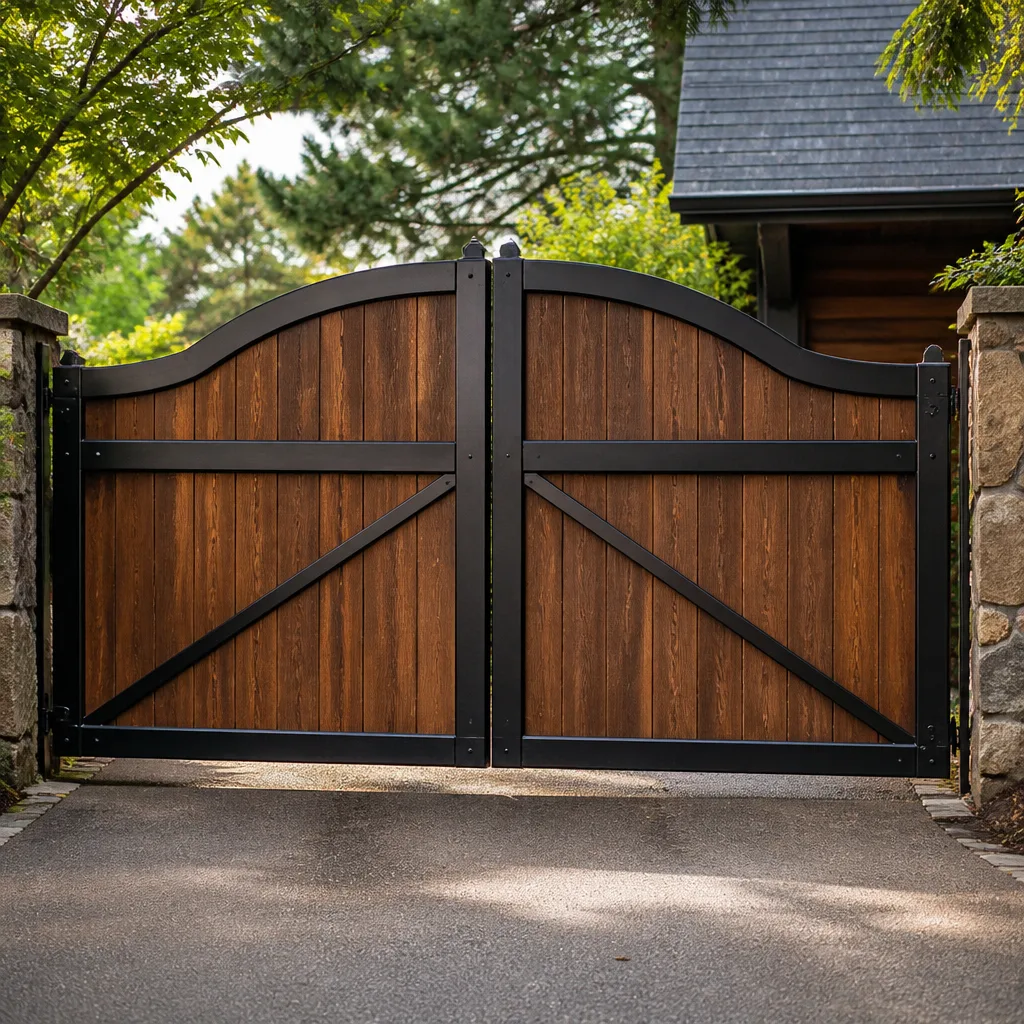 Wood & steel frame
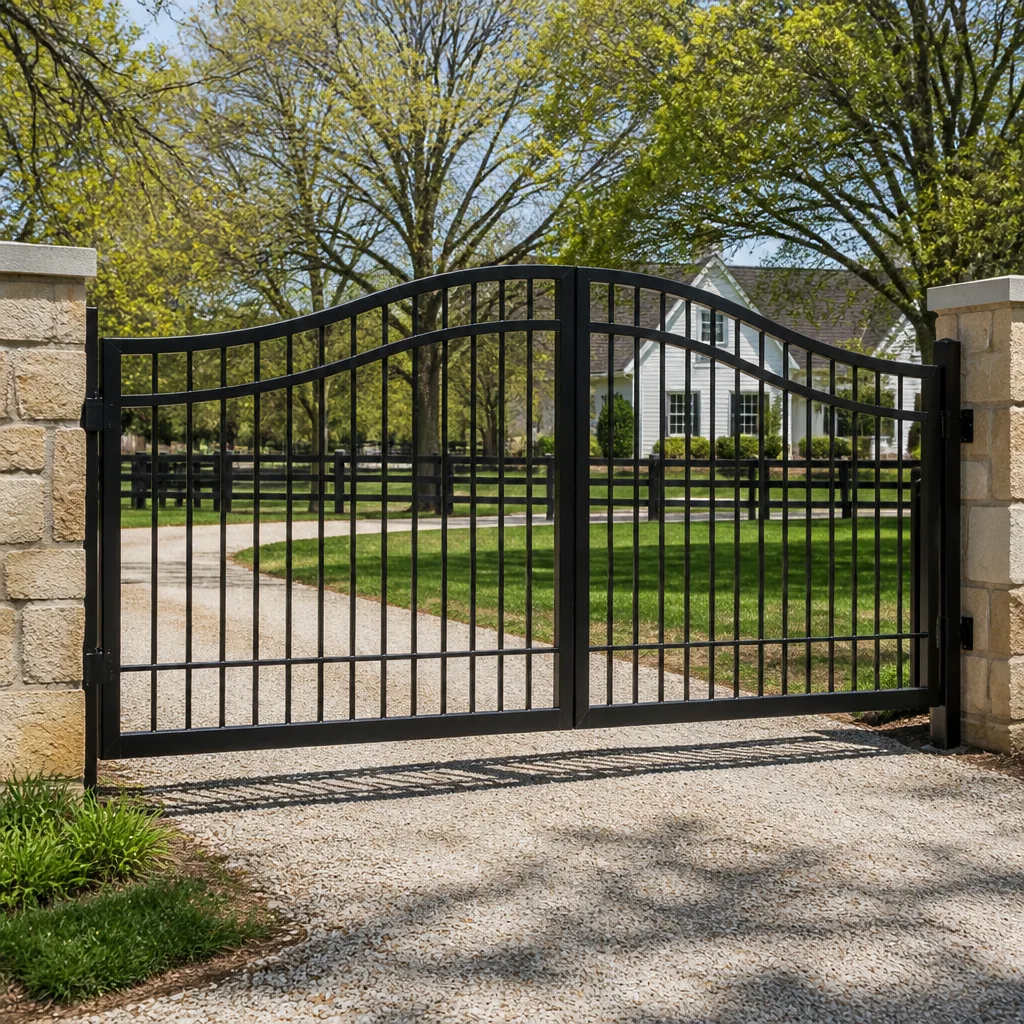 Farm & ranch
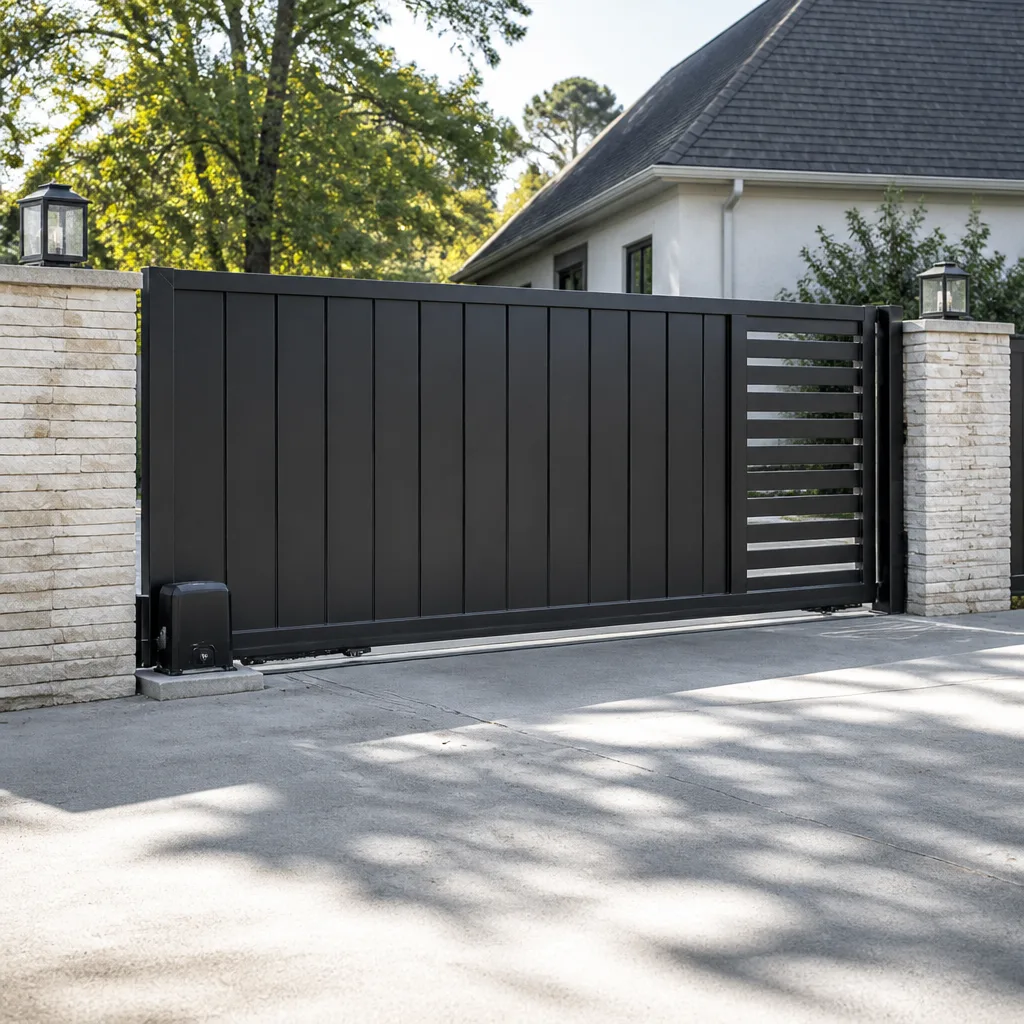 Sliding driveway gates
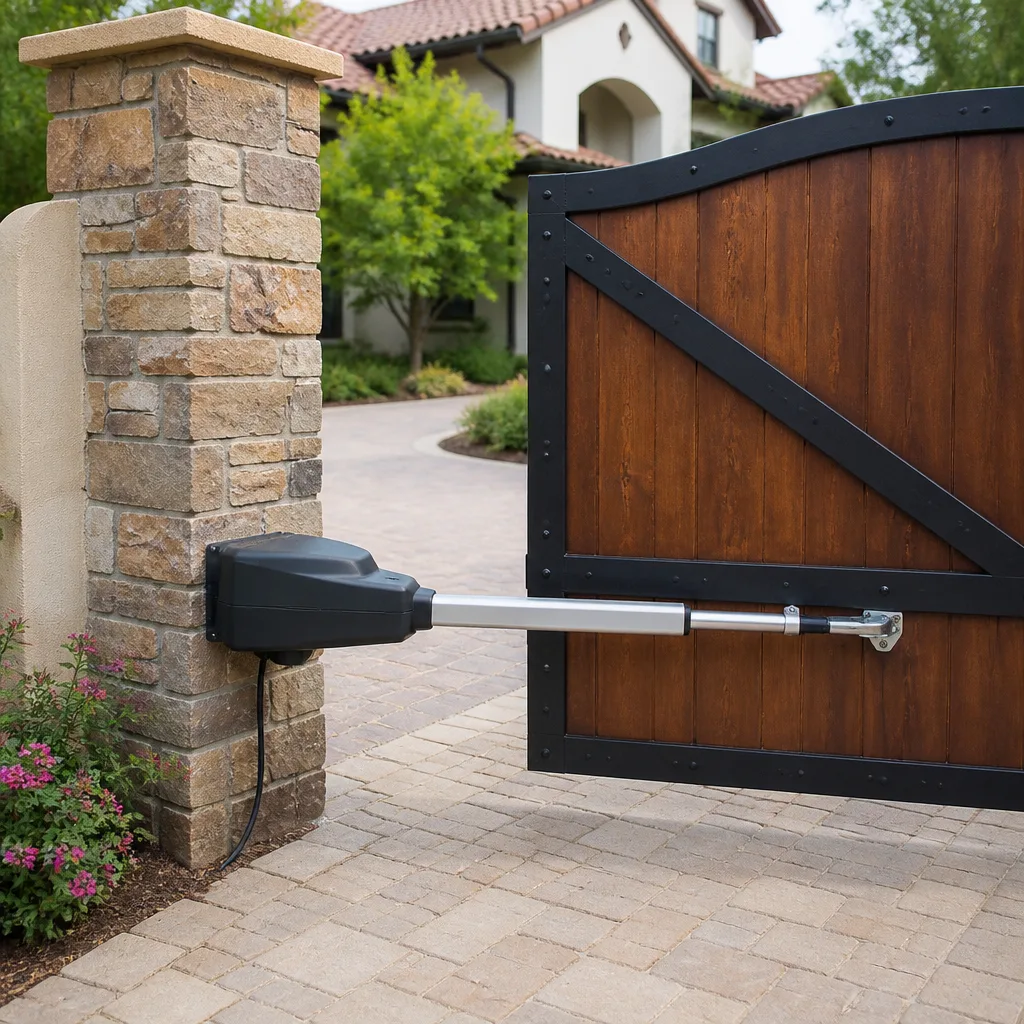 LiftMaster operators
Free on-site gate assessment - hinges, posts, and your LiftMaster or Nice gate operator checked before anything is quoted
The assessment is free and the quote is the invoice.
Get your free estimateDIY vs Professional Gate Installation: What’s Safe to Do Yourself
The gate kits at the home improvement store will work. The part they can’t sell you is knowing that your post holes need to be 36 inches deep in Enterprise soil, not the 24 inches the instructions show, or that gate will be leaning inside of two monsoon seasons. We’ve pulled enough leaning gates out of the ground to know the difference between a job that lasted and a job that nearly lasted. This guide walks through what a handy homeowner can genuinely handle, where the invisible variables hide, and when calling a pro saves you money instead of costing you more. If you’re weighing a weekend project against a checkbook decision in Enterprise, this is the read for you.
Styles & brands we work with
- Wrought iron
- Wood & steel frame
- Farm & ranch
- Sliding driveway gates
- LiftMaster operators
Quick Answer
A simple manual pedestrian gate on stable ground, with a straightforward latch and no automation or pool-code requirements, is a realistic DIY project for a careful homeowner. Anything automated, anything on a slope, anything near a pool, or anything wider than about 4 feet is a professional job. The installation steps that go wrong are the ones you can’t see for six months, and fixing a bad install usually costs more than doing it right the first time.
Table of Contents
- What Makes a Good DIY Candidate
- The Three Steps Where Installs Fail
- Why Automatic Gates Are a Different Category
- Clark County Permit Reality
- What a Good Installation Proposal Looks Like
- Cost Reality: DIY vs Professional in Enterprise
- Materials That Matter and the Ones That Don’t
- Common Mistakes to Avoid
- When to Call a Professional
- Frequently Asked Questions
- The Bottom Line
What Makes a Good DIY Candidate
Not every gate is a candidate for a homeowner install, and knowing which side of the line you’re on matters more than any tool you’ll buy. The honest answer is that a narrow set of gates genuinely fit the DIY profile, and a much larger set don’t. The good news is the line is fairly clear once you know what to look for.
Here’s what actually puts a gate in the DIY-friendly column:
- Manual operation only. No motor, no opener, no remote, no keypad. Push-open or pull-open by hand.
- Pedestrian width. Roughly 3 to 4 feet wide. Walk-through gates, not driveway gates.
- Stable, level ground. Firm soil with no noticeable slope. If your gate location is where water pools during a monsoon, that’s a red flag.
- Existing fence with sound posts. If you’re hanging a gate between two fence posts that are already solid and square, your job just got much easier.
- A simple latch. A basic gravity latch or slide bolt. No self-closing hardware, no magnetic locks, no access control.
- Anywhere except near a pool. Pool barrier gates fall under specific code requirements, and an inspector will look at them closely. Those are never a DIY install.
If your project checks most of those boxes, you’re a reasonable candidate. If it fails two or more, the math starts tipping toward a professional install. The one thing all these boxes have in common is this: the gate is simple enough that the invisibles underneath it matter less. Once you cross into heavier gates, wider spans, or automation, the invisible variables start running the show.
The Three Steps Where Installs Fail
Here’s the part of gate installation nobody talks about honestly: the mistakes don’t announce themselves. They hide for a season or two, then show up as a sag, a drag, or a latch that won’t catch. By the time you notice, the concrete is cured and the easy fixes are gone. Three steps account for the majority of gate installs we get called to redo in Enterprise, and every one of them is a decision you make in the first few hours of the job.
1. Post depth
The box says 24 inches. In Enterprise soil, especially in areas around the older ranch properties and the lots with the hard caliche layers, 24 inches is not enough. When we set posts for a hanging gate, we go 36 inches on the hinge side in most cases, sometimes deeper. That extra foot is the difference between a gate that stays plumb for a decade and one that leans after the first heavy rain.
2. Post plumb
A gate sags in the hinge post, not in the middle, and that is where we start every repair call. If your hinge post is even a quarter inch out of plumb, the gate will pull in that direction forever. The problem is you can’t detect a quarter inch with a bubble level at 6 feet. Plumb needs to be checked front-to-back and side-to-side, and it needs to be checked again before the concrete sets because the weight of the gate on the post will shift it as the concrete cures.
3. Frame squaring before concrete sets
The gate frame has to be square, and it has to be braced before the concrete locks the posts in place. Most homeowner installs skip the diagonal brace or tension wire that keeps the frame square while the concrete cures. The gate looks fine standing still. Then the first windy day hits and the whole thing racks out of square, and the latch stops catching. By then the only fix is demolition and do-over.
These three steps are where the difference between a gate that holds and a gate that fails quietly lives. The mistakes don’t show up in a weekend. They show up in a season or two, and they’re expensive to correct.
Why Automatic Gates Are a Different Category
Automatic gate installation is not a harder version of manual installation. It’s a different trade with different risks, different code implications, and a much smaller margin for error. When someone in Enterprise asks us if they can DIY a driveway gate with a Ghost Controls or Viking operator, the answer is almost always no, and here’s why.
Automatic gate installation adds these layers on top of everything manual installation requires:
- Trenching for conduit. Low-voltage wiring for the operator and any safety sensors has to be buried to the right depth (usually 18 inches), inside conduit, and away from irrigation and gas lines. Hand-dug trenches are fine, but a trencher hitting a sprinkler line or a gas line is a very bad afternoon.
- Low-voltage wiring and connections. The operator, sensors, keypad, and any safety edges all need to be wired correctly. A connection that’s weather-tight in June is a connection that fails in the second monsoon.
- Safety sensor placement. Photoelectric safety edges and obstruction sensors have specific mounting requirements. Get them wrong and the gate either won’t close, or it closes on a child or a pet. There is no acceptable version of that outcome.
- Operator programming and force calibration. Every automatic gate operator has a force adjustment that must be tuned to the specific gate it’s moving. Set it too high and the gate is dangerous. Set it too low and the gate won’t close. This is a safety-critical setting.
- Entrapment protection. Modern code requires it. If you’re installing an automatic gate, you’re subject to it. Sketchy entrapment protection is the number one thing an inspector looks for.
These are not upsell points. They are the reason automatic gate installs are priced the way they are. Every one of those steps has a failure mode that ranges from “the gate stops working” to “the gate moves when it shouldn’t.” That’s why we tell Enterprise homeowners straight: automating a gate is not the place to learn a new trade. Manual job, sure. Automated job, call someone.
If you do want automation on your property, that’s a job worth talking through with someone who services the major brands regularly. We handle LiftMaster, FAAC, BFT, Linear, Viking, Ghost Controls, DoorKing, Elite, and Mighty Mule, and our gate motor & opener service in Enterprise covers everything from operator selection to safety edge installation and wiring. Our technicians have up to 25 years of experience on these systems, and every job carries the 90-Day Done Right Promise in writing.
Clark County Permit Reality
Permit rules for gate installation in Clark County depend on what you’re building and where. A small manual pedestrian gate on residential property usually doesn’t require a permit. Anything that changes the fence line, involves a structural post, crosses an easement, or includes electrical work on an automatic gate operator generally does. Pool barrier gates are a category of their own and are always inspected.
Here’s what matters more than the permit rule itself: what happens if you skip it when it was required.
- Insurance exposure. If an unpermitted structure is involved in a claim, some insurers will deny coverage or reduce the payout. An automatic gate that was installed without the required electrical permit is exactly the kind of thing that comes up in a claim review.
- Home sale trouble. Inspectors find unpermitted work during a home sale. They look for it in the county records, they look for it visually, and they look for it because the buyer’s inspector is looking. An unpermitted gate install is a closing problem, and it’s usually a negotiation leverage problem for the buyer. We’ve seen Enterprise sellers have to knock four figures off a sale price to account for a gate the buyer’s inspector called out.
- Sale-price impact. Even permitted installations can create headaches if the paperwork didn’t get pulled or the final inspection wasn’t done. Unpermitted work is worse. It’s a known, disclosed problem, and buyers treat it accordingly.
If you’re not sure whether your project requires a permit, a phone call to the county before you dig is free and it takes ten minutes. It’s a much better use of a Saturday morning than discovering the problem during a sale five years from now. If you’re going professional on the install, ask the installer upfront whether they pull permits and who files the paperwork. A crew that shrugs at the question is a crew that’s going to leave you holding the bag if the county comes asking.
What a Good Installation Proposal Looks Like
When you get three proposals for a gate installation in Enterprise, they will look similar on the top line and radically different underneath. The lowest bid is not the one that saves you money. Here’s how to read a proposal so you know what you’re actually buying.
What a quality proposal includes:
- Post depth and post material specifically stated. “Set 4×4 pressure-treated posts 36 inches deep in concrete” is a real line. “Install gate and posts” is not. If the proposal doesn’t say how deep, ask.
- Concrete mix called out. The correct mix for post-setting is not the same as a general-purpose bag. If a proposal doesn’t specify, that’s a corner being cut.
- Square check and bracing procedure listed. A real installer will tell you they brace the frame before the concrete sets. Skip that line and the whole job will rack out in a windstorm.
- Hardware brand and model named. Hinges, latches, and operators should be identified by brand. If it says “gate hardware included,” that’s a red flag. Viking, DoorKing, Elite, Ghost Controls, LiftMaster, and Linear are all real brands with real differences. The proposal should name them.
- Permit responsibility stated in writing. Either “we pull permits” or “no permit required per county.” Not ambiguous.
- Written warranty stated in the proposal, not the fine print. Our proposal shows the 90-Day Done Right Promise in writing, up front. Any installer worth calling will state their warranty the same way. If the warranty is only verbal, it doesn’t exist.
- Upfront price with a clear statement that the price won’t change at the door. Ask directly. “Is this price the price I’ll pay, or will it change once you’re on site?” If the answer isn’t a clean yes, walk.
The lowest bidder is often the one who skips post depth, uses the wrong mix, forgets the bracing, and installs hardware without naming it. That gate will look fine for about three years, then it will sag, drag, or rack, and you’ll be paying a pro to redo it. That’s the version of DIY-by-proxy that costs the most.
Cost Reality: DIY vs Professional in Enterprise
The dollar gap between DIY and professional installation is narrower than most Enterprise homeowners expect, once you count everything. Here’s the honest picture, with rough ranges for the local market. The exact numbers depend on your gate width, material, location, and whether permits are involved, which is why every job should be quoted in writing before work starts.
| Cost Line | DIY Range | Professional Range |
|---|---|---|
| Pedestrian gate kit (3-4 ft, metal) | $140-$320 | Included |
| Posts (2, pressure-treated or metal) | $60-$180 | Included |
| Concrete (bagged mix, 4-6 bags) | $40-$80 | Included |
| Gate hardware (hinges, latch, brace kit) | $50-$140 | Included |
| Tool rental (post hole digger, level, etc.) | $30-$90 | Included |
| Labor | 20-30 hours of your weekend | 4-8 crew hours |
| Expected total for a small manual gate | $320-$810 out of pocket | $850-$1,400 installed |
| Automatic driveway gate (operator + wiring + safety) | Not recommended | $1,800-$3,800 installed |
| Cost to correct a failed DIY install (post replacement, re-hang, re-square) | Often $400-$1,200 | N/A |
Notice the last row. If the DIY install fails, the correction often costs close to what a professional install would have cost in the first place, and you still paid for the original parts. That’s the math most people skip when comparing bids.
Every quote we give is upfront and agreed before any work starts. No price change when we show up at the door. Estimates are free, there’s no trip charge inside the county, and there’s a $40 discount on any repair over $200. We also offer a free second opinion on any written estimate from another installer, and a permanent 10% discount for seniors and veterans.
Materials That Matter and the Ones That Don’t
Gate materials are a place where the DIY aisle and the pro supply house diverge sharply. Some of that divergence matters a lot, and some of it is marketing. Here’s where we land, from years of pulling failed installs out of Enterprise yards.
What matters:
- Post material and grade. Pressure-treated lumber is fine for a small pedestrian gate. For anything heavier or anything in the ground permanently, steel or aluminum posts outperform wood every time. The kits at the home improvement store often lean toward the cheapest post option that makes the price look good.
- Concrete. Fast-setting post concrete is convenient but has less structural strength than a proper 4,000 PSI mix. For a post that’s going to hold a hanging gate for a decade, use the better mix.
- Hinges. Cheap hinges on a heavy gate will deform. The brand matters, and the load rating matters more. Ask what specific model is going on the gate.
- Gate frame construction. A welded steel frame holds up better than an assembled frame with bolts in a windstorm. For taller or wider gates, welded is worth the extra spend.
- The latch. The cheapest latch on the shelf is the cheapest latch for a reason. A quality gravity latch will last a decade. The bargain one becomes a repair call in year two.
What doesn’t matter as much as the store wants you to think:
- Powder-coat color options on gates that face the desert sun, which will fade regardless of brand.
- “Rust-proof” claims on metal hardware that lives outdoors in Enterprise, where the combination of dust and occasional monsoon moisture will pit anything eventually.
- Branded fasteners. A good fastener matters, the brand logo on the bag doesn’t.
The point isn’t that cheap materials are always wrong. The point is the cost gap between a gate that lasts ten years and one that lasts three is usually $100 to $200 in materials. That gap is worth closing.
Common Mistakes to Avoid
- Setting posts 24 inches deep because the instructions say so. In Enterprise soil that’s not enough for a hanging gate, especially on the hinge side. The post that leans is almost always the one that got the shallower hole.
- Skipping the diagonal brace while the concrete cures. The gate looks square when you hang it. It doesn’t stay square when the wind hits it before the concrete fully cures. Brace it, wait, then hang.
- Mounting the hinge post to an existing fence post that was never designed to bear the gate load. A fence post holds up a fence. A gate post holds up a gate. Those are different loads, and the difference shows up in year two.
- Buying a hardware kit from the same aisle as the gate. The kit hardware is usually the cheapest acceptable version. Buy hardware separately, name the brand, know what’s carrying the load.
- Ignoring the permit question because “it’s just a gate.” For a small pedestrian gate, the answer may genuinely be that no permit is required. For an automatic gate, it’s almost always the opposite, and asking later is a much bigger headache than asking first.
- Setting posts during the summer in Enterprise without shading the concrete. Concrete that cures too fast in 105-degree heat can crack or lose strength. Cure it slow, keep it wet, shade it if you can.
- Hanging the gate before the concrete is fully cured. 24 hours is not enough. Give it 72 hours minimum, or your latch alignment will be off within a month. The convenience of finishing “today” is not worth doing the job twice.
When to Call a Professional
Call a professional when the gate is automatic, when the ground is sloped or the soil is questionable, when the gate is wider than 4 feet, when the gate is near a pool, when the project requires a permit and you’re not sure how to file it, or when the existing fence posts need to be replaced as part of the job. If any of those apply, the DIY math stops working. If you’ve already started a DIY install and discovered halfway through that the hinge post isn’t going to stay plumb, that’s a professional call too, and calling before you pour concrete saves you the cost of demolition.
Gatewood Fence & Gate Enterprise offers free estimates in Enterprise – call (833) 780-1547. We’ll walk the property, give you an honest assessment of what you can safely do yourself and what we should handle, and put the price in writing before anything starts. Our gate installation in Enterprise covers pedestrian gates, driveway gates, and full replacement work, with on-site welding available when the gate needs to be repaired rather than replaced.
Frequently Asked Questions
Yes, if it’s a small manual pedestrian gate on stable, level ground with sound existing fence posts, a simple latch, no automation, and no pool-code requirements. If any of those don’t apply, the project moves out of DIY range. Any gate wider than about 4 feet, any gate that will be automated, and any pool barrier gate are professional jobs.
Plan on 36 inches minimum for the hinge post, sometimes deeper depending on soil conditions. The 24-inch depth shown in most gate kit instructions is not enough for the caliche-heavy soil in many parts of Enterprise, and it’s why we regularly see gates leaning after two monsoon seasons. The hinge side carries the weight. Set it deep or set it twice.
It depends on the gate. A small manual pedestrian gate on residential property usually doesn’t require a permit. Automatic gates, gates that involve electrical work, gates that cross easements, and pool barrier gates generally do. Unpermitted installations can create homeowner’s insurance problems and they get flagged during home sales. When in doubt, call the county before you dig; the call is free.
A small manual pedestrian gate typically runs $850 to $1,400 installed. An automatic driveway gate runs $1,800 to $3,800 depending on operator brand, wiring distance, and safety features. Every quote is written and agreed before work starts. There’s no trip charge inside the county, free estimates, a free second opinion on any written estimate from another installer, and a $40 discount on any repair over $200. Call (833) 780-1547 for a free estimate.
The correction usually costs $400 to $1,200, depending on whether posts need to be replaced or the gate can simply be re-hung. The most common fixes are setting new hinge posts (the original ones didn’t go deep enough), re-squaring the frame with new bracing, and replacing hardware that failed earlier than expected. Correcting a bad install often costs close to what a professional install would have cost in the first place, and you still paid for the original parts.
Yes. Every job carries the 90-Day Done Right Promise in writing – if it’s not done right, we make it right, and one call brings us back. That’s stated on the proposal, not buried in fine print. If you’re comparing installers, ask each one to put their warranty in writing on the proposal. The ones who can’t, won’t.
The Bottom Line
The gate kits at the home improvement store will work for a small manual pedestrian gate on solid, level ground. The step that goes wrong is not the one you see; it’s the post depth, the plumb, and the frame squaring, all of which hide under the surface until a season or two has passed. If your project is a simple walk-through gate on sound existing fence posts, you can genuinely handle it. If it involves automation, wide driveway gates, slope, pool-code requirements, or existing fence posts that need replacing, the professional install is the better economics. Get a real quote, read it carefully, and make sure the price is agreed before work starts. Every job we do in Enterprise carries the 90-Day Done Right Promise in writing. Reach out at (833) 780-1547 for a free estimate.
Ready to talk through your gate project? Gatewood Fence & Gate Enterprise provides free estimates across Enterprise and the surrounding area, offers a free second opinion on any written estimate from another installer, and answers the phone with a live person around the clock. If your gate is sagging, dragging, or hasn’t been right since the day it went in, our gate repair in Enterprise starts with the hinge post and works out from there – that’s where the fix lives. Call (833) 780-1547 today and let’s get it done right.
Written by the team at Gatewood Fence & Gate Enterprise.
See the difference
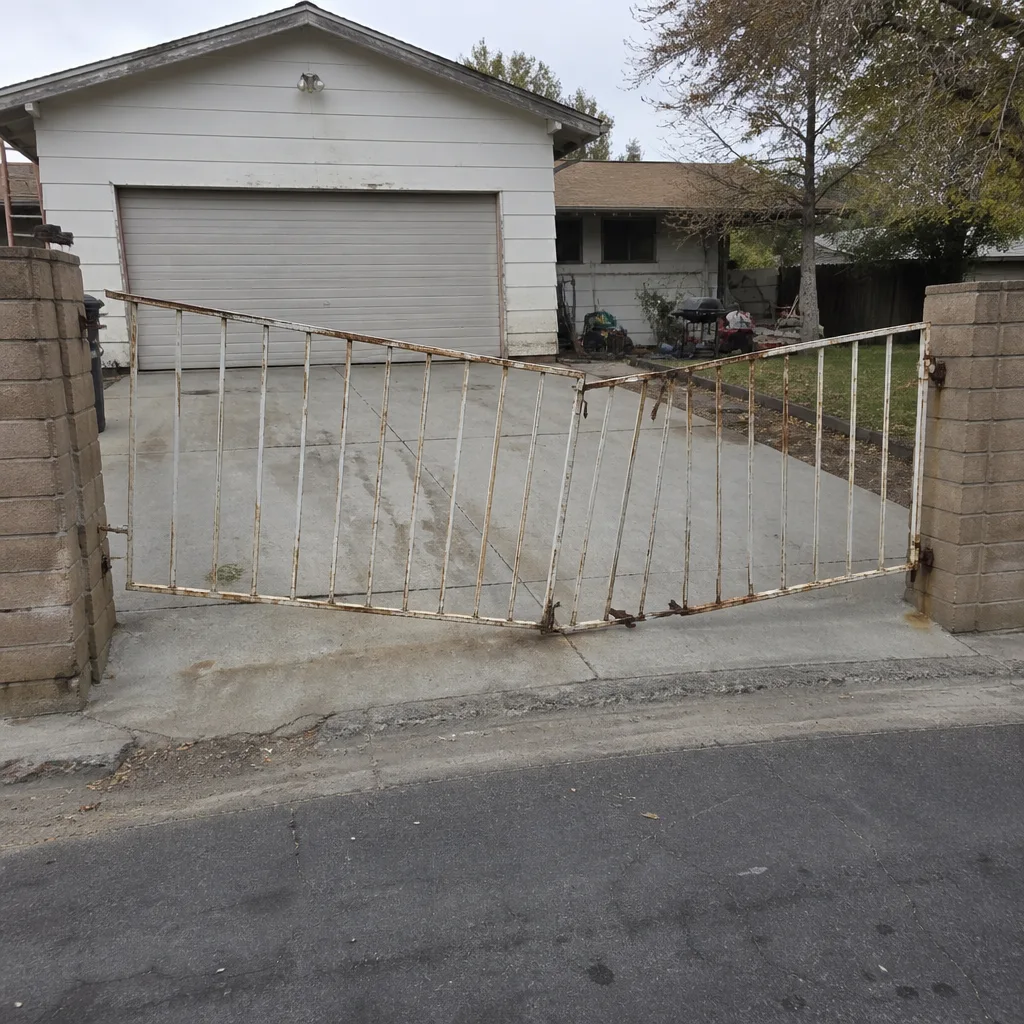 Before
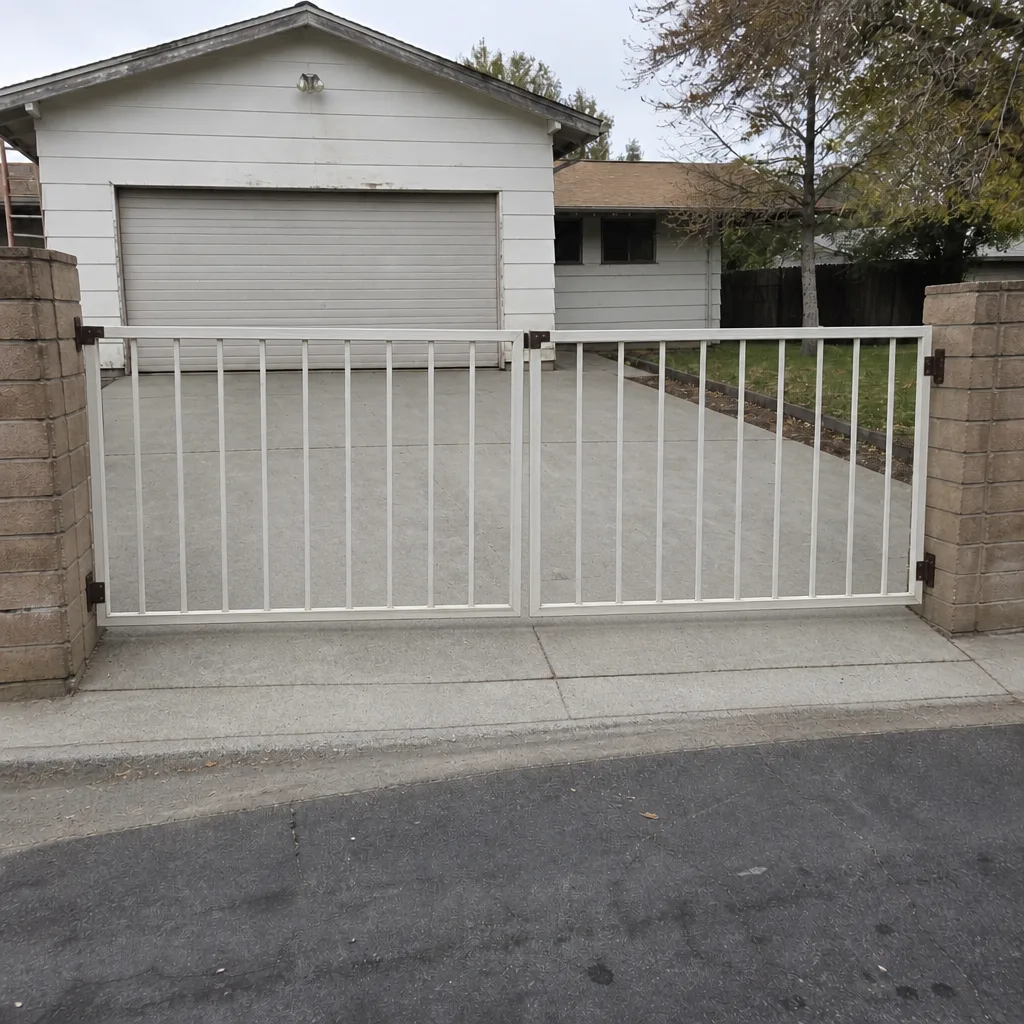 After
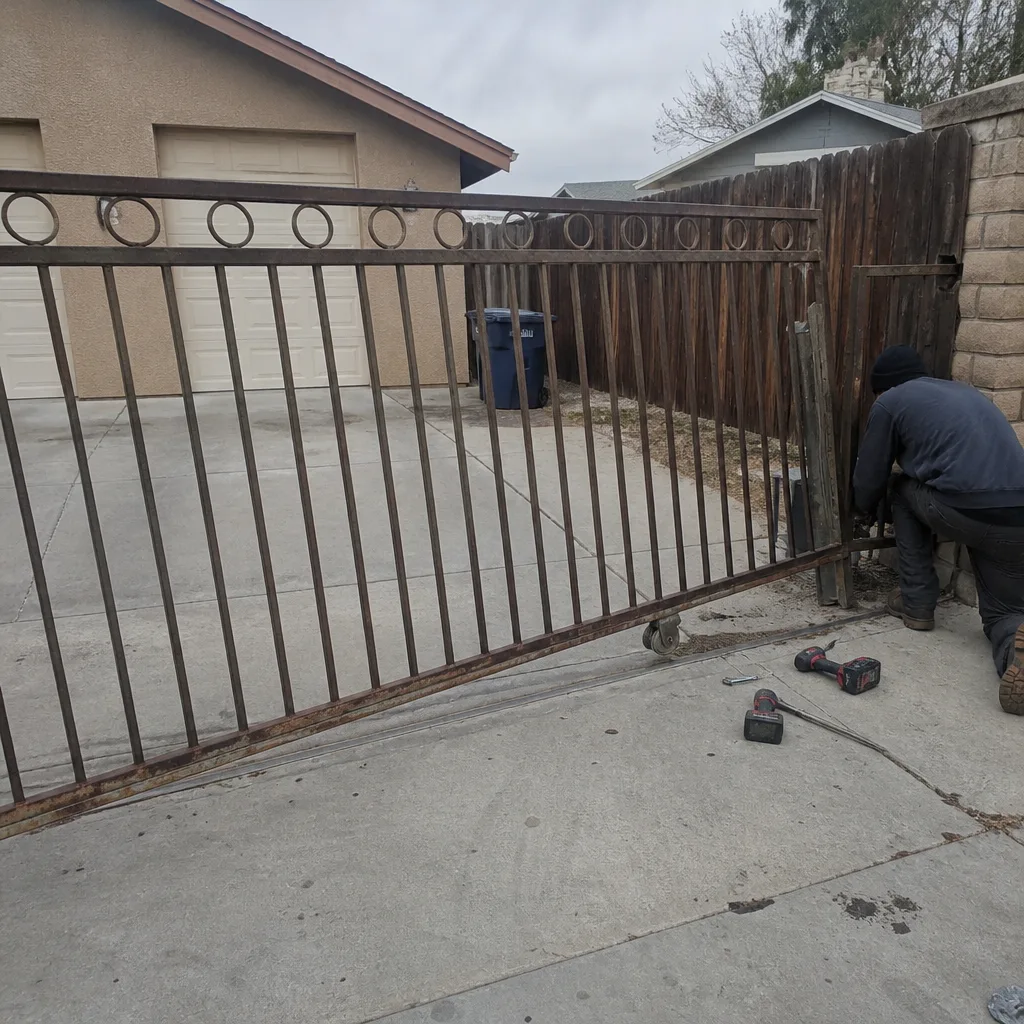 Before
 After
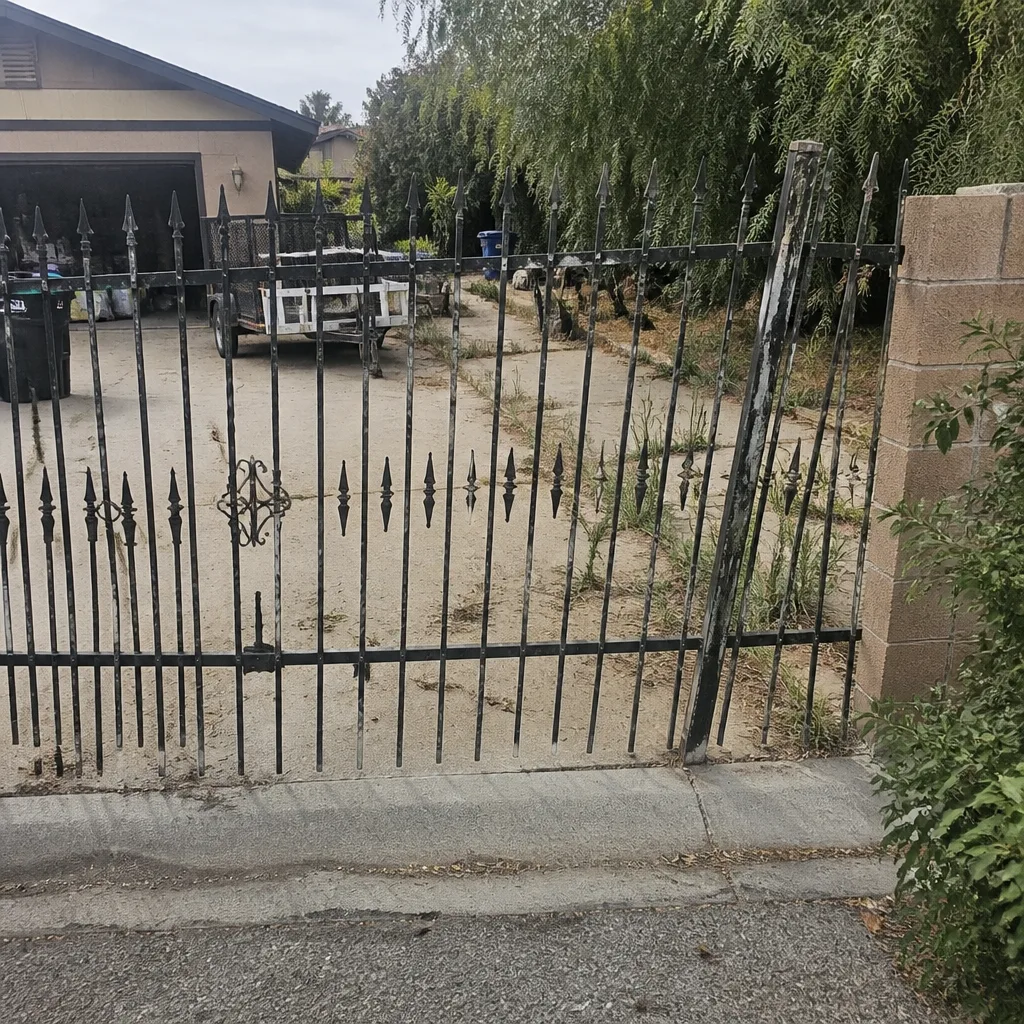 Before
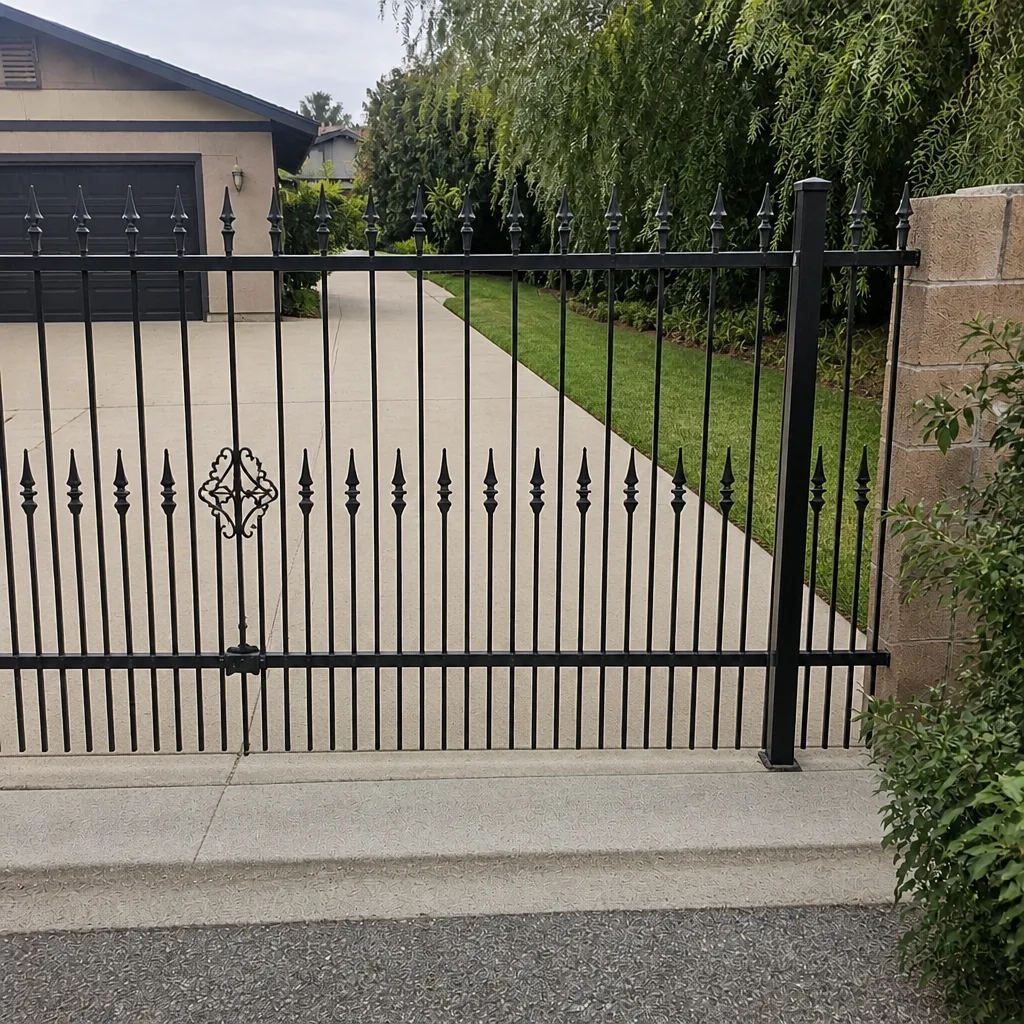 After