
Last updated November 18, 2026
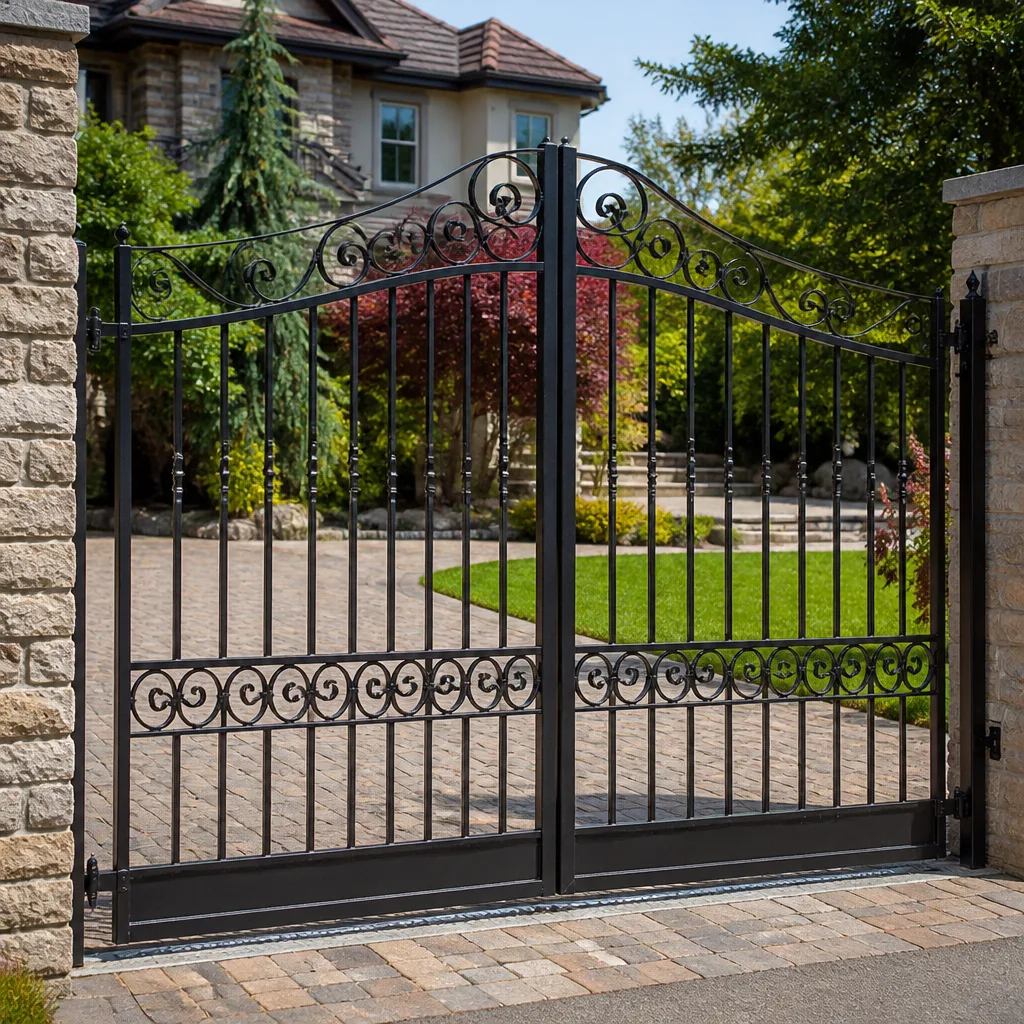 Wrought iron
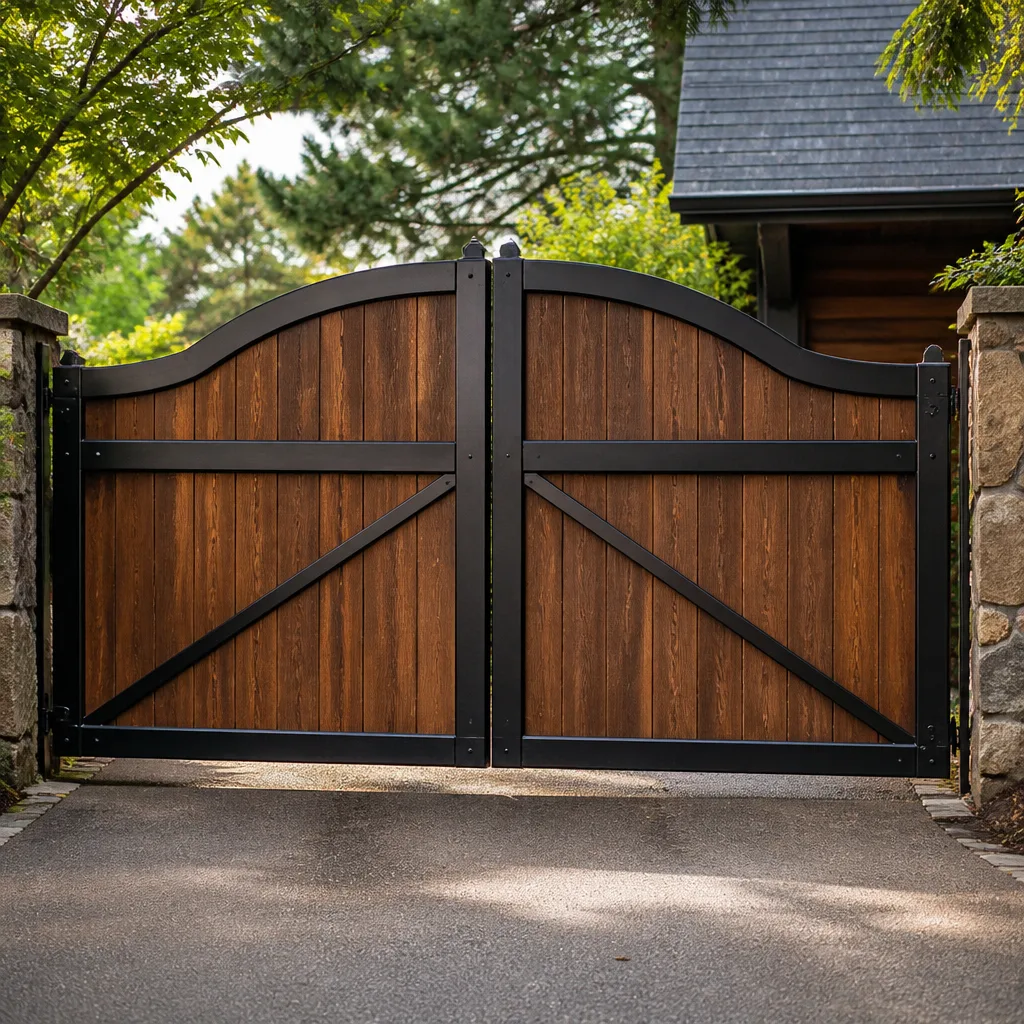 Wood & steel frame
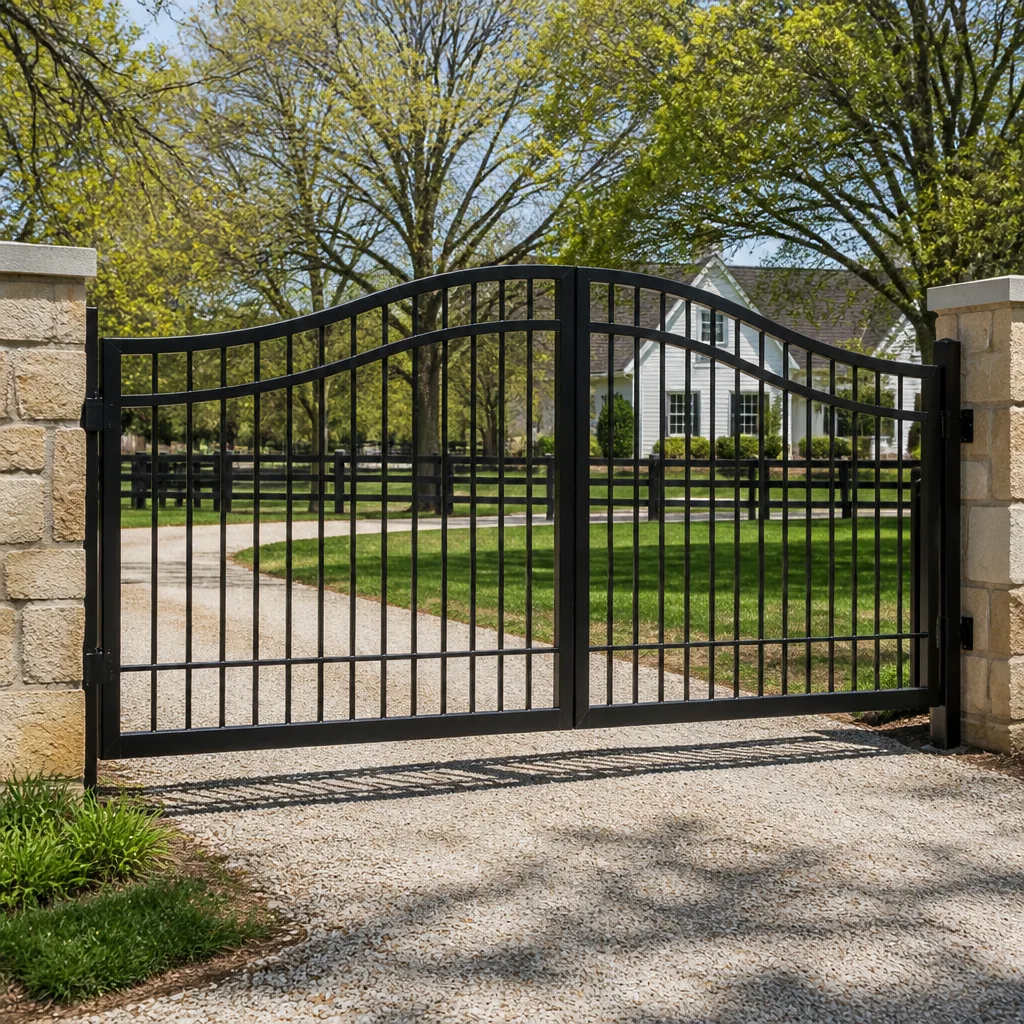 Farm & ranch
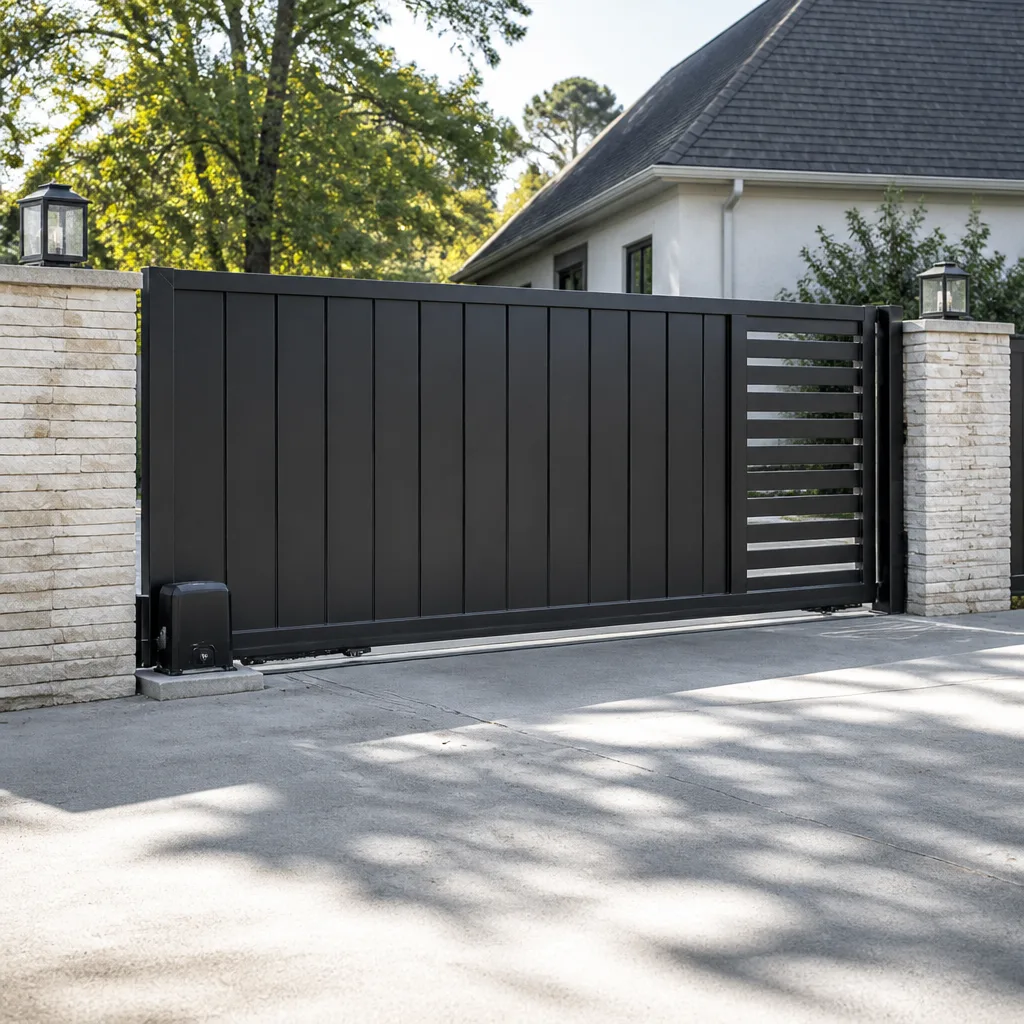 Sliding driveway gates
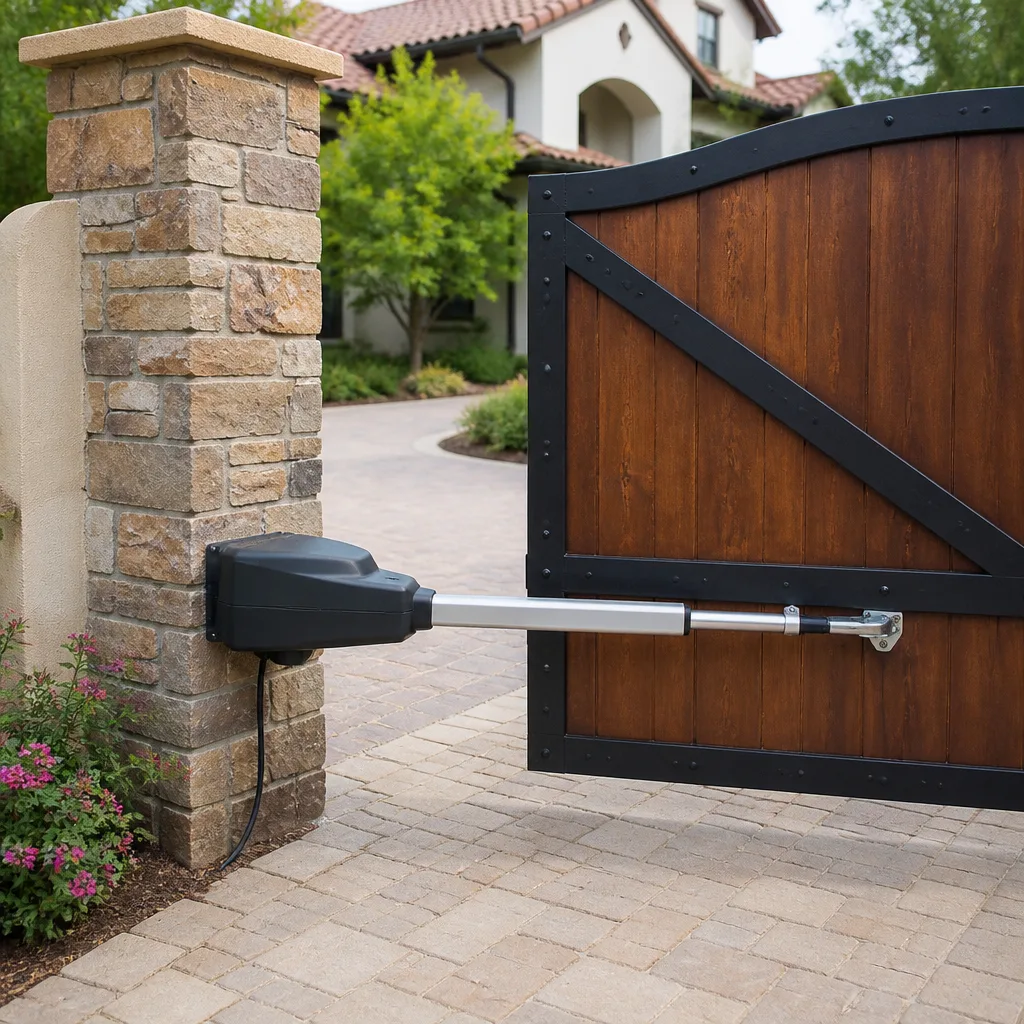 LiftMaster operators
Free on-site gate assessment - hinges, posts, and your LiftMaster or Nice gate operator checked before anything is quoted
The assessment is free and the quote is the invoice.
Get your free estimateGate Installation Maintenance Schedule: What to Do and When
Most gate failures we’re called out to in Enterprise start on a calendar, not a hinge. Somewhere between week eight and week twelve after installation, fresh concrete finishes curing, the soil around the footer settles, and a gate that swung perfectly on install day starts to hang a fraction of an inch low. That fraction is harmless for about a month. Left alone for a year, it grinds a permanent wear pattern into the hinge post. A new gate needs one check-and-adjust visit at 60 to 90 days. Everything after that runs on a seasonal schedule you can put on the refrigerator. This guide covers both: the break-in window nobody told you about, and the long-term maintenance that keeps the gate working decades past its warranty.
Quick Answer
Schedule a check-and-adjust visit 60 to 90 days after installation, then lubricate new hardware every 90 days for the first year (sooner in Enterprise’s desert heat), and switch to a twice-a-year maintenance routine after the first full seasonal cycle. Track every adjustment, lubrication, and repair in a written record from day one.
Styles & brands we work with
- Wrought iron
- Wood & steel frame
- Farm & ranch
- Sliding driveway gates
- LiftMaster operators
Table of Contents
- The 60-90 Day Break-In Window
- New-Installation Checklist: What to Check and What to Adjust
- What Your Contractor’s Workmanship Warranty Should Still Cover
- Year One vs. Ongoing Maintenance: What Changes
- How the Schedule Changes by Gate Type
- Lubrication Schedule for New Hardware in Desert Heat
- Building a Maintenance Record From Day One
- Common Mistakes to Avoid
The 60-90 Day Break-In Window
A gate doesn’t really settle into place the day it’s installed. It settles for the next two to three months. The footer concrete cures over roughly four weeks but keeps shrinking slightly for weeks after. The soil around the footer compacts under the first several hundred cycles of the gate’s weight. Trellis posts, chain link, and steel frames all expand and contract with the wide temperature swings that define an Enterprise summer, where surface temps on steel can hit 130°F by midday. Every one of those forces nudges the gate out of the geometry it left the shop with.
What that means in practice: the gate was plumb and level on install day, and it isn’t anymore. Sometimes the change is a quarter inch. Sometimes it’s barely visible but the gate starts catching the strike post. Either way, the window to catch it is 60 to 90 days in.
Here’s the counterintuitive part. A gate that hangs slightly off-level doesn’t usually fail at the hinge, it fails at the post. The hinge is designed to pivot; the post is designed to hold still. Once the gate’s weight starts loading unevenly, the hinge transfers that load into the post with every cycle. Skim a socket past its tolerance for a thousand open-close cycles and the post itself starts to bow. By the time a homeowner notices the gate scraping the ground, the fix isn’t adjusting the hinge, it’s repairing or replacing the post. That’s a job that runs several times the cost of a simple adjustment.
This same window exists on automatic and driveway gates across the Enterprise area, and it’s the number one reason we hear “it worked fine for a few months and then just quit.” The gate quit because nobody checked it during the window when a half-turn of adjustment would have saved it.
New-Installation Checklist: What to Check and What to Adjust
Here’s what we walk through on a 60 to 90 day check-back. If your installer doesn’t schedule this visit, you can do it yourself by walking through the same steps, or have it done by anyone certified on your gate’s brand.
- Check post plumb with a level. Both posts, all four faces. A quarter inch of lean over a 6-foot post is the point where you call someone.
- Test the latch and strike alignment. The latch should engage without a shove. If you’re lifting the gate to close it, the hinge has dropped.
- Cycle the gate 20 times and listen. Any new squeak, tick, or groan is coming from a component that moved out of position. Silence is the goal.
- Inspect hinge-pin wear. Look for shiny flats or scored pins. Fresh bearings shouldn’t be wearing yet; if they are, the gate is out of balance.
- Check the operator’s limit settings (automatic gates). The open and closed limits need to match the gate’s current position, not where it was on install day. Most LiftMaster and FAAC operators have user-adjustable limits.
- Test all safety edges and photo-eyes. Walk through the beam and press the edge. The gate should reverse instantly. If it doesn’t, stop using the gate until it’s fixed.
- Check the ground clear. The gate should have at least 2 inches of clearance at its lowest point. Less than that, and it will scrape the first time the ground swells.
What to adjust gets done on-site. What’s damaged gets replaced under warranty. What’s out of tolerance because of a bad install, the installer should fix. That last piece is the reason a written warranty matters more than a verbal promise: your documentation is what happens when opinions differ.
What Your Contractor’s Workmanship Warranty Should Still Cover
A workmanship warranty covers labor and the things the installer’s hands touched, not the products themselves (products have their own manufacturer warranties). At 60 to 90 days, most reputable workmanship warranties are still fully in force. That’s the entire point of the window.
What a workmanship warranty should cover at this stage:
- Post alignment issues caused by the install (not by you backing into the gate)
- Hinge adjustment needed because the gate settled out of plumb
- Latch or strike misalignment because the geometry shifted
- Concrete footer issues if the gate is loose in the ground
- Operator limit re-setting on an automatic gate
- Wiring connections that have loosened since install
What it should not cover: damage from impact, homeowner attempts at DIY repair, or wear items (batteries, seals, lubricant). Those are homeowner costs from day one.
If you’re in Enterprise and the installer is unreachable, this is a classic case for a free second opinion on any written estimate. Our 90-Day Done Right Promise is stamped in writing on every job because a warranty you can’t find a year later isn’t a warranty. It’s a conversation.
Year One vs. Ongoing Maintenance: What Changes
Year one is about settling. Year two and beyond is about seasons. Those are two different maintenance problems.
Year One: Break-In Mode
- 60 to 90 day check-back with professional adjustment
- Lubrication every 90 days, not the manufacturer’s suggested 6-month interval
- Cycle-test the gate monthly, just open and close it slowly and listen
- Watch for the operator to reverse harder than normal (a sign of misalignment)
- Photograph all fasteners at install, then again at 90 days, to document any loosening
Year Two Onward: Seasonal Mode
- Full maintenance visit twice a year (spring and fall in Enterprise)
- Lubrication every 3 to 6 months depending on gate type
- Quarterly visual walkthrough by the homeowner
- Annual adjustment of hinges and latches for wear
- Operator battery replacement every 2 to 3 years (or as needed)
The switch from break-in mode to seasonal mode is your gate’s way of telling you it’s done settling. If it’s still shifting out of level in year two, that’s a foundation issue, not a break-in issue, and it needs a different conversation. Our team at Gate Repair in Enterprise handles both.
How the Schedule Changes by Gate Type
A manual swing gate, an automatic slide gate, and a driveway double gate each need a maintenance calendar shaped to how they move. There isn’t a single universal schedule that fits all three, and a homeowner who treats a sliders like it’s a swing gate will spend money on the wrong parts.
Manual Swing Gate
Manual swing gates are the simplest. The break-in window still applies, but the maintenance burden afterward is light. Priority items:
- Hinges every 6 months (every 3 months in year one)
- Latch alignment check twice a year
- Post plumb check annually
- Full repaint or restain every 3 to 5 years depending on material
Automatic Slide Gate
Sliders add mechanics: a track, rollers, an operator, and often a chain or rack-and-pinion drive. Priority items:
- Track cleaning and inspection every 90 days (dust and debris halt rollers in Enterprise)
- Roller lubrication every 6 months
- Chain or rack lube every 90 days
- Operator limit test monthly (open, close, watch for full travel)
- Battery + backup power check annually
- Safety edge and photo-eye test monthly
Driveway Double Gate
A driveway double gate either has two automatic operators (one per leaf) or a single operator plus a slave side, depending on the brand. Elite and FAAC both make operator systems for double-leaf setups, and both need slightly different care. Priority items:
- Both leaves need to be adjusted together at the 60 to 90 day mark. If one shifts and the other doesn’t, the meeting point at the center becomes misaligned, and that’s where the gate will eventually fail
- Center latch or strike alignment check every 6 months
- Both operators’ limits checked independently
- Remote and keypad battery replacement annually
- Wiring inspection at each leaf once a year
If you don’t know what gate type you have, the motor housing will tell you. LiftMaster, FAAC, Elite, and Mighty Mule are all common in Enterprise backyards. Our Gate Motor & Opener in Enterprise page walks through which operators match which gate types.
Lubrication Schedule for New Hardware in Desert Heat
Fresh grease on new hinges and operators starts breaking down almost immediately in Enterprise’s heat. Standard manufacturer intervals (typically every 6 months) are written for average US climates. They are too long for the Mojave.
Our recommended lubrication schedule for new hardware:
| Component | First-Year Interval | Ongoing Interval |
|---|---|---|
| Hinges | Every 30 days for first 90 days, then every 60 | Every 90 days |
| Latch and strike | Every 60 days | Every 4 to 6 months |
| Operator drive chain | Every 60 days | Every 90 days |
| Rollers (sliders) | Every 60 days | Every 4 months |
| Track (sliders) | Clean every 30 days | Clean every 60 to 90 days |
| Locks and cylinders | Once at month 3 | Once per year |
Use a lithium or silicone-based grease designed for outdoor hardware, not WD-40. WD-40 cleans, it doesn’t lubricate, and it removes the protective coating that keeps the hinge from rusting. Your operator’s owner’s manual will list the correct lubricant for that unit. For LiftMaster and FAAC operators, follow their recommendation; for older hardware, a light lithium grease usually works.
If you feel a hinge binding in the first 90 days, lubricate immediately rather than waiting for the scheduled interval. Binding becomes wear in a matter of cycles.
Building a Maintenance Record From Day One
A written maintenance record does three things: it extends the practical life of your gate’s warranty, it gives a future buyer confidence in the property, and it makes your own decisions easier because you can see what’s been done and what’s overdue.
Here’s the record to keep, and it takes five minutes:
- Installation date, and the installer’s name and phone number. Photos of the install, especially any concrete footer work.
- The workmanship warranty document itself, plus the manufacturer warranty for each hardware piece.
- Every check-back, in date order. What was checked, what was adjusted, what was replaced. Even “checked, nothing needed” counts as documentation.
- Every lubrication, in date order. Component, product used, who did it.
- Every repair and by whom. Even minor.
- Photographs at each stage. Install day, 90 days, year one, year three. Side-by-side shots of the hinge posts are surprisingly diagnostic.
Keep it in a binder in the garage or a folder in a cloud drive, whatever you’ll actually use. A record that lives in your head and nowhere else is a record that will fail you the day you sell the house or the warranty becomes a debate.
The Gatewood team leaves a written summary at the end of every job for exactly this reason. Not because the file cabinet is precious, but because a gate’s history is only as good as what someone wrote down. If you’re replacing or upgrading a gate, our Gate Installation in Enterprise page walks through what we hand off at install day.
Common Mistakes to Avoid
- Skipping the 60-90 day check-back. The most expensive mistake on this list. A skipped check-back is a warranty that expires unused and a gate that quietly commits to a permanent wear pattern.
- Treating the first year like year five. A new gate needs a tighter lubrication interval, not the manufacturer’s standard 6-month suggestion. Desert heat cuts that in half.
- Greasing with the wrong product. WD-40 is a cleaner, not a lubricant. Use lithium or silicone grease, and if you have a chain-driven operator, use the lube the manufacturer specifies. This one mistake adds years of wear in Enterprise heat.
- Assuming the manufacturer warranty is the whole story. Workmanship warranty and manufacturer warranty are two different documents. A homeowner who only tracks one of them loses the other at month 13.
- Adjusting one leaf of a driveway double gate. On double gates, both leaves need adjustment together or the center meeting point drifts out of tolerance in a matter of months.
- Ignoring a new noise. A quiet new gate is a healthy gate. A new creak at month 4 means something shifted, and the adjustment is cheap. Wait 6 months and it usually isn’t.
- Not documenting anything. If the gate fails at year 3, or you sell the property at year 5, and there’s no record, whoever evaluates the gate has to assume nothing was done.
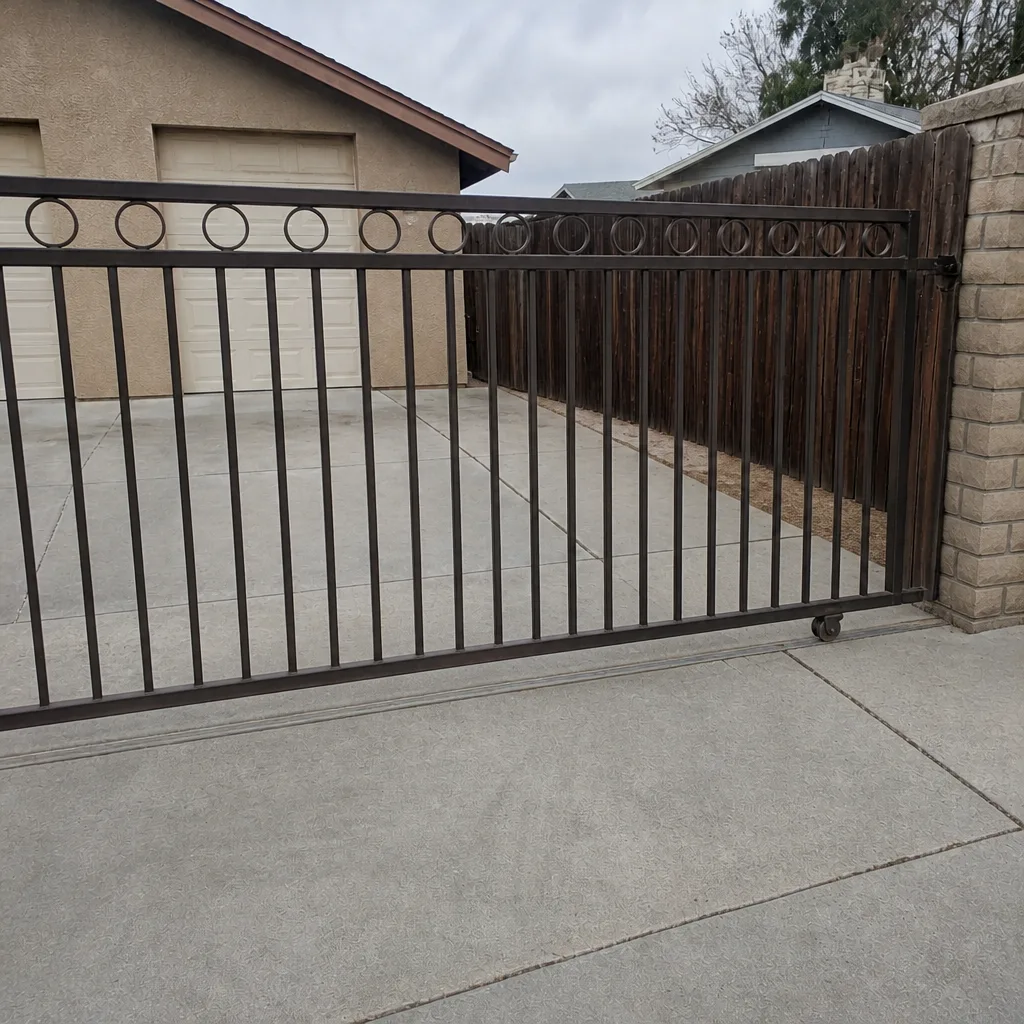
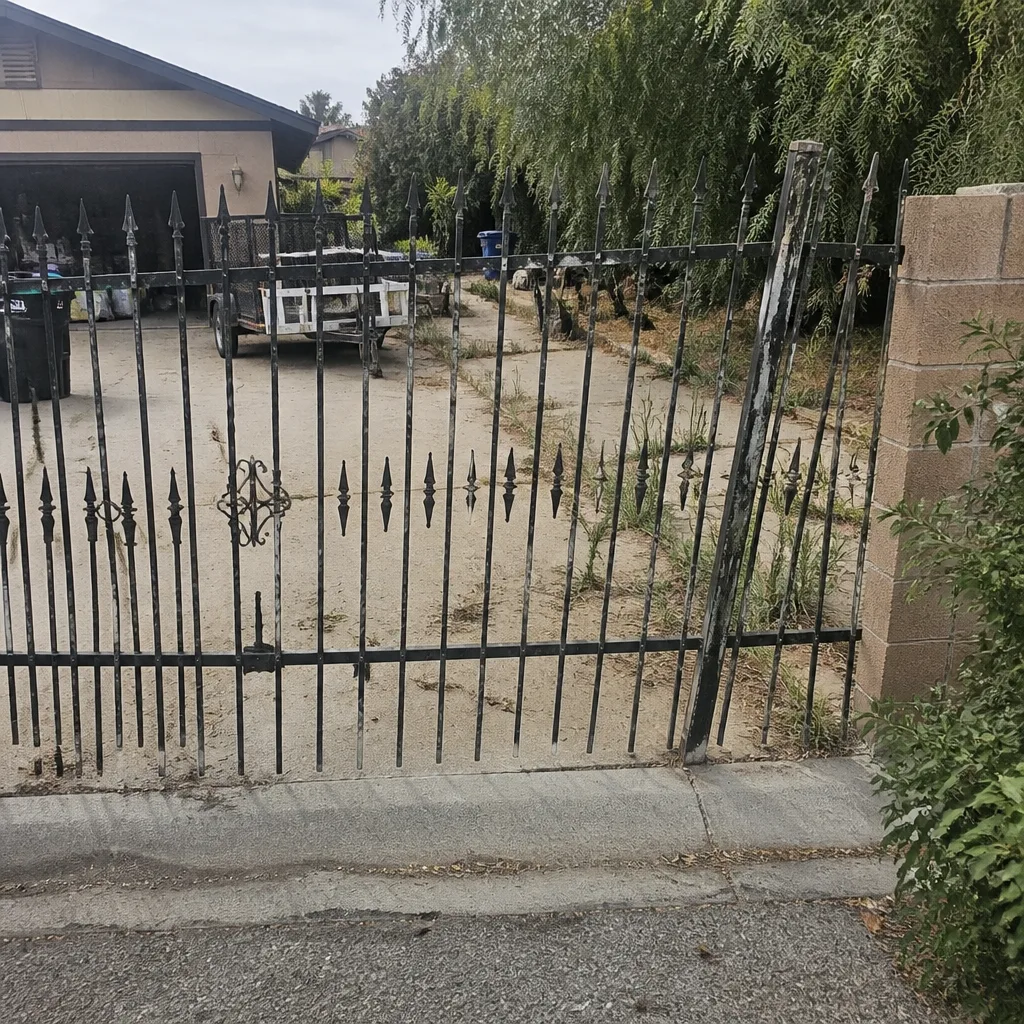
See the difference
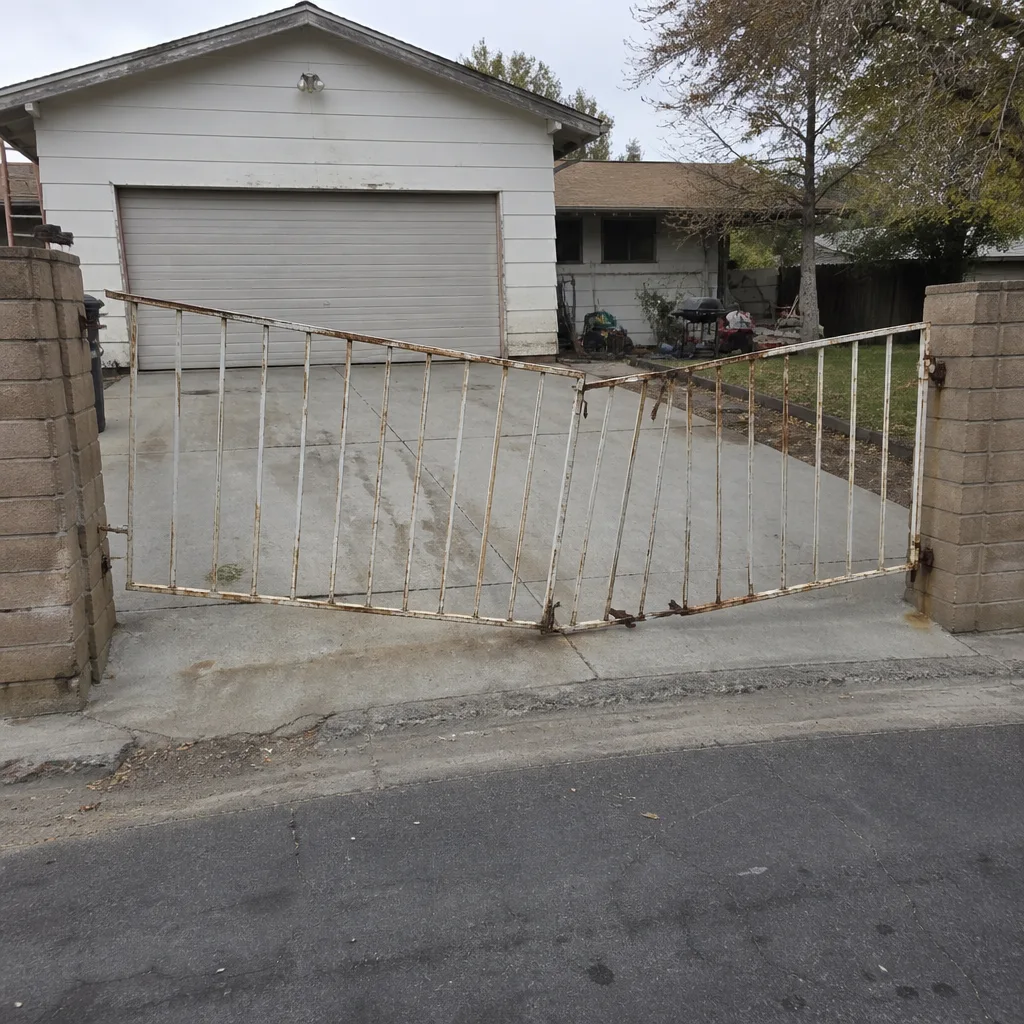 Before
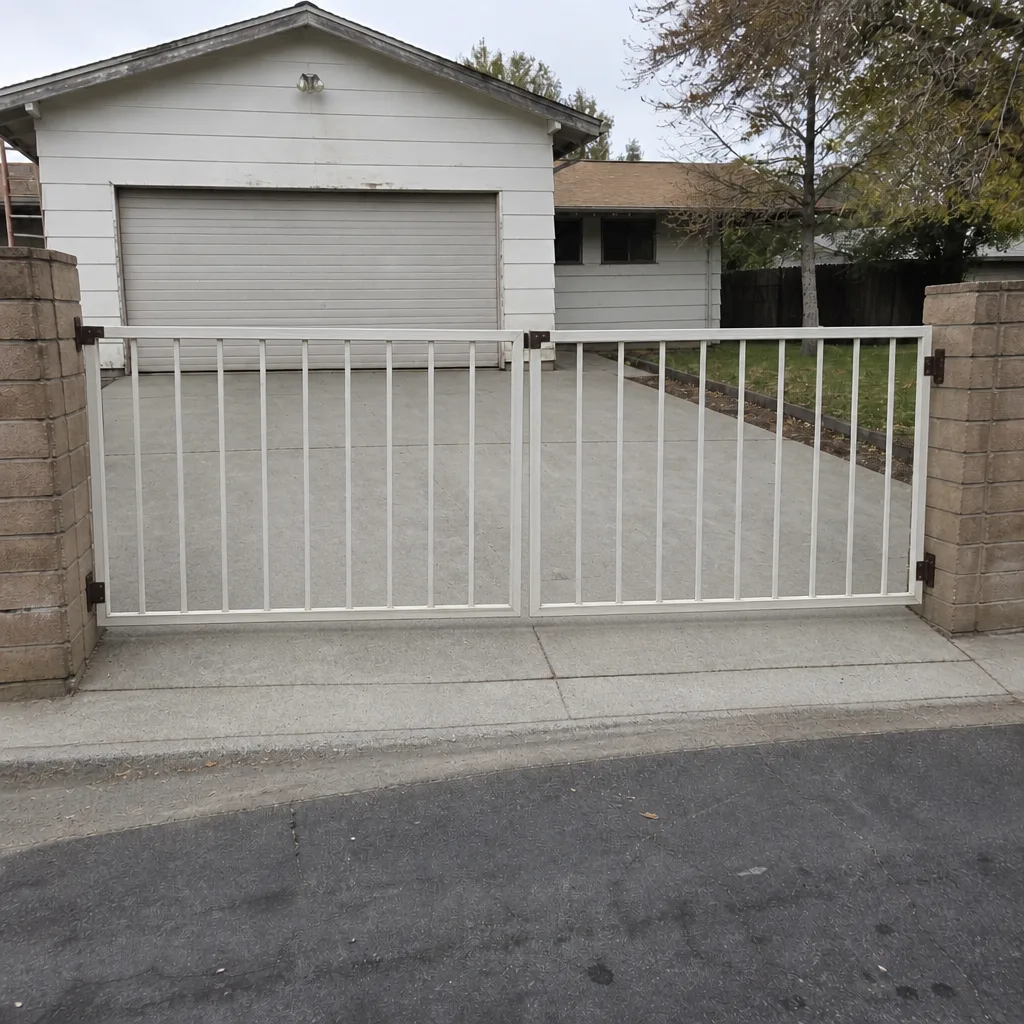 After
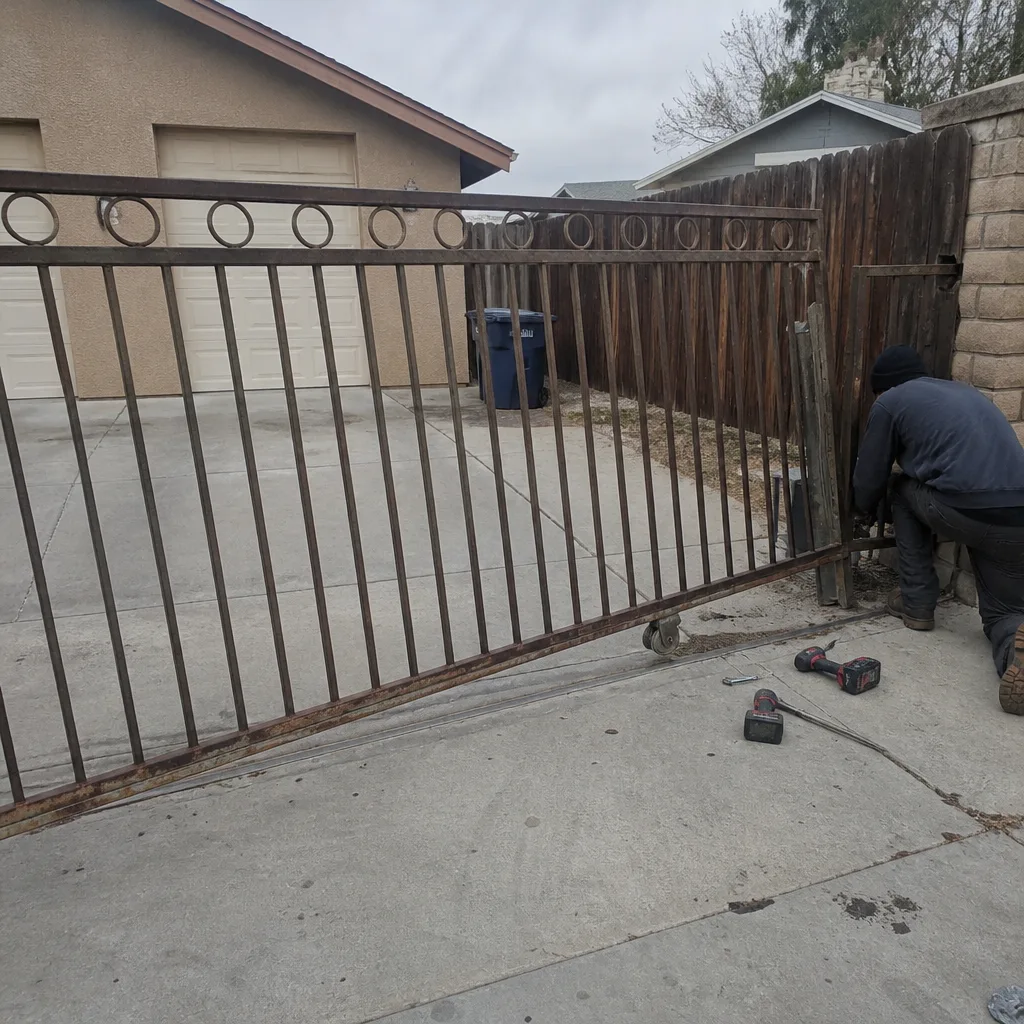 Before
 After
 Before
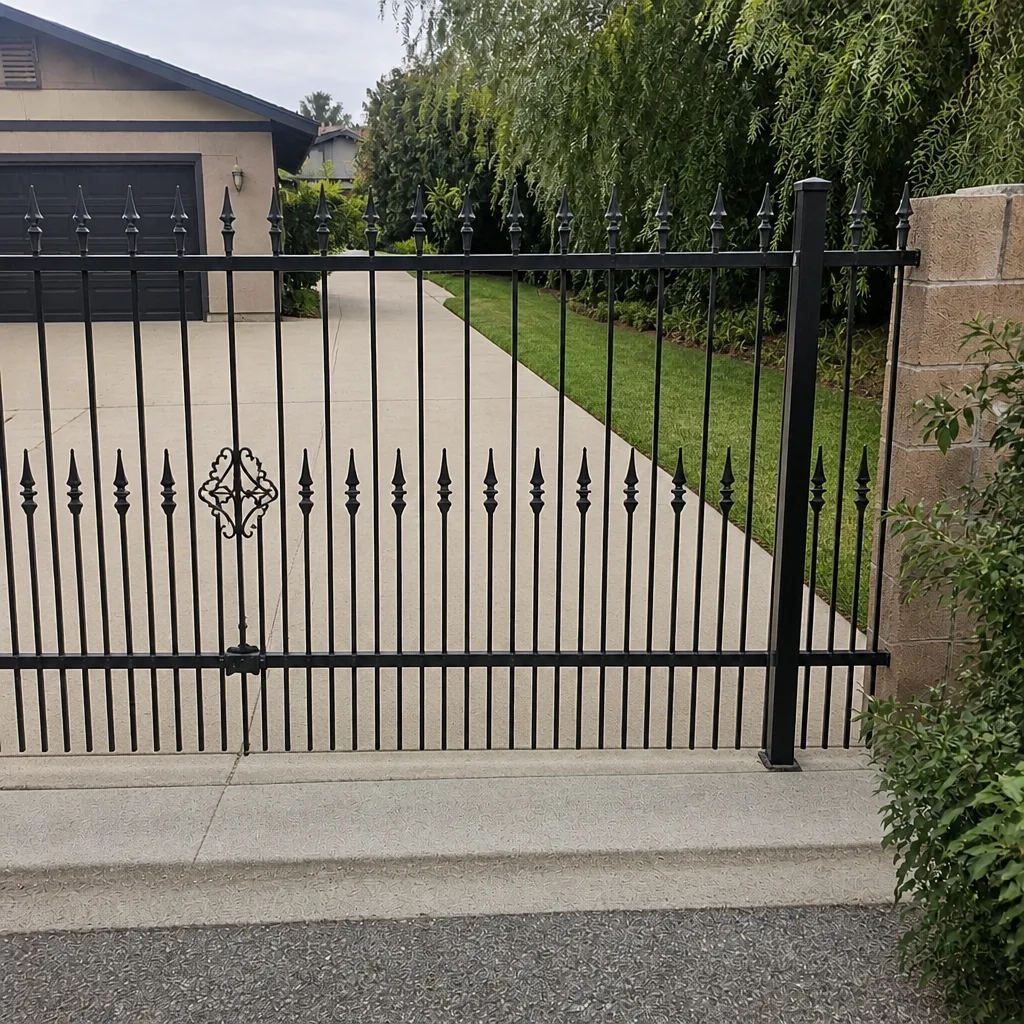 After
When to Call a Professional
Some of this is homeowner work. Checking plumb with a level, cleaning a track, keeping a record, and applying grease to a hinge are all things you can do yourself. The rest should go to someone who has seen how these things actually fail.
Call a professional for: the 60 to 90 day check-back if your installer didn’t schedule one, any noise that wasn’t there before, a gate that suddenly reverses harder than normal, an operator that stops mid-travel, a post that’s out of plumb by more than a quarter inch, a slide track that has started jumping, or a safety edge that doesn’t trip. Also call before attempting any adjustment on an automatic driveway gate. The springs and arms on those units are under tension and can cause real injury. That’s not a DIY job.
Gatewood Fence & Gate Enterprise offers free estimates in Enterprise. Call (833) 780-1547 for a free estimate and we’ll tell you whether it’s a check-back adjustment or something bigger.
Frequently Asked Questions
Schedule it 60 to 90 days after installation. That’s the window when concrete has mostly cured and soil has settled enough that misalignment shows up before it becomes a permanent wear pattern. In Enterprise’s heat, the settling tends to happen at the earlier end of that range.
Yes. Fresh hinges and operators need lubrication earlier than the manufacturer’s standard interval in desert heat. Lubricate hinges every 30 days for the first 90 days, then taper to every 60 and finally every 90 days after the first year.
The workmanship warranty covers the installer’s labor and anything they touched, typically for 60 to 365 days depending on the company. The manufacturer warranty covers the products themselves, usually for years. Keep both on file. The 60 to 90 day check-back is the window where the workmanship warranty matters most.
You can check plumb and cycle the gate yourself, but leave any adjustment that involves a hinge pin, operator limit, or moving component to a trained technician. The springs and arms on an automatic gate are under tension and can cause serious injury. A professional check-back in Enterprise is a quick visit.
Twice a year for the operator itself, with a monthly owner-check of limits and safety edges. In our experience, LiftMaster and FAAC units hold up best when owners test safety edges monthly and have the unit professionally adjusted once a year on top of their own checks.
A written maintenance record is one of the strongest things you can hand a buyer at closing, because it documents that the gate has been cared for and lets them verify what’s still under warranty. If you’ve kept it, hand over the binder or cloud folder along with the gate’s install paperwork and warranty documents. Call us at (833) 780-1547 for an exact quote on a maintenance visit before you list, so the record is up to date.
The Bottom Line
A gate installed today needs its first real attention at 60 to 90 days, not in a year. That check-back is where a half-turn of adjustment replaces a permanent wear pattern, and it’s the visit that most installers forget to schedule. After year one, switch to a spring-and-fall seasonal routine with lubrication tailored to your gate type, and document every visit. Whether you handle it in-house or have us run the schedule, the gate will last longer, and the records will pay for themselves the day you sell the property. If you’d like us to set up the maintenance calendar starting with a check-back visit, Gatewood Fence & Gate Enterprise home is where to start.
Call Gatewood Fence & Gate Enterprise at (833) 780-1547 for a free estimate on a check-back visit, an annual maintenance plan, or anything that turns up on the walkthrough. Calls are answered by a live person, any hour of the day. Not a voicemail, not a call center.
Written by the team at Gatewood Fence & Gate Enterprise.